Diese Version enthält möglicherweise inkorrekte Änderungen. Wechsle zur letzten geprüften Version.
Was du brauchst
-
Dieser Schritt ist noch nicht übersetzt. Hilf mit, ihn zu übersetzen!
-
Remove the back cover of the phone.
-
The battery will now be visible.
-
-
Dieser Schritt ist noch nicht übersetzt. Hilf mit, ihn zu übersetzen!
-
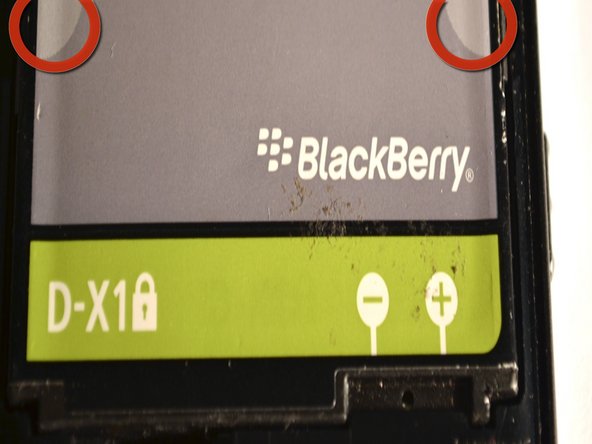
Pinch the battery at the grey semi-circles on the top left and top right corners of the battery using your fingers and remove it from the device.
-
-
Dieser Schritt ist noch nicht übersetzt. Hilf mit, ihn zu übersetzen!
-
Remove the lower rear cover, using a small iFixit opening tool.
-
-
Dieser Schritt ist noch nicht übersetzt. Hilf mit, ihn zu übersetzen!
-
Remove the six screws from the mid-frame of the device, using the T6 Torx Screwdriver.
-
-
-
Dieser Schritt ist noch nicht übersetzt. Hilf mit, ihn zu übersetzen!
-
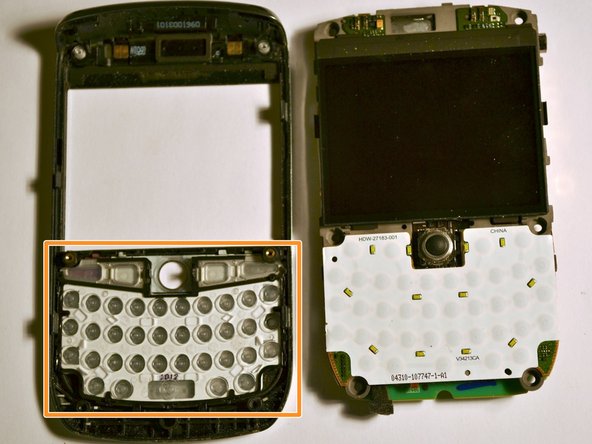
Gently remove the mid-frame from the phone, exposing the motherboard.
-
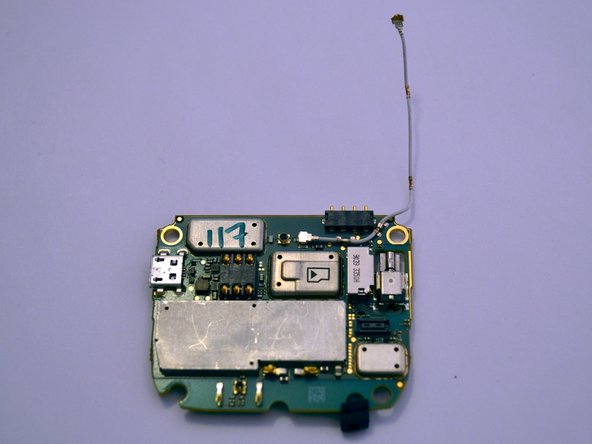
This is the motherboard.
-
-
Dieser Schritt ist noch nicht übersetzt. Hilf mit, ihn zu übersetzen!
-
Gently pull back the plastic tabs that secure the motherboard to the case.
-
Slowly pull the tabs, working your way around the case, until they are lifted and the motherboard is free.
-
Remove the motherboard.
-
-
Dieser Schritt ist noch nicht übersetzt. Hilf mit, ihn zu übersetzen!
-
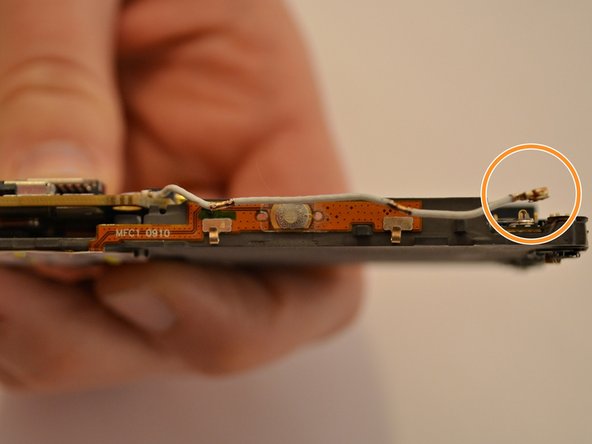
Carefully detach the antenna from the two clips on the side of the motherboard.
-
Disconnect the antenna from the motherboard in the same manner.
-
-
Dieser Schritt ist noch nicht übersetzt. Hilf mit, ihn zu übersetzen!
-
Carefully disconnect the ribbon cable located on the bottom right of the motherboard.
-
-
Dieser Schritt ist noch nicht übersetzt. Hilf mit, ihn zu übersetzen!
-
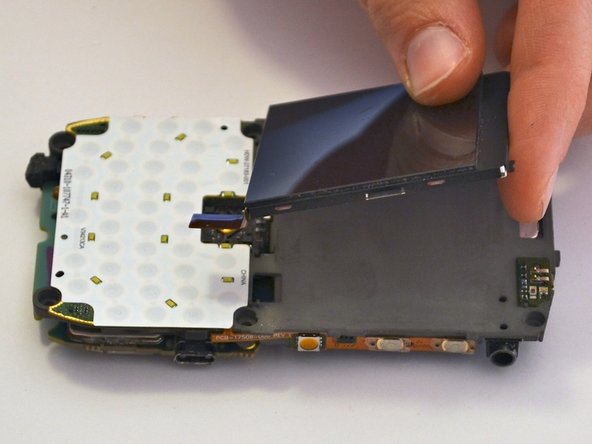
Locate the chip underneath the screen.
-
Gently remove the screen, without applying too much pressure, taking care not to damage it.
-
-
Dieser Schritt ist noch nicht übersetzt. Hilf mit, ihn zu übersetzen!
-
Lift up the motherboard from the bottom edge to reveal the ribbon cables.
-
Carefully disconnect the two ribbon cables connecting the motherboard to the display on either side.
-
Remove the motherboard and place off to the side.
-
Rückgängig: Ich habe diese Anleitung nicht absolviert.
3 weitere Nutzer:innen haben diese Anleitung absolviert.

