Diese Version enthält möglicherweise inkorrekte Änderungen. Wechsle zur letzten geprüften Version.
Was du brauchst
-
Dieser Schritt ist noch nicht übersetzt. Hilf mit, ihn zu übersetzen!
-
Remove the battery cover by grabbing the notch under the bottom speakers and lifting.
-
-
Dieser Schritt ist noch nicht übersetzt. Hilf mit, ihn zu übersetzen!
-
Remove the SIM card and the Media SD card by pushing on them.
-
-
Dieser Schritt ist noch nicht übersetzt. Hilf mit, ihn zu übersetzen!
-
Locate and unscrew all 10 T5 screws around the back cover
-
-
Dieser Schritt ist noch nicht übersetzt. Hilf mit, ihn zu übersetzen!
-
Use Plastic opening tools to separate the LCD from the Main body
-
-
-
Dieser Schritt ist noch nicht übersetzt. Hilf mit, ihn zu übersetzen!
-
Use a plastic tool to carefully switch up the LCD ribbon holder
-
Detach the LCD from the main board
-
-
Dieser Schritt ist noch nicht übersetzt. Hilf mit, ihn zu übersetzen!
-
You can now detach the LCD Panel from the main frame.
-
-
Dieser Schritt ist noch nicht übersetzt. Hilf mit, ihn zu übersetzen!
-
With a plastic tool, untie the system board by detaching the ribbons attached to it
-
The battery ribbon is on the bottom right
-
-
Dieser Schritt ist noch nicht übersetzt. Hilf mit, ihn zu übersetzen!
-
Power Button /Audio Jack
-
Flash
-
Rear Facing Camera
-
-
Dieser Schritt ist noch nicht übersetzt. Hilf mit, ihn zu übersetzen!
-
Once all Ribbons untied, gently wiggle the system board out of the frame
-
-
Dieser Schritt ist noch nicht übersetzt. Hilf mit, ihn zu übersetzen!
-
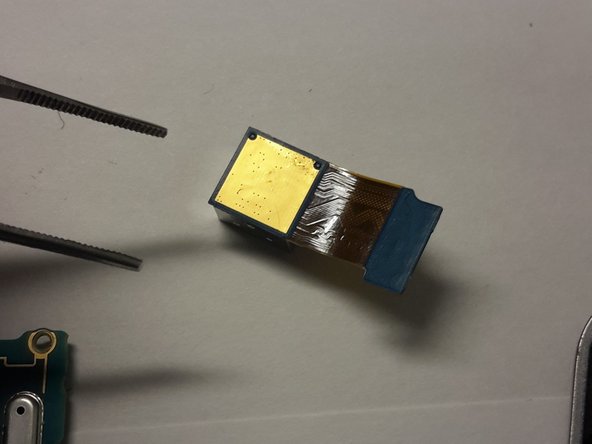
Use a pair of pliers to remove the rear facing camera
-


Rückgängig: Ich habe diese Anleitung nicht absolviert.
10 weitere Nutzer:innen haben diese Anleitung absolviert.
Team

10 Kommentare
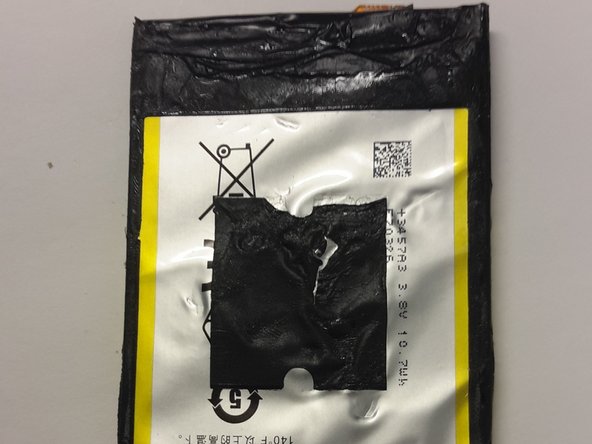
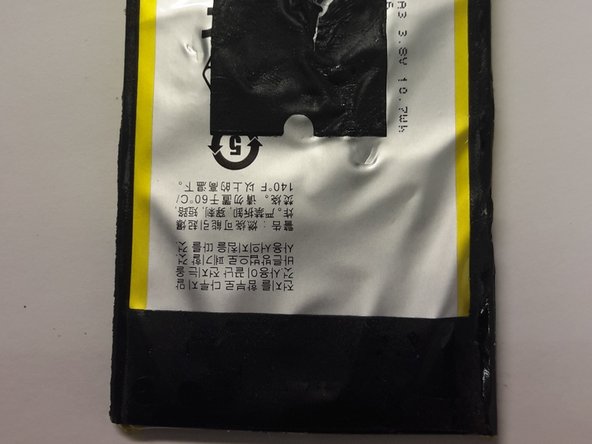
Good guide, but one caveat - when removing the battery, the adhesive is pretty much directly attached to the NFC "plate" (a flexible square membrane with a pair of contacts on the bottom left side of the battery). If you try to extract the battery, you will have difficulty not destroying this membrane. Do not use a wedge - you must slowly remove the battery, preferably using a heat gun to loosen the glue.
Or get a battery already glued into a back plate.
Thank you for the detail. I will add a notice about that on the last step.
Hans -