Diese Anleitung enthält neuere Änderungen. Wechsel zur neuesten unüberprüften Version.
Einleitung
The BlackMagic ATEM Television Studio Switcher has a terribly bad design with a loud fan. This procedure will help you upgrade your device to make is quiet.
WARNING - THIS WILL VOID YOUR WARRANTY!
Was du brauchst
Einführungsvideo
-
-
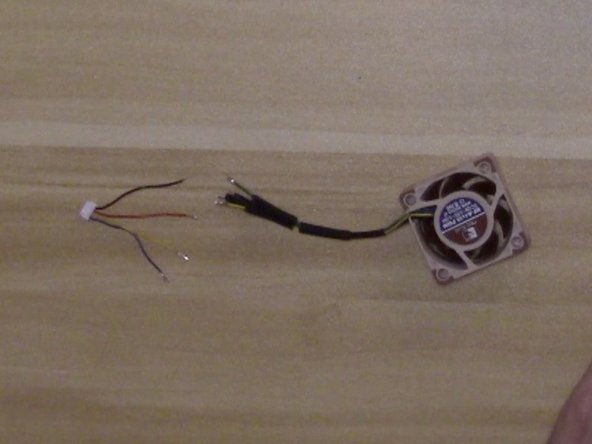
Leave some length to solder with and to reach connector on main board.
-
-
-
-
Strip Wires, Tin Wires, and prep by adding heat shrink tubing on wires (before shrinking).
-
-
-
For Both Fans
-
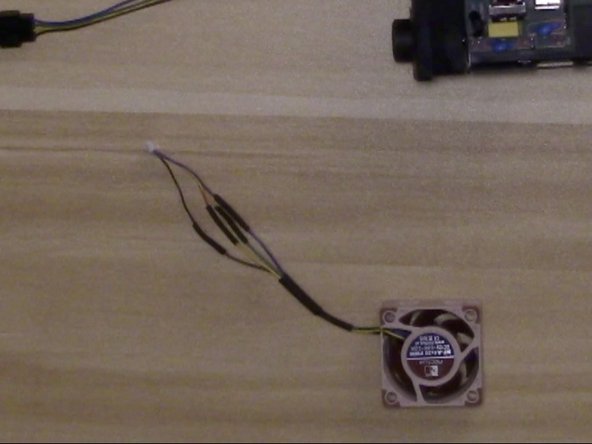
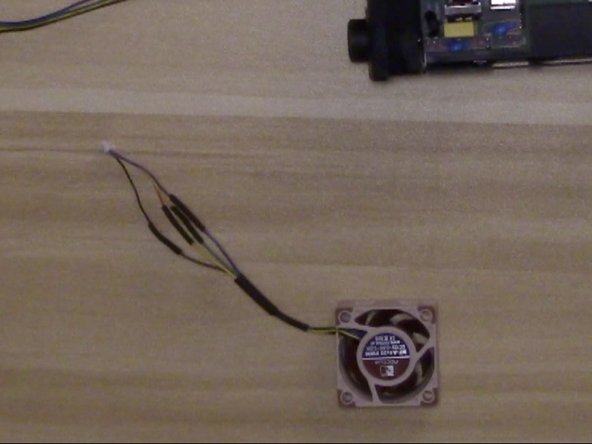
Solder the new fan to the old connector using the following pinout.
-
Adjust heat shrink tubing so it covers the solder joints and use heat gun to shrink tubing.
-
-
-
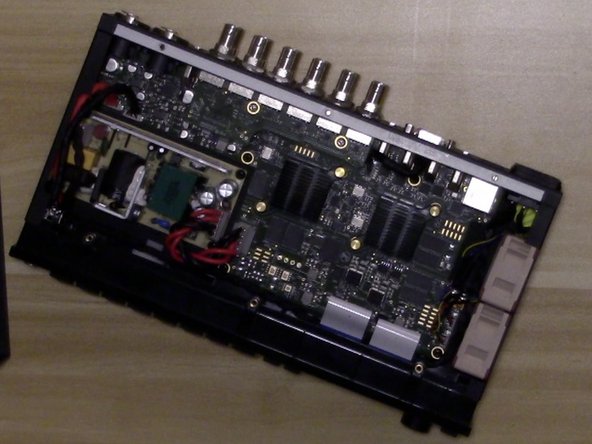
Re-assemble fans to device with fan label facing out.
-
-
-
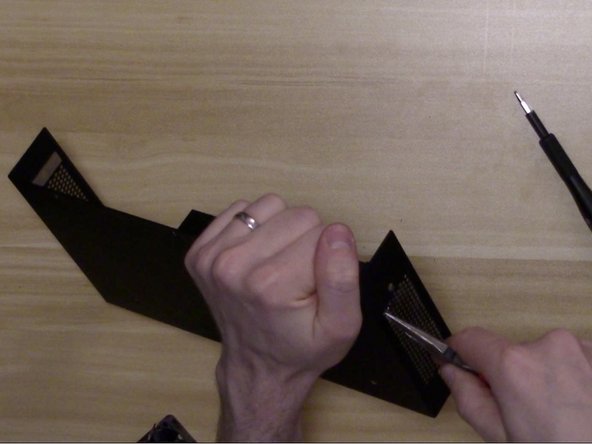
OPTIONAL - Use Small Round Nose Pliers to break off case grill to make fan even quieter.
-


To reassemble your device, follow these instructions in reverse order.
To reassemble your device, follow these instructions in reverse order.
Rückgängig: Ich habe diese Anleitung nicht absolviert.
4 weitere Nutzer:innen haben diese Anleitung absolviert.

5 Kommentare
I have an ATEM Production Studio 4K which had the same issue. This guide was helpful to know how to map the exhaust fan wiring. There are 2 12v heat sync fans that have the same color scheme. I just crimped the wires strait across, and everything worked. I’m now able to live edit without the distraction of a loud switch!
Thank you!!
I just did the same on my atem m/e production 4k but the side fans (exhaust) are not on. I wonder if there’s a threshold at which they power on? Any recommendation? The heat sink fans work right away.
Can I have a schematic diagram for this product ?
Awesome video, thanks! Do you have a similar iFixit kit and video for the ATEM Mini Pro?