Diese Version enthält möglicherweise inkorrekte Änderungen. Wechsle zur letzten geprüften Version.
Was du brauchst
-
Dieser Schritt ist noch nicht übersetzt. Hilf mit, ihn zu übersetzen!
-
With the back of the device facing you, press down on the button while sliding the battery casing away from the speaker to remove it.
-
-
Dieser Schritt ist noch nicht übersetzt. Hilf mit, ihn zu übersetzen!
-
Use a plastic opening tool or fingernails to unclip the two hinges of the speaker covering and remove it.
-
-
Dieser Schritt ist noch nicht übersetzt. Hilf mit, ihn zu übersetzen!
-
Remove the battery by pushing against it from the right and then pulling towards you.
-
-
-
Dieser Schritt ist noch nicht übersetzt. Hilf mit, ihn zu übersetzen!
-
Remove the four screws indicated in the picture with a #T6 Torx Bit screwdriver and set them aside.
-
-
Dieser Schritt ist noch nicht übersetzt. Hilf mit, ihn zu übersetzen!
-
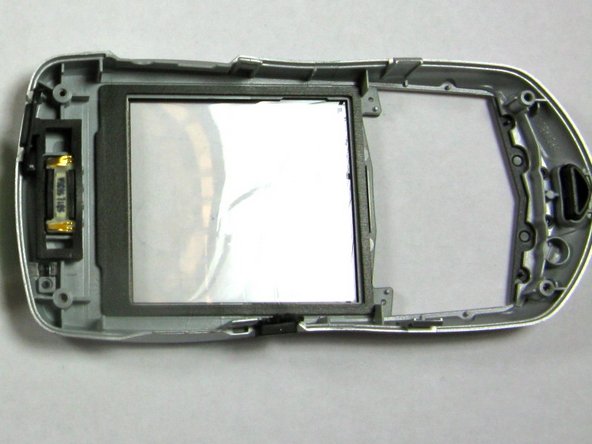
Use a plastic opening tool or your fingernails to remove the plastic backing.
-
Start with the seam indicated in the picture and slide the plastic opening tool until the case is seperated.
-
-
Dieser Schritt ist noch nicht übersetzt. Hilf mit, ihn zu übersetzen!
-
Unscrew the four screws indicated in the picture with #T6 Torx Bit screwdriver.
-
Place the four screws released from the phone in a plastic bag.
-
-
Dieser Schritt ist noch nicht übersetzt. Hilf mit, ihn zu übersetzen!
-
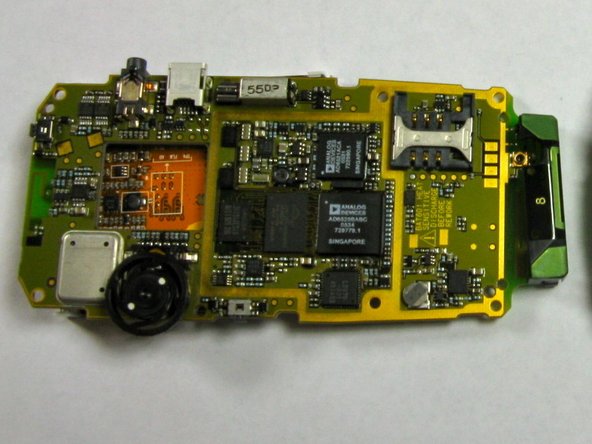
The black battery casing and logic board can now be separated for the following steps.
-
-
Dieser Schritt ist noch nicht übersetzt. Hilf mit, ihn zu übersetzen!
-
With the speaker facing you, place your fingers on the gold battery connector.
-
Pull upwards and release the battery connector from the black body piece.
-


Team

Cal Poly, Team 9-17, Regan Fall 2009 Mitglied von Cal Poly, Team 9-17, Regan Fall 2009
CPSU-REGAN-F09S9G17
4 Mitglieder
14 Anleitungen geschrieben