Einleitung
In this guide you'll be opening the back panel of your Blu Studio, this is the first step you'll take whenever you replace or add internal parts.
If you don't have any fingernails you may want to use the plastic prying tools.
Was du brauchst
-
-
-
To begin the removal of your back panel, first locate the lift tab on the bottom-right corner.
-
-
-
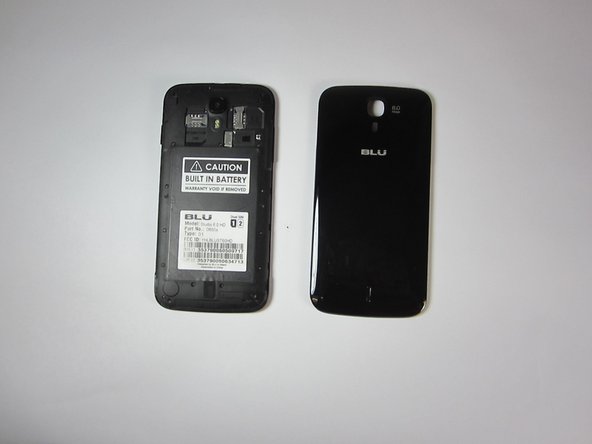
Next, gently slide your thumb (or plastic tool if you prefer) down the seem running the length of your Blu Studio until the rear panel is completely removed.
-
Your rear panel should be placed nearby and in a safe location until you are finished with your task.
-


To reassemble your device, follow these instructions in reverse order.
To reassemble your device, follow these instructions in reverse order.
Rückgängig: Ich habe diese Anleitung nicht absolviert.
7 weitere Nutzer:innen haben diese Anleitung absolviert.
Team

USF Tampa, Team 9-1, Blackwell Fall 2014 Mitglied von USF Tampa, Team 9-1, Blackwell Fall 2014
USFT-BLACKWELL-F14S9G1
3 Mitglieder
8 Anleitungen geschrieben