Einleitung
Use this guide to replace the rear-facing camera in the Blu Studio Selfie.
Was du brauchst
-
-
Turn the front of the phone away from you.
-
Run your fingers along the sides of the phone to identify where the case can be pulled apart.
-
-
-
Insert the flat end of your plastic opening into the crevice you found along the side of the phone.
-
Gently apply pressure until you feel the back case pop free of the phone.
-
Continue the previous two steps around the rest of the phone until the case is fully removed.
-
-
-
Identify the crevice at the bottom of the battery.
-
Gently lift the battery free of the phone.
-
-
-
-
Insert the spudger between the midframe and the display assembly.
-
Gently pry up the midframe.
-
-
-
After the rest of the midframe is detached, from the phone place the flat end of the spudger beneath the clip.
-
Gently lift up on the clip until it comes free.
-
Remove the midframe from the phone.
-
-
-
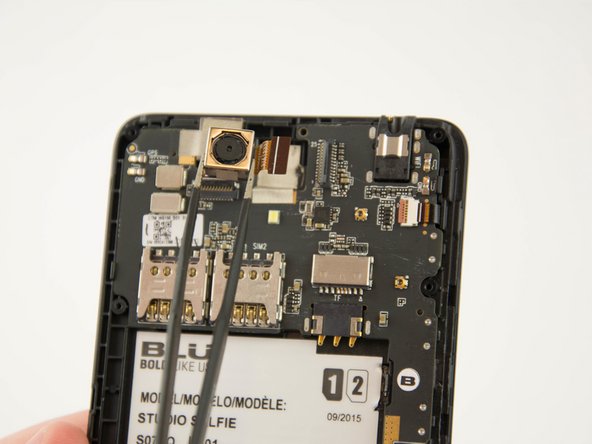
Flip up the retaining flap on the camera cable ZIF connector.
-
Pull the camera's ribbon cable straight out of its socket.
-
Gently remove the rear facing camera.
-


To reassemble your device, follow these instructions in reverse order.
To reassemble your device, follow these instructions in reverse order.
Rückgängig: Ich habe diese Anleitung nicht absolviert.
2 weitere Nutzer:innen haben diese Anleitung absolviert.
Team

USF Tampa, Team 10-1, Remmell Spring 2016 Mitglied von USF Tampa, Team 10-1, Remmell Spring 2016
USFT-REMMELL-S16S10G1
4 Mitglieder
6 Anleitungen geschrieben