Diese Version enthält möglicherweise inkorrekte Änderungen. Wechsle zur letzten geprüften Version.
Was du brauchst
-
-
Drehe den Lautsprecher um, um an die Unterseite zu gelangen.
-
Löse das graue Gummi mit einem Spudger und ziehe ihn langsam mit der Hand ab.
-
-
-
Entferne die drei Schrauben.
-
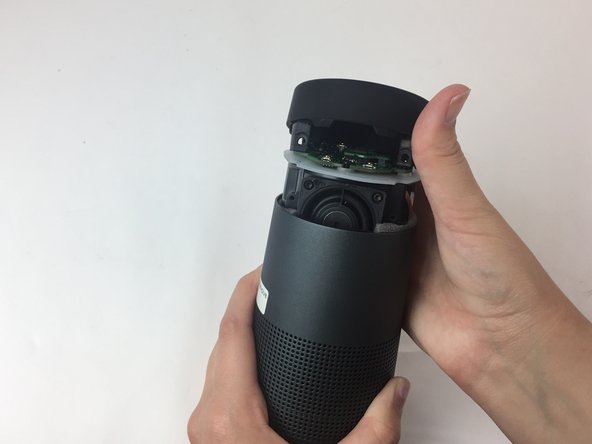
Löse das Unterteil vom Rest des Lautsprechers, indem du die beiden Teile auseinanderziehst.
-
-
-
-
Entferne die beiden Schrauben, die die Platine am Unterteil des Gehäuses fixiert.
-
Entferne das Unterteil des Gehäuses.
-
-
Dieser Schritt ist noch nicht übersetzt. Hilf mit, ihn zu übersetzen!
-
Using your hands, grip and separate the soft plastic and the metal casing away from each other with some small force.
-
-
Dieser Schritt ist noch nicht übersetzt. Hilf mit, ihn zu übersetzen!
-
Remove the (4) four screws shown around the top of the inside.
-
-
Dieser Schritt ist noch nicht übersetzt. Hilf mit, ihn zu übersetzen!
-
Pry up and remove the soft plastic casing from the rest of the device.
-
-
Dieser Schritt ist noch nicht übersetzt. Hilf mit, ihn zu übersetzen!
-
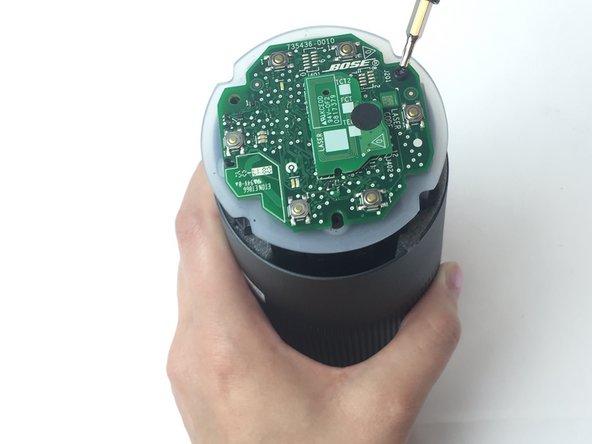
Remove the 3 screws holding down the top circuit board.
-
-
Dieser Schritt ist noch nicht übersetzt. Hilf mit, ihn zu übersetzen!
-
Lift up and look on the underside of the circuit board.
-
Using the plastic opening tool, pry open the wide clamp keeping a ribbon to the top circuit board. The top circuit board can now freely be removed from the device.
-


Rückgängig: Ich habe diese Anleitung nicht absolviert.
11 weitere Nutzer:innen haben diese Anleitung absolviert.
Team

USF Tampa, Team S6-G2, Remmell Fall 2017 Mitglied von USF Tampa, Team S6-G2, Remmell Fall 2017
USFT-REMMELL-F17S6G2
4 Mitglieder
4 Anleitungen geschrieben
12 Kommentare
Same here. My speaker had one circuit replacement on warranty but now need a second replacement and I not willing to pay half the price of a new speaker each a every year. Can you help please ?
My e-mail is fmtbmp@gmail.com
Hi, I need to buy the top and bottom circuit board and was wondering the same. Any help with where to purchase these would be appreciated,
Thanks, my email is fayclaybrook28@outlook.com
I am also looking for a top circuit board replacement. Where can I get one. michael@parsche.net