Diese Version enthält möglicherweise inkorrekte Änderungen. Wechsle zur letzten geprüften Version.
Was du brauchst
-
Dieser Schritt ist noch nicht übersetzt. Hilf mit, ihn zu übersetzen!
-
Turn the device to it's side toward the bottom of the keyboard. Then pop open the case and remove the batteries.
-
-
Dieser Schritt ist noch nicht übersetzt. Hilf mit, ihn zu übersetzen!
-
Remove back of device and set aside.
-
-
Dieser Schritt ist noch nicht übersetzt. Hilf mit, ihn zu übersetzen!
-
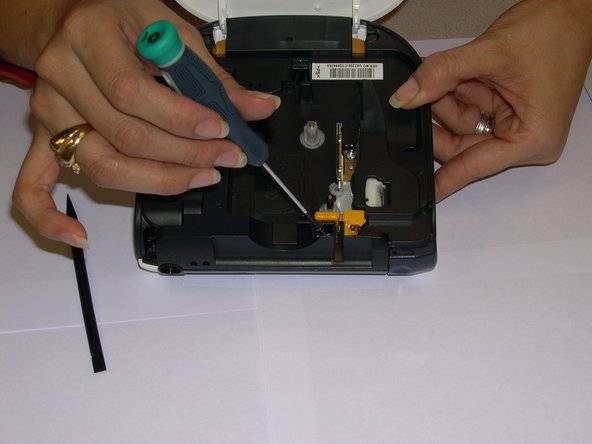
Remove all 1/4 inch screws(6 total) with a (+PH00) screwdriver. Open slowly not to damage the display data cable.
-
-
Dieser Schritt ist noch nicht übersetzt. Hilf mit, ihn zu übersetzen!
-
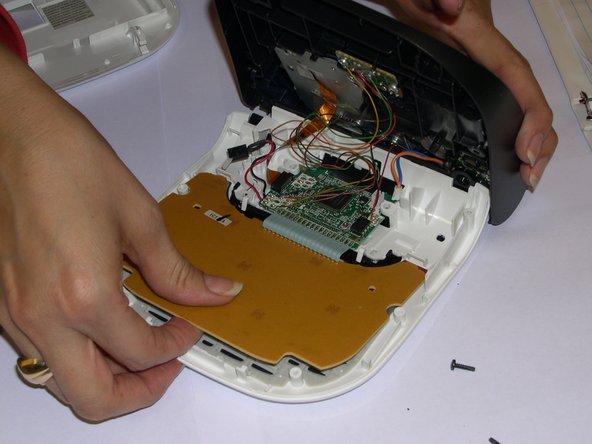
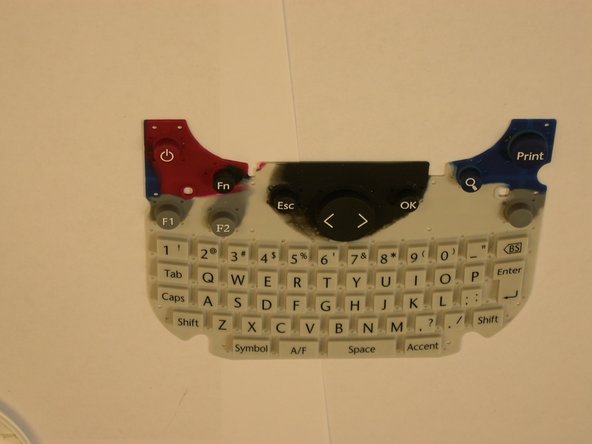
Use a plastic opening tool to remove the flat-panel membrane keyboard. Lift up and set aside.
-
-
Dieser Schritt ist noch nicht übersetzt. Hilf mit, ihn zu übersetzen!
-
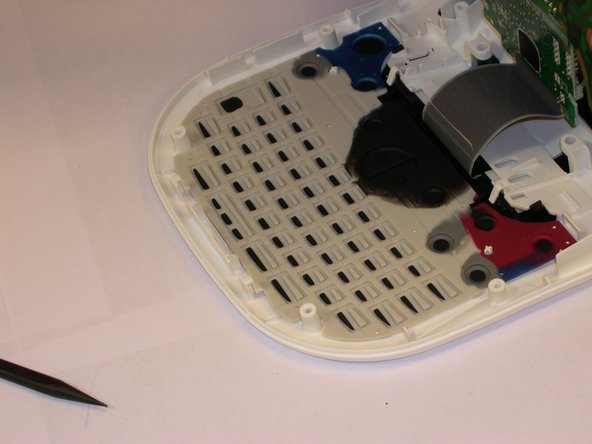
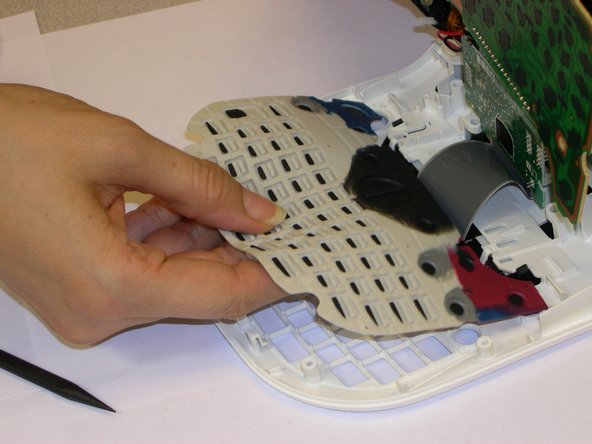
Use a spudger to aid in removing the keyboard.
-
Gently lift out while removing the LCD screen that is connected to the data cable and finishing removing.
-


Team

Gateway, Team 1-4, Johnson Fall 2014 Mitglied von Gateway, Team 1-4, Johnson Fall 2014
GCC-JOHNSON-F14S1G4
3 Mitglieder
6 Anleitungen geschrieben