Einleitung
Replacing the lightbulb involves opening up the machine. You will need to purchase a sewing machine bulb set, including the wire plug-in, to replace it.
Was du brauchst
-
-
Place the machine on a solid surface.
-
Remove the 14mm Phillips #2 screw holding on the face cover.
-
-
-
Remove the two 14mm Phillips #2 screws and two 22mm Phillips #2 screws that secure the rear casing.
-
-
-
Lay the machine on its side.
-
Remove the four 10mm Phillips #2 screws that hold the bottom panel in place.
-
-
-
-
Place the machine on its side, with access to the bottom.
-
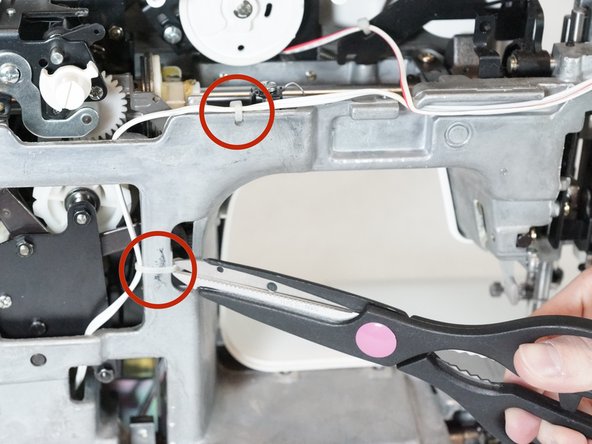
Gently pull out the white wire connecting the bulb to the machine.
-
-
-
Place the machine upright.
-
Using the flathead screwdriver, remove the 5mm Flathead screw holding on the lightbulb bracket.
-


To reassemble your device, follow these instructions in reverse order.
To reassemble your device, follow these instructions in reverse order.
Rückgängig: Ich habe diese Anleitung nicht absolviert.
Ein:e weitere:r Nutzer:in hat diese Anleitung absolviert.
Team

Cal Poly, Team 2-12, Amido Winter 2014 Mitglied von Cal Poly, Team 2-12, Amido Winter 2014
CPSU-AMIDO-W14S2G12
4 Mitglieder
12 Anleitungen geschrieben