Einleitung
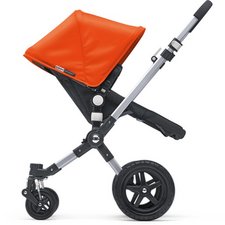
The swivel wheel lock locks the swivel wheels to the frame. If the part breaks, it can easily be replaced by a 3D printed part to make the stroller fully functioning again.
This guide is created by five students of the TU Delft, Pieter, Mansour, Yvo, Suzanne and Rebecca, to make older models of Bugaboo strollers more repairable if spare parts are no longer available. The Bugaboo frames are very durable, and often outlive the period in which spare parts are available for order.
Parts that most often break were 3D-modeled, and the files were used to print new parts with a performance that is acceptable and safe according to Bugaboo requirements.
Was du brauchst
-
-
Push both the white square buttons under the seat at the same time, to remove the seat from the frame.
-
-
-
Put the frame with the handle on the ground like shown in the picture, to have better access to the swivel wheels.
-
-
-
Press the button above the swivel wheel, and pull out the swivel wheel
-
-
-
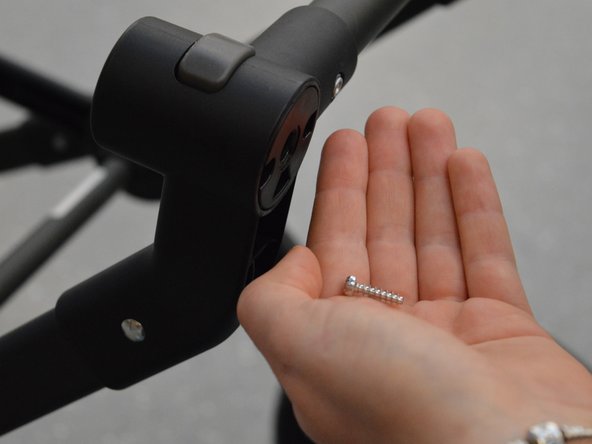
Remove the two screws on the black cylinder on the bottom with the Torx screwdriver.
-
Make sure not to lose the screws, since you need them for the reassembly later.
-
-
-
-
Remove the bottom part of the cylinder. You can use your screwdriver to pull it out.
-
-
-
Push the old button, and place the flathead screwdriver behind the button
-
Push the button down and towards the opening of the cylinder.
-
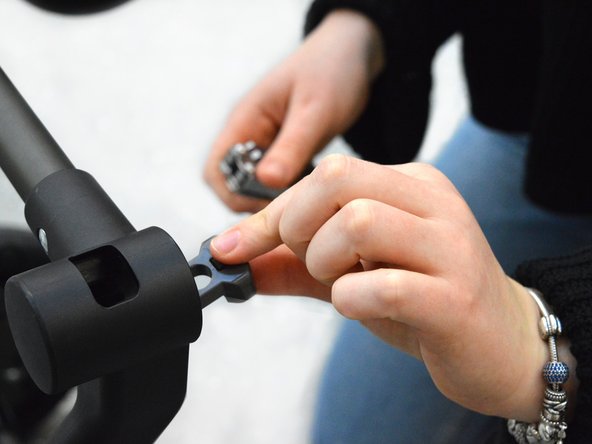
Take out the wheel lock button and the spring, and make sure not to lose the spring.
-
-
-
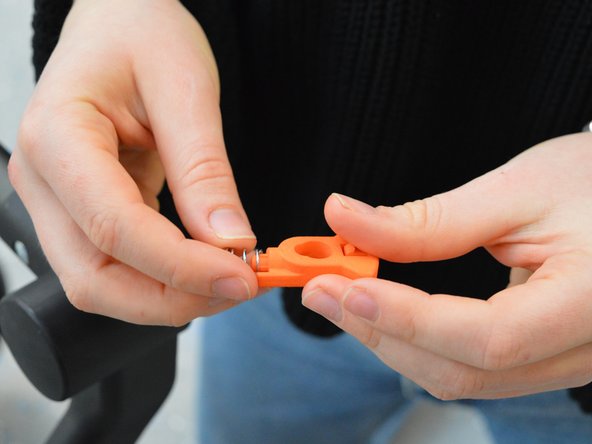
Pull the spring from the old part.
-
Attach it to pin on the new swivel wheel lock.
-
-
-
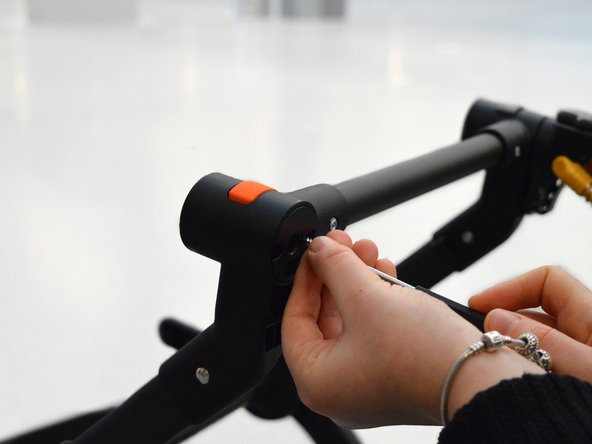
Put the new part with the spring back inside the cylinder, in the orientation shown in the picture.
-
-
-
Use the two screws and the Torx screwdriver to secure the parts.
-
-
-
The repair is now finished. Flip the frame back onto four wheels.
-
Place the seat back onto the frame.
-
Rückgängig: Ich habe diese Anleitung nicht absolviert.
Ein:e weitere:r Nutzer:in hat diese Anleitung absolviert.


