Diese Version enthält möglicherweise inkorrekte Änderungen. Wechsle zur letzten geprüften Version.
Was du brauchst
-
Dieser Schritt ist noch nicht übersetzt. Hilf mit, ihn zu übersetzen!
-
Using the Phillips #1 screwdriver, remove the four 6mm screws on the back of the laptop.
-
-
Dieser Schritt ist noch nicht übersetzt. Hilf mit, ihn zu übersetzen!
-
Insert the plastic prying tool and pry the back panel off starting at an edge and moving your way around it.
-
-
-
Dieser Schritt ist noch nicht übersetzt. Hilf mit, ihn zu übersetzen!
-
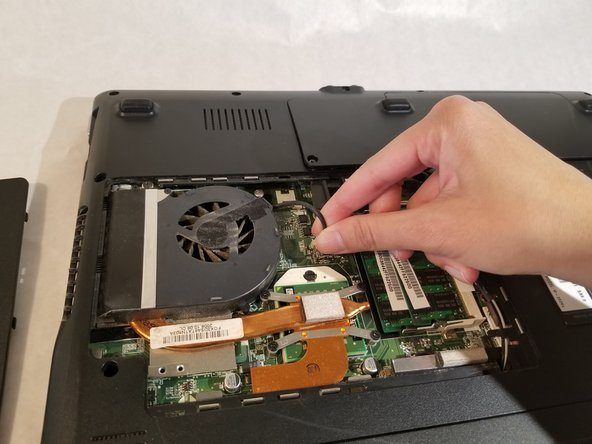
Remove the header by pulling on it with two fingers.
-
-
Dieser Schritt ist noch nicht übersetzt. Hilf mit, ihn zu übersetzen!
-
Remove the six 2.5mm screws using a Phillips #1 screwdriver.
-
-
Dieser Schritt ist noch nicht übersetzt. Hilf mit, ihn zu übersetzen!
-
Remove the fan by moving it to the side and lifting it out of the computer.
-


Rückgängig: Ich habe diese Anleitung nicht absolviert.
Ein:e weitere:r Nutzer:in hat diese Anleitung absolviert.
Team

UMass Dartmouth, Team S3-G2, Peak Spring 2018 Mitglied von UMass Dartmouth, Team S3-G2, Peak Spring 2018
UMASSD-PEAK-S18S3G2
2 Mitglieder
14 Anleitungen geschrieben