Zum Hauptinhalt wechseln
Gemeinsam reparieren - Jetzt registrieren

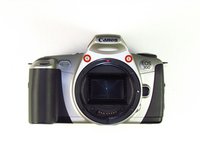
Canon EOS 300 Command Dial Replacement

Was du brauchst

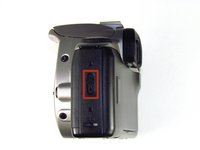
  1. Canon EOS 300 Command Dial Replacement, Batteries: Schritt 1, Bild 1 von 3 Canon EOS 300 Command Dial Replacement, Batteries: Schritt 1, Bild 2 von 3 Canon EOS 300 Command Dial Replacement, Batteries: Schritt 1, Bild 3 von 3
    • Open up the battery door.

    Frag FixBot
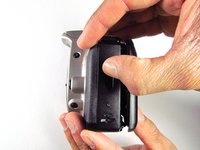
  2. Canon EOS 300 Command Dial Replacement: Schritt 2, Bild 1 von 2 Canon EOS 300 Command Dial Replacement: Schritt 2, Bild 2 von 2
    • Remove the batteries from the camera by sliding them out into your palm.

    Frag FixBot
  3. Canon EOS 300 Command Dial Replacement, Side Panel with Lever: Schritt 3, Bild 1 von 2 Canon EOS 300 Command Dial Replacement, Side Panel with Lever: Schritt 3, Bild 2 von 2
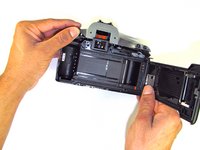
    • Release the side latch to open the back panel.

    Frag FixBot
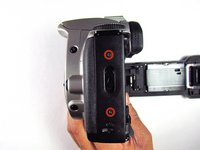
  4. Canon EOS 300 Command Dial Replacement: Schritt 4, Bild 1 von 2 Canon EOS 300 Command Dial Replacement: Schritt 4, Bild 2 von 2
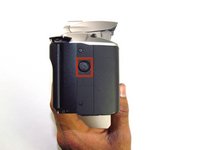
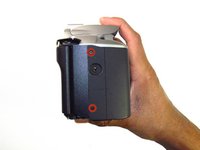
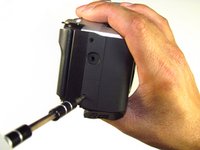
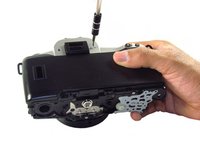
    • Remove the two black 4.5mm screws above and below the latch.

    Frag FixBot
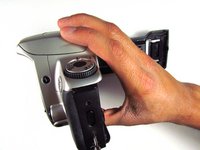
  5. Canon EOS 300 Command Dial Replacement: Schritt 5, Bild 1 von 2 Canon EOS 300 Command Dial Replacement: Schritt 5, Bild 2 von 2
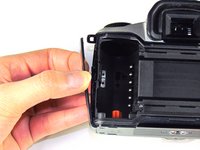
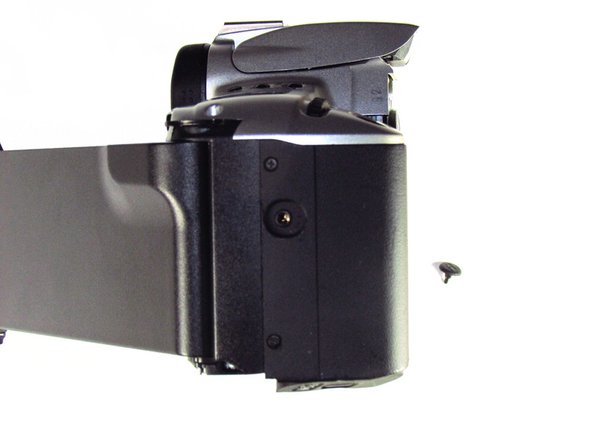
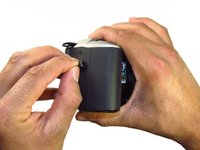
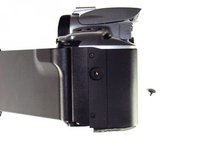
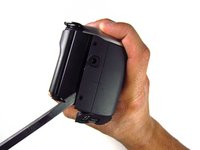
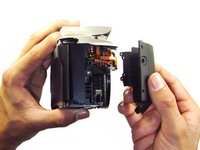
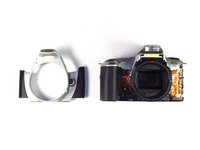
    • Using your finger, carefully pry open the side panel from the top of camera.

    • Pull panel downwards to remove.

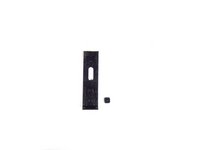
    • Make sure to keep track of the small black piece of rubber under the latch.

    Frag FixBot
  6. Canon EOS 300 Command Dial Replacement, Front Panel: Schritt 6, Bild 1 von 2 Canon EOS 300 Command Dial Replacement, Front Panel: Schritt 6, Bild 2 von 2
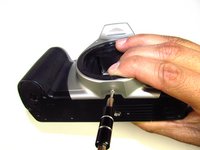
    • Remove the two silver 6mm Phillips #1 screws.

    Frag FixBot
  7. Canon EOS 300 Command Dial Replacement: Schritt 7, Bild 1 von 2 Canon EOS 300 Command Dial Replacement: Schritt 7, Bild 2 von 2
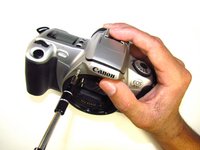
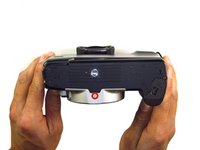
    • Flip camera over to the bottom.

    • Remove the one 5mm Phillips #1 silver screw.

    Frag FixBot
  8. Canon EOS 300 Command Dial Replacement: Schritt 8, Bild 1 von 2 Canon EOS 300 Command Dial Replacement: Schritt 8, Bild 2 von 2
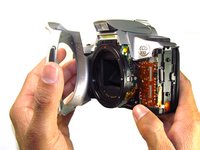
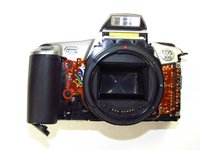
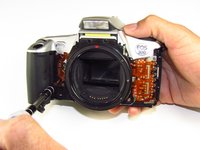
    • Remove the front panel by pulling away from the side with the lever.

    Frag FixBot
  9. Canon EOS 300 Command Dial Replacement, Bottom Panel: Schritt 9, Bild 1 von 2 Canon EOS 300 Command Dial Replacement, Bottom Panel: Schritt 9, Bild 2 von 2
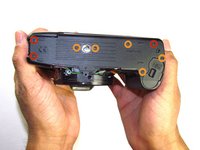
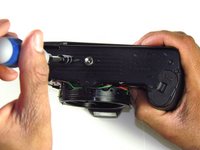
    • Remove three black 7.3mm Phillips #1 screws located on the corners of the camera.

    • Remove five black 4.8mm Phillips #1 screws.

    Frag FixBot
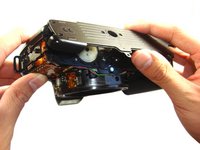
  10. Canon EOS 300 Command Dial Replacement: Schritt 10, Bild 1 von 3 Canon EOS 300 Command Dial Replacement: Schritt 10, Bild 2 von 3 Canon EOS 300 Command Dial Replacement: Schritt 10, Bild 3 von 3
    • Simply remove the bottom panel by prying it off with your finger.

    • When removing the panel, be sure the bottom of the camera is facing upright. There are loose gears that may fall out.

    • Be wary of a loose piece of foam attached to the bottom panel.

    Frag FixBot
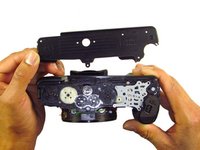
  11. Canon EOS 300 Command Dial Replacement, Side Panel with Grip: Schritt 11, Bild 1 von 3 Canon EOS 300 Command Dial Replacement, Side Panel with Grip: Schritt 11, Bild 2 von 3 Canon EOS 300 Command Dial Replacement, Side Panel with Grip: Schritt 11, Bild 3 von 3
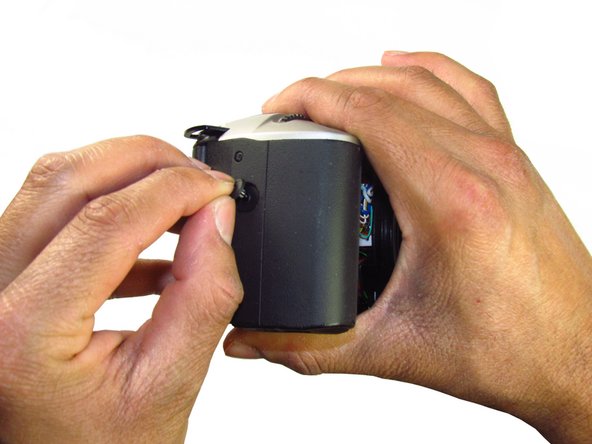
    • Remove the remote control socket cover.

    Frag FixBot
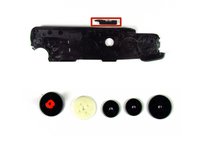
  12. Canon EOS 300 Command Dial Replacement: Schritt 12, Bild 1 von 2 Canon EOS 300 Command Dial Replacement: Schritt 12, Bild 2 von 2
    • Remove two black 4.5mm Phillips #1 screws.

    Frag FixBot
  13. Canon EOS 300 Command Dial Replacement: Schritt 13, Bild 1 von 2 Canon EOS 300 Command Dial Replacement: Schritt 13, Bild 2 von 2
    • Remove two black 4.8mm Phillips #1 screws on the front of the camera.

    Frag FixBot
  14. Canon EOS 300 Command Dial Replacement: Schritt 14, Bild 1 von 2 Canon EOS 300 Command Dial Replacement: Schritt 14, Bild 2 von 2
    • Pry open the side grip using a spudger.

    Frag FixBot
  15. Canon EOS 300 Command Dial Replacement, Eyecup: Schritt 15, Bild 1 von 2 Canon EOS 300 Command Dial Replacement, Eyecup: Schritt 15, Bild 2 von 2
    • With your hands, remove the rubber grip from the eye piece.

    Frag FixBot
  16. Canon EOS 300 Command Dial Replacement: Schritt 16, Bild 1 von 1
    • Remove the eyecup from the eyepiece by pushing the eyecup up.

    Frag FixBot
  17. Canon EOS 300 Command Dial Replacement, Top Panel: Schritt 17, Bild 1 von 2 Canon EOS 300 Command Dial Replacement, Top Panel: Schritt 17, Bild 2 von 2
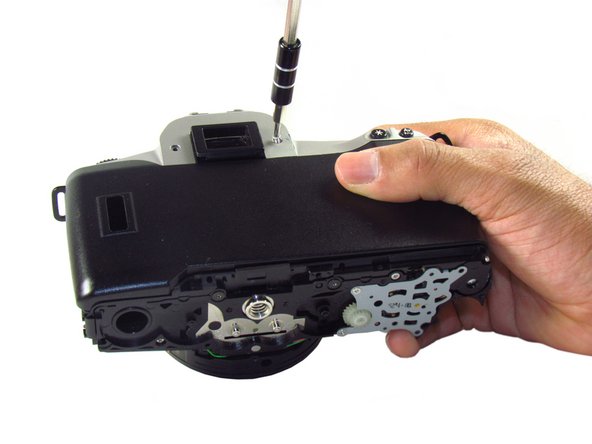
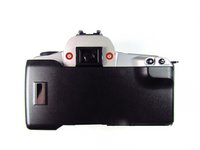
    • Remove two silver 5.0mm Phillips #1 screws.

    Frag FixBot
  18. Canon EOS 300 Command Dial Replacement: Schritt 18, Bild 1 von 1
    • Remove the silver 5.5mm Phillips #1 screw.

    Frag FixBot
  19. Canon EOS 300 Command Dial Replacement: Schritt 19, Bild 1 von 2 Canon EOS 300 Command Dial Replacement: Schritt 19, Bild 2 von 2
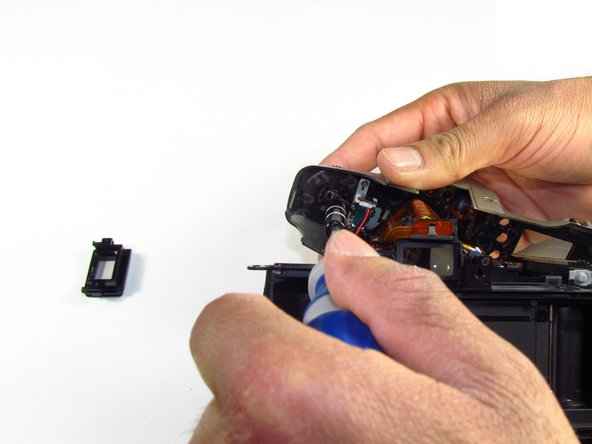
    • Pry the top silver part of the camera off.

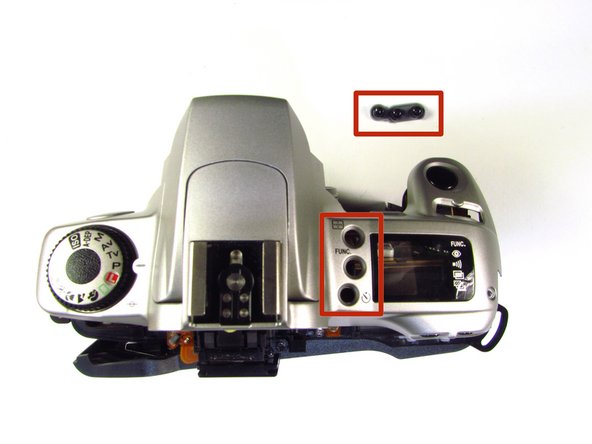
    • Buttons may slip out of the camera's top as the top is pulled off the camera (shown in picture two).

    Frag FixBot
  20. Canon EOS 300 Command Dial Replacement, Command Dial: Schritt 20, Bild 1 von 3 Canon EOS 300 Command Dial Replacement, Command Dial: Schritt 20, Bild 2 von 3 Canon EOS 300 Command Dial Replacement, Command Dial: Schritt 20, Bild 3 von 3
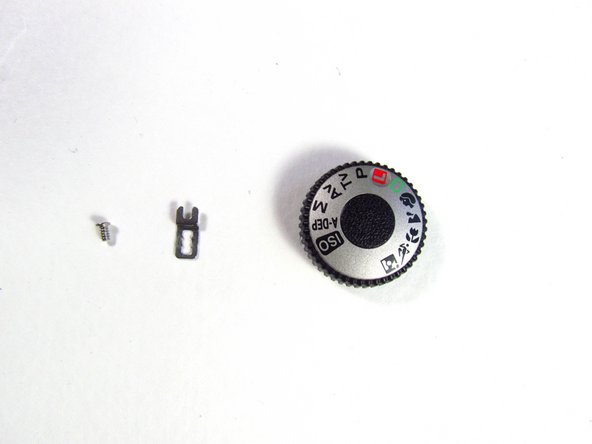
    • On the top panel, remove the silver 3.8mm Phillips #1 screw right below the command dial.

    • A small metal piece will come off with the screw.

    Frag FixBot
Abschluss

To reassemble your device, follow these instructions in reverse order.

Team

Cal Poly, Team 6-20, Maness Winter 2014 Mitglied von Cal Poly, Team 6-20, Maness Winter 2014

CPSU-MANESS-W14S6G20

4 Mitglieder

32 Anleitungen geschrieben

0 Kommentare zur Anleitung

Kommentar hinzufügen

Seitenaufrufe:

Letzte 24 Stunden: 2

Letzte 7 Tage: 12

Letzte 30 Tage: 89

Insgesamt: 2,278