Zum Hauptinhalt wechseln

Canon EOS Rebel T3i Screen Replacement

Was du brauchst

  1. Canon EOS Rebel T3i Screen Replacement, Battery: Schritt 1, Bild 1 von 1
    • Locate the battery compartment on the bottom of the camera.

  2. Canon EOS Rebel T3i Screen Replacement: Schritt 2, Bild 1 von 1
    • Hook your finger onto the compartment door latch.

    • Open the battery compartment door.

  3. Canon EOS Rebel T3i Screen Replacement: Schritt 3, Bild 1 von 1
    • Remove the battery from the compartment.

  4. Canon EOS Rebel T3i Screen Replacement, Screen: Schritt 4, Bild 1 von 2 Canon EOS Rebel T3i Screen Replacement, Screen: Schritt 4, Bild 2 von 2
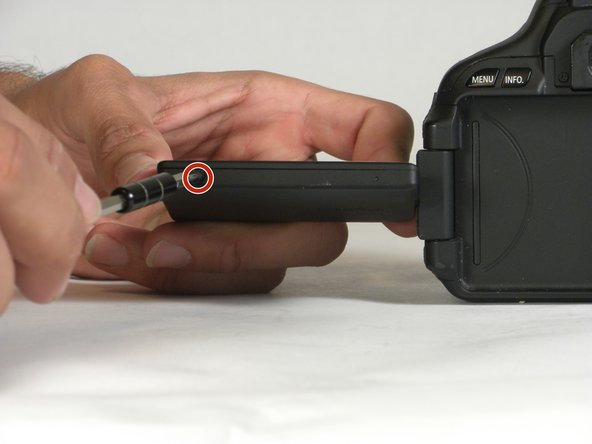
    • Remove the two 3 mm Phillips #000 screws. The screws are on opposite sides of the screen.

  5. Canon EOS Rebel T3i Screen Replacement: Schritt 5, Bild 1 von 1
    • Remove the plastic backing.

  6. Canon EOS Rebel T3i Screen Replacement: Schritt 6, Bild 1 von 1
    • Unplug the blue cable from the back of the LCD.

  7. Canon EOS Rebel T3i Screen Replacement: Schritt 7, Bild 1 von 2 Canon EOS Rebel T3i Screen Replacement: Schritt 7, Bild 2 von 2
    • Remove the two 3 mm Phillips #000 screws.

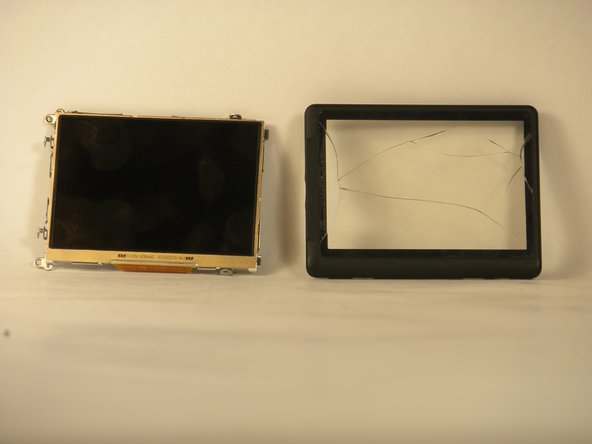
    • Separate the LCD from the plastic housing.

Abschluss

To reassemble your device, follow these instructions in reverse order.

6 weitere Nutzer:innen haben diese Anleitung absolviert.

Natalie Crock

Mitglied seit: 08/27/15

752 Reputation

5 Anleitungen geschrieben

Team

USF Tampa, Team 5-2, Blackwell Fall 2015 Mitglied von USF Tampa, Team 5-2, Blackwell Fall 2015

USFT-BLACKWELL-F15S5G2

4 Mitglieder

10 Anleitungen geschrieben

0 Kommentare

Kommentar hinzufügen

Seitenaufrufe:

Letzte 24 Stunden: 1

Letzte 7 Tage: 17

Letzte 30 Tage: 64

Insgesamt: 13,367