Zum Hauptinhalt wechseln

Canon EOS Rebel XSi LCD Screen Replacement

Was du brauchst

  1. Canon EOS Rebel XSi LCD Screen Replacement, Back Panel: Schritt 1, Bild 1 von 1
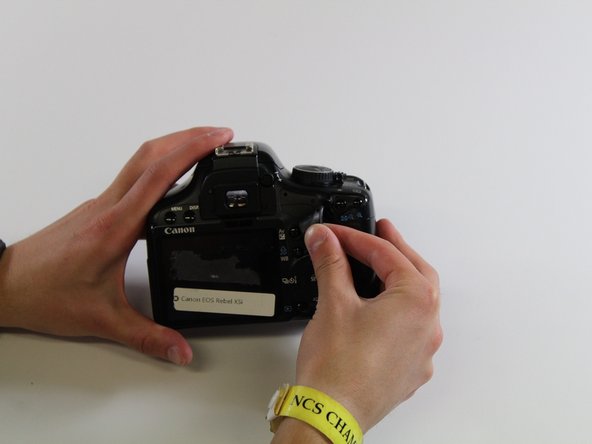
    • Squeeze the eyepiece between your index finger and thumb and lift up and off.

  2. Canon EOS Rebel XSi LCD Screen Replacement: Schritt 2, Bild 1 von 1
    • Using the PH000 screwdriver head, remove the four 4 mm screws on the bottom of the camera.

  3. Canon EOS Rebel XSi LCD Screen Replacement: Schritt 3, Bild 1 von 1
    • Using the PH000 screwdriver head, remove the two 3mm screws on the right side of the camera (from the LCD screen).

  4. Canon EOS Rebel XSi LCD Screen Replacement: Schritt 4, Bild 1 von 1
    • Remove grip by slowly peeling off.

  5. Canon EOS Rebel XSi LCD Screen Replacement: Schritt 5, Bild 1 von 1
    • Using the PH000 screwdriver, remove the four 4mm screws behind the eyepiece.

  6. Canon EOS Rebel XSi LCD Screen Replacement: Schritt 6, Bild 1 von 1
    • Using the PH000 screwdriver head, remove one 4 mm screw on the left side of the camera (from the LCD screen).

  7. Canon EOS Rebel XSi LCD Screen Replacement: Schritt 7, Bild 1 von 1
    • Remove the side panel by lifting off with fingers.

  8. Canon EOS Rebel XSi LCD Screen Replacement: Schritt 8, Bild 1 von 1
    • Use hands to pry off the back panel.

  9. Canon EOS Rebel XSi LCD Screen Replacement, LCD Screen: Schritt 9, Bild 1 von 1
    • Using the PH00 screwdriver head, unscrew four 4 mm screws and one 2 mm screw

  10. Canon EOS Rebel XSi LCD Screen Replacement: Schritt 10, Bild 1 von 2 Canon EOS Rebel XSi LCD Screen Replacement: Schritt 10, Bild 2 von 2
    • Remove the metal plate covering inside of the LCD screen

  11. Canon EOS Rebel XSi LCD Screen Replacement: Schritt 11, Bild 1 von 1
    • Carefully disconnect the circuitry sheets from the white plastic bases

  12. Canon EOS Rebel XSi LCD Screen Replacement: Schritt 12, Bild 1 von 2 Canon EOS Rebel XSi LCD Screen Replacement: Schritt 12, Bild 2 von 2
    • Using the plastic spudger, carefully pry out the LCD screen from the back panel

Abschluss

To reassemble your device, follow these instructions in reverse order.

Erik Mork

Mitglied seit: 01/27/17

596 Reputation

5 Anleitungen geschrieben

Team

Cal Poly, Team 22-10, Maness Winter 2017 Mitglied von Cal Poly, Team 22-10, Maness Winter 2017

CPSU-MANESS-W17S22G10

4 Mitglieder

10 Anleitungen geschrieben

0 Kommentare

Kommentar hinzufügen

Seitenaufrufe:

Letzte 24 Stunden: 0

Letzte 7 Tage: 6

Letzte 30 Tage: 21

Insgesamt: 1,712