Einleitung
Prerequisite Only
Removing the top casing from the camera is necessary to perform maintenance or replace components such as the flash module, or any buttons located on the top of the camera. In order to remove the top casing, the back and front casings must both be removed.
Was du brauchst
-
-
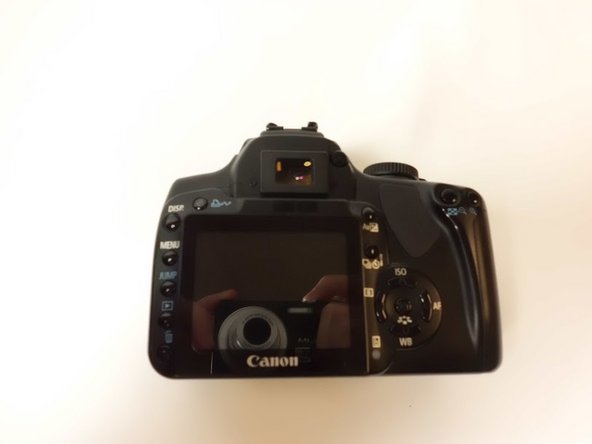
Place the camera upside down, and position it to where the back of the camera is visible.
-
-
-
To remove the secondary battery, reposition the camera to where the display screen is facing upwards.
-
Place your finger inside the empty battery compartment and pull away from the camera on the ridged battery tab.
-
-
-
Place the camera on its side with the soft touch grip facing up and the top of the camera facing right.
-
-
-
-
Slide the memory card door in the direction of the arrow engraved on the camera.
-
Once the door has slid open to its full position, lift up on the door.
-
-
-
With the door open, push down the small black plunger next to the CF slot. The CF card will disengage from the slot and be ejected far enough that you can grasp it between thumb and forefinger and remove it from the slot.
-
-
-
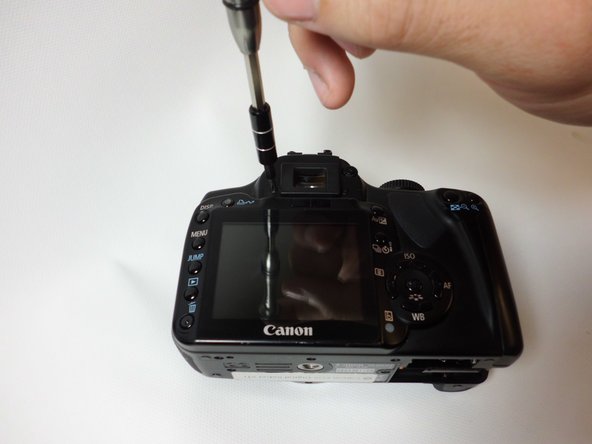
Remove the single 10 mm JIS #00 shoulder screw.
-
Remove the two 6 mm JIS #00 screws.
-
-
-
Separate the top casing from the electrical components enough to expose the wire harnesses that will need to be disconnected.
-


To reassemble your device, follow these instructions in reverse order.
To reassemble your device, follow these instructions in reverse order.
Rückgängig: Ich habe diese Anleitung nicht absolviert.
Eine weitere Person hat diese Anleitung absolviert.
Team

USF Tampa, Team 8-6, Eyestone Fall 2015 Mitglied von USF Tampa, Team 8-6, Eyestone Fall 2015
USFT-EYESTONE-F15S8G6
3 Mitglieder
18 Anleitungen geschrieben