Einleitung
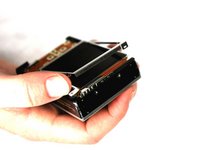
If your Canon Powershot SD1000 has a broken or faulty flash unit, use this guide to remove and replace it.
A faulty flash unit may have a weak discharge, resulting in a dimly lit photo or failure to discharge entirely.
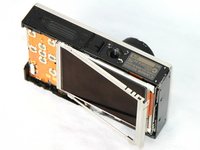
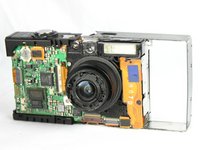
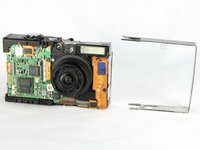
The flash unit of the Canon Powershot SD1000 is built into the main body of a camera, and will require disassembly of the main body.
Before using this guide, check the function settings of your camera to find what mode the flash is set to. Oftentimes, when set to "Auto," the flash will not discharge.
Was du brauchst
-
-
Remove the two 2.9 mm screws from the side panel closest to the camera lens.
-
-
-
Pull the back panel away from the camera body, starting at the end with the function buttons.
-
-
-
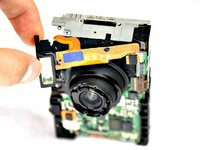
Remove the front cover by gently pulling it away from the camera body.
-
-
-
-
Place the front cover, back cover, and wrist strap mount in a safe place until you are ready for reassembly.
-
-
-
Pull up the metal frame surrounding the LCD screen starting at the side of the camera.
-
-
-
Push the metal frame away from the metal tab using the spudger to detach the frame.
-
Rotate the metal frame upwards.
-
-
-
Carefully lift the metal frame from the camera.
-
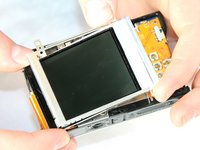
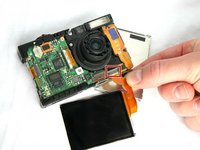
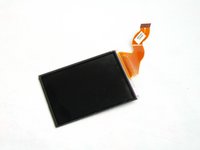
Remove the black LCD screen, leaving the thin lens pieces in place.
-
-
In diesem Schritt verwendetes Werkzeug:Tweezers$4.99
-
Carefully pull on the orange connector ribbon to disconnect the LCD screen.
-
The LCD screen can be pulled out of the frame before disconnecting its connector ribbon.
-
-
-
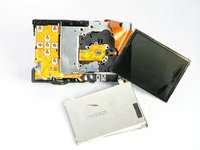
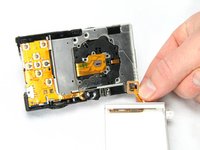
Slide the metal frame off of the camera on the side that is closest to the flash mechanism.
-
-
-
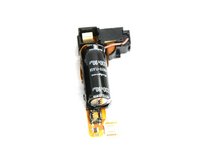
Use a Phillips #00 screwdriver to remove the 2.4 mm screw that secures the flash assembly.
-
-
-
Use the spudger to gently and carefully disconnect the flash assembly ribbon from the black connector lock.
-


To reassemble your device, follow these instructions in reverse order.
To reassemble your device, follow these instructions in reverse order.
Rückgängig: Ich habe diese Anleitung nicht absolviert.
Eine weitere Person hat diese Anleitung absolviert.
Team

Cal Poly, Team 8-18, Maness Winter 2012 Mitglied von Cal Poly, Team 8-18, Maness Winter 2012
CPSU-MANESS-W12S8G18
4 Mitglieder
12 Anleitungen geschrieben