Diese Anleitung enthält neuere Änderungen. Wechsel zur neuesten unüberprüften Version.
Einleitung
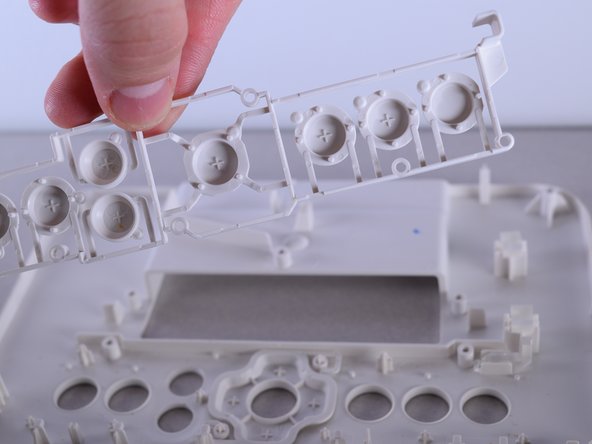
The Canon Selphy CP910 is used to print pictures from a camera and WiFi connection. If there are any issues with the buttons on the printer, it may be necessary to remove them. For information regarding troubleshooting issues with the Canon Selphy CP910, go to Canon Selphy CP910 Troubleshooting.
Contact the manufacturer for inquiries about receiving parts of the Canon Selphy CP910.
Was du brauchst
-
-
Turn the printer over.
-
Use the PH1 screw bit to remove the three 8 mm screws in the middle of the back plate.
-
-
-
Turn the device around and remove the "open" lid.
-
Gently bend the lid and remove it from its hinges.
-
-
-
-
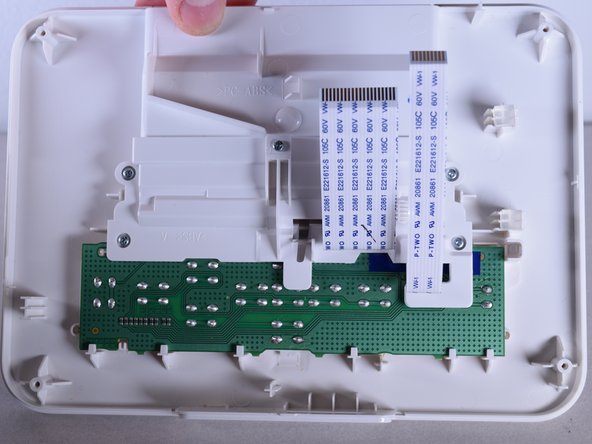
Turn the device back over and lift the top panel up.
-
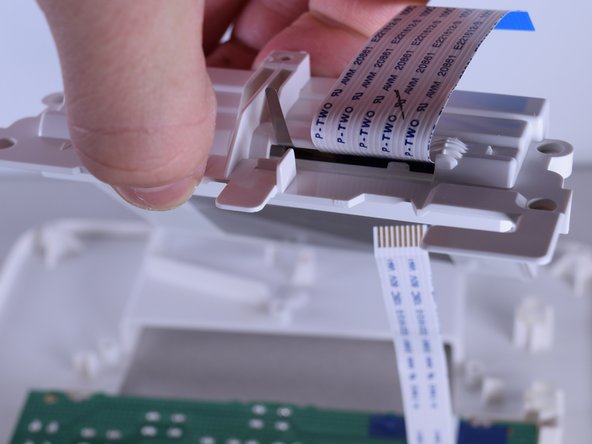
Disconnect the ribbon cables leading to the LCD screen.
-
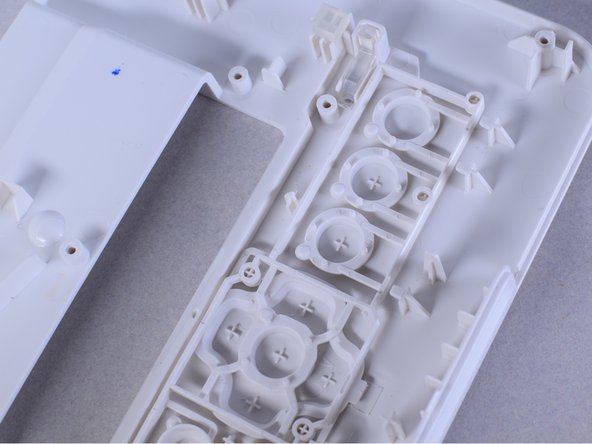
Pull the top panel off.
-
-
-
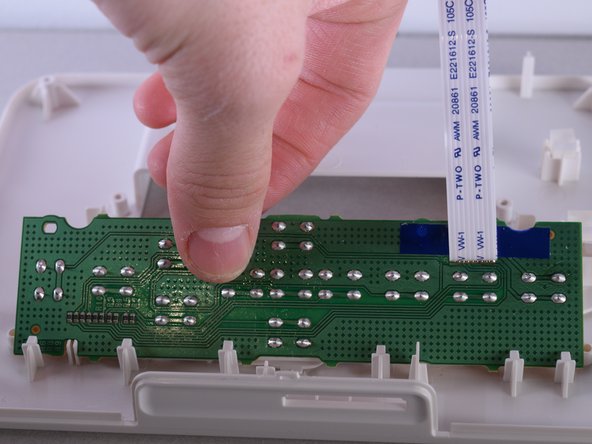
Use the PH0 screw bit to remove the five 10 mm screws located above the circuit board.
-


To reassemble your device, follow these instructions in reverse order.
To reassemble your device, follow these instructions in reverse order.
Team

UW Tacoma, Team 1-6, Rose Winter 2016 Mitglied von UW Tacoma, Team 1-6, Rose Winter 2016
UWT-ROSE-W16S1G6
4 Mitglieder
10 Anleitungen geschrieben