Einleitung
If your camera does not record audio clearly or at all, the microphone may be faulty. This guide will help replace the microphone found in the front end of the camera.
Was du brauchst
-
-
Pull up the Velcro strap starting from the front of the camera and working your way towards the back.
-
To remove the hand-strap, pull the Velcro strip through the leather pad.
-
-
-
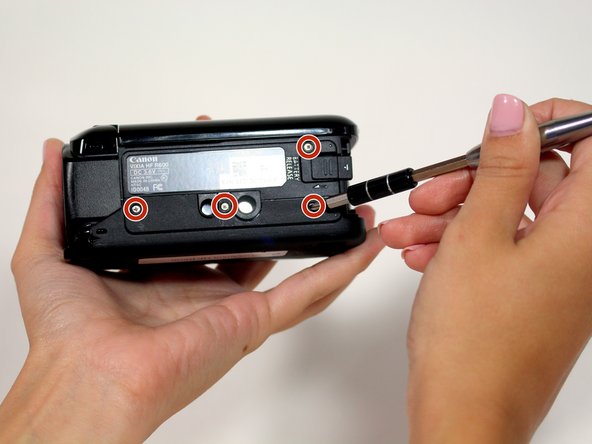
Press in the battery release tab located on the bottom of the camera.
-
Slide the battery out from the body.
-
-
-
-
Start by removing the two 6mm Phillips #00 screws located on the right side of the camera.
-
Remove four more 6mm Phillips #00 screws found on the bottom of the camera.
-
-
-
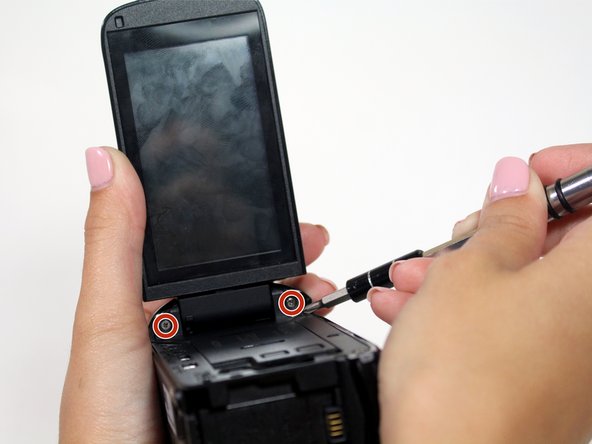
Open the display screen and remove the three 5mm Phillips #00 screws.
-
Look to the swivel point for the screen to find the last two 5mm Phillips #00 screws that must be removed.
-
-
-
Remove one 5mm Phillips PH#00 screw from the top of the camera.
-
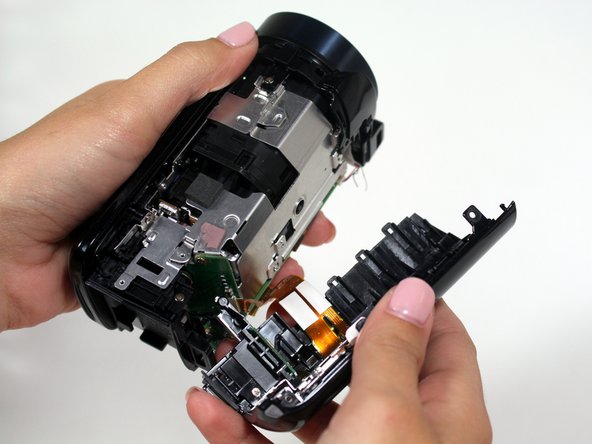
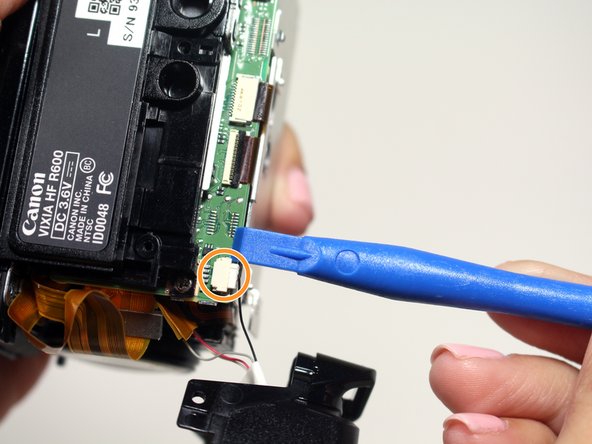
Pull away the plastic shutter casing; this contains the microphone.
-
Using the plastic opening tool or something similar, carefully disconnect the white 4 pin connector to remove the shutter casing.
-
-
-
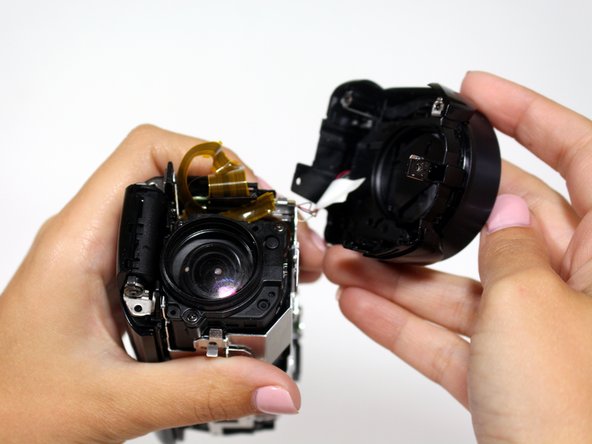
Remove the one 4mm Phillips JIS#00 screw from the top of the shutter housing.
-
Pull the shutter away to reveal the metal plate covering the speakers.
-
-
-
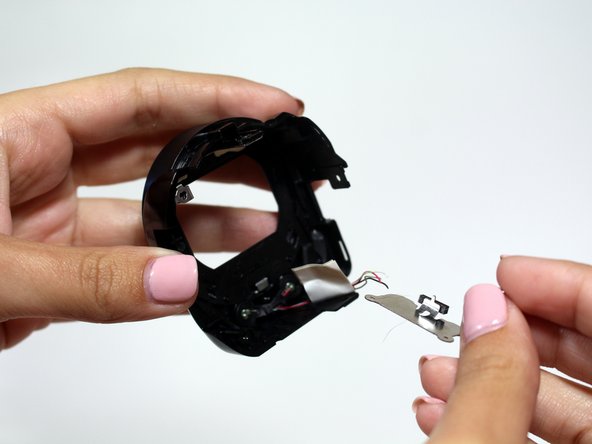
Remove the one 4mm Phillips JIS#00 from the plastic shutter housing.
-
Pull the metal bracket out of the housing.
-
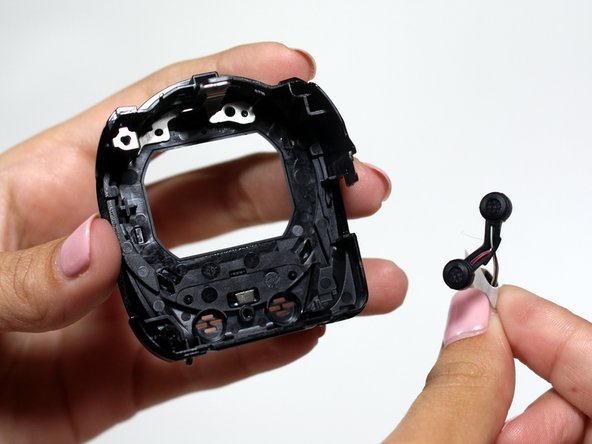
Carefully remove the speakers from the housing as they contain very thin wires.
-


To reassemble your device, follow these instructions in reverse order.
To reassemble your device, follow these instructions in reverse order.
Team

USF Tampa, Team 14-4, Lacy Spring 2016 Mitglied von USF Tampa, Team 14-4, Lacy Spring 2016
USFT-LACY-S16S14G4
3 Mitglieder
16 Anleitungen geschrieben