Einleitung
This guide provides step-by-step information on how to replace the Exhalation Valve Body for the Cardinal Health Vela Ventilator.
The exhalation valve is a critical component of any ventilator, designed to mitigate inward leakage of air contaminants during inhalation without inhibiting exhalation.
The Exhalation Valve Body may need to be removed for cleaning and sterilization, or to replace the exhalation valve diaphragm.
Viasys’ replacement guide for the Flow Sensor can be found on page 38 of the service manual attached.
Was du brauchst
Angehängtes Dokument
-
-
Use a screwdriver to remove the two Phillips #0 screws at the top of the plug guard.
-
-
-
Remove all six small side panel screws along the bottom of each side of the top cover with the same screwdriver.
-
-
-
Use your Phillips #0 screwdriver to unscrew the four Phillips screws positioned on each side of the battery tray.
-
-
-
Disconnect the batteries from the ventilator by pulling apart the Battery Connector.
-
-
-
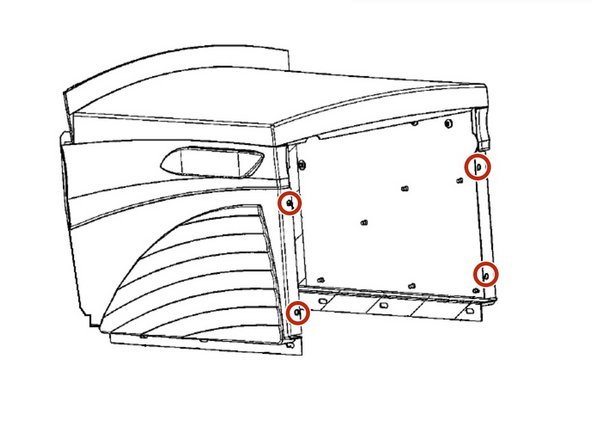
Remove the two Phillips countersink screws from the right side of the rear panel.
-
-
-
Remove the single Phillips countersink screw in the upper front of the right panel.
-
-
-
Gently lift out the panel and the power PCB. Lay the panel flat and make the following disconnections:
-
-
-
Remove the 2 Phillips countersink screws at the rear of the left panel.
-
Remove the 1 Phillips countersink screw in the upper front of the left panel.
-
Lift out the left panel.
-
-
-
Disconnect the following from the main PCB:
-
JP2 40-pin ribbon cable to JP1 on the SVGA out PCB
-
J301 12-pin to J301 on the blender PCB
-
-
-
Disconnect the green oxygen nebulizer tube
-
Remove the 2 Phillips pan-head screws behind the front panel at the lower left and right.
-
Disconnect the 1/8” silicone tube #4 from P2 on the exhalation differential transducer.
-
Disconnect the 1/8” silicone tube #5 from P1 on the exhalation differential transducer.
-
Disconnect the 1/8” silicone tube #1 from the turbine.
-
-
-
Disconnect the 1/16” silicone tube from the front ports of the turbine outlet auto-zero solenoid that goes to the main tubing harness.
-
Disconnect the 1/16” silicone tube from the turbine inlet auto-zero solenoid that goes to the turbine.
-
Disconnect the 1/16” silicone tube from the airway pressure auto-zero solenoid that goes to the exhalation valve receptacle.
-
-
-
Disconnect the following from the FIO2 monitoring PCB:
-
J2 2-pin (clear conn.) to oxygen sensor
-
J3 2-pin (blue conn.) to oxygen inlet solenoid on blender assembly
-
J4 2-pin (red conn.) to nebulizer solenoid assembly on upper rear of blender
-


To reassemble your device, follow these instructions in reverse order.
To reassemble your device, follow these instructions in reverse order.
Angehängte Dokumente

Team

Cal Poly, Team S11-G22, Paton Spring 2020 Mitglied von Cal Poly, Team S11-G22, Paton Spring 2020
CPSU-PATON-S20S11G22
2 Mitglieder
3 Anleitungen geschrieben