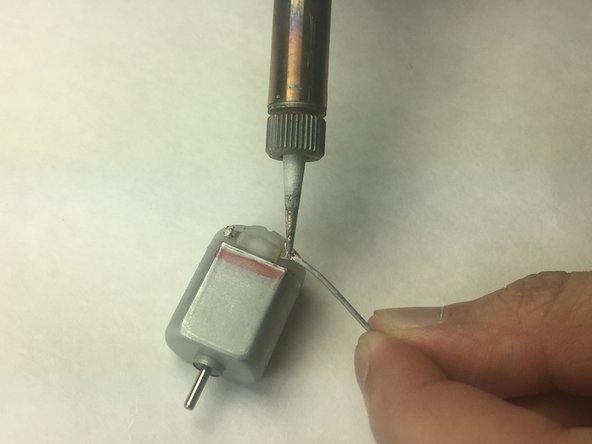
Zum Hauptinhalt wechseln

Casdon Dyson Ball Air Cylinder Motor Replacement

Was du brauchst

  1. Casdon Dyson Ball Air Cylinder Motor Replacement, Battery: Schritt 1, Bild 1 von 1
    • Remove one 9.2mm (0.36 in) screw using the PH00 screwdriver.

    • Remove the battery cover by pulling it away from the vacuum once the 9.2mm (0.36 in) screw is removed.

  2. Casdon Dyson Ball Air Cylinder Motor Replacement: Schritt 2, Bild 1 von 1
    • Remove batteries from the vacuum by pulling them out and away from the vacuum.

  3. Casdon Dyson Ball Air Cylinder Motor Replacement, Casdon Dyson Ball Disassembly: Schritt 3, Bild 1 von 1
    • Remove all seven 9.2mm (0.32 in) screws on the back of the vacuum.

  4. Casdon Dyson Ball Air Cylinder Motor Replacement: Schritt 4, Bild 1 von 1
    • Remove the front side covers by pulling them away from the vacuum.

  5. Casdon Dyson Ball Air Cylinder Motor Replacement: Schritt 5, Bild 1 von 1
    • Separate the battery compartment from the ball and bead cylinder by sliding the vacuum ball away from the battery compartment.

  6. Casdon Dyson Ball Air Cylinder Motor Replacement: Schritt 6, Bild 1 von 1
    • Separate the bead cylinder and the fan compartment by pulling the bead cylinder away from the fan compartment.

  7. Casdon Dyson Ball Air Cylinder Motor Replacement: Schritt 7, Bild 1 von 1
    • Remove beads from the container.

  8. Casdon Dyson Ball Air Cylinder Motor Replacement, Air Cylinder Motor: Schritt 8, Bild 1 von 1
    • Remove four 9.2mm (0.32 in) screws on bottom of air cylinder motor mount using the PH00 screwdriver.

  9. Casdon Dyson Ball Air Cylinder Motor Replacement: Schritt 9, Bild 1 von 1
    • Remove one 11.5mm (0.45 in) screw in battery compartment using the PH00 screwdriver.

  10. Casdon Dyson Ball Air Cylinder Motor Replacement: Schritt 10, Bild 1 von 1
    • Remove the red fan from the motor by pulling the red fan away from the bead cylinder motor compartment.

  11. Casdon Dyson Ball Air Cylinder Motor Replacement: Schritt 11, Bild 1 von 1
    • Cut wires connected to faulty motor using a set of wire cutters.

  12. Casdon Dyson Ball Air Cylinder Motor Replacement: Schritt 12, Bild 1 von 2 Casdon Dyson Ball Air Cylinder Motor Replacement: Schritt 12, Bild 2 von 2
    • Remove and replace faulty air cylinder motor.

    • Solder new air cylinder motor's wires to the vacuum's wires which were previously cut.

Abschluss

To reassemble your device, follow these instructions in reverse order.

Ein:e weitere:r Nutzer:in hat diese Anleitung absolviert.

Seldon Price

Mitglied seit: 11/07/17

612 Reputation

5 Anleitungen geschrieben

Team

IUPUI, Team S3-G5, Harley Fall 2017 Mitglied von IUPUI, Team S3-G5, Harley Fall 2017

IUPUI-HARLEY-F17S3G5

3 Mitglieder

10 Anleitungen geschrieben

Ein Kommentar

What motor is it?

Daniel Blakey - Antwort

Kommentar hinzufügen

Seitenaufrufe:

Letzte 24 Stunden: 0

Letzte 7 Tage: 1

Letzte 30 Tage: 5

Insgesamt: 277