Einleitung
If your display screen is not turning on or is malfunctioning then use this guide to replace your display screen on you Casio CZ-1000 synthesizer. The display screen is significant part of this synthesizer that allows you to save memory to a RAM cartridge, load RAM cartridges, and change the tone of your synthesizer. In this guide you will be provided with a step by step process on how to replace you display screen.
Was du brauchst
-
-
Use a Phillips #1 screwdriver to remove the eleven 7.5 mm screws securing the back plate.
-
-
-
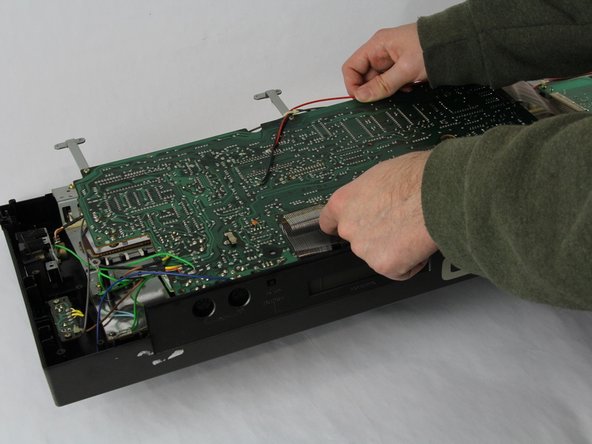
Using a Phillips #1 screwdriver, remove all 14 5.5 mm screws from the two motherboards.
-
-
-
-
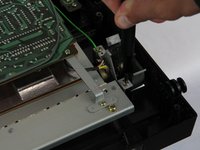
Carefully cut the zip tie located in the right-hand corner using a pair of scissors or wire cutters.
-
Gently slide all the plugs out of their sockets.
-
-
-
Remove the four 7.5 mm screws that are holding down the metal sheets using a Phillips #1 screwdriver.
-
Set the sheet to the side for now.
-
-
-
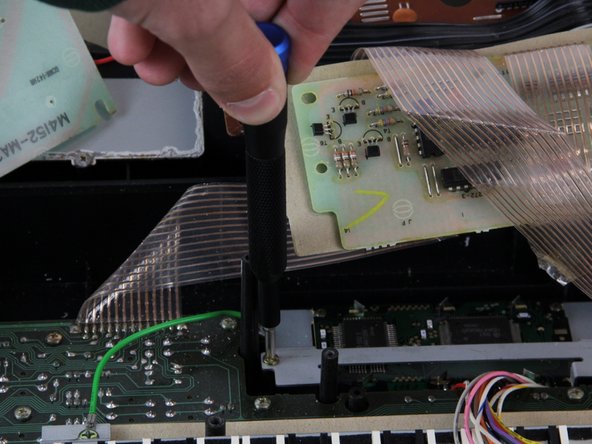
Remove the four 5.5 mm screws from the corners of the display screen using a Phillips #1 screwdriver.
-
Lift the side of the display screen that is closer to you and then pull out the screen.
-


To reassemble your device, follow these instructions in reverse order.
To reassemble your device, follow these instructions in reverse order.
Team

Cuesta, Team 60-3, Krynen Fall 2024 Mitglied von Cuesta, Team 60-3, Krynen Fall 2024
CUESTA-KRYNEN-F24S60G3
4 Mitglieder
5 Anleitungen geschrieben