Diese Version enthält möglicherweise inkorrekte Änderungen. Wechsle zur letzten geprüften Version.
Was du brauchst
-
Dieser Schritt ist noch nicht übersetzt. Hilf mit, ihn zu übersetzen!
-
Press the eject button to view the laser inside.
-
Using the blue plastic tool and the tweezers, remove the ribbon cable.
-
-
Dieser Schritt ist noch nicht übersetzt. Hilf mit, ihn zu übersetzen!
-
Remove the six 1cm screws on the bottom of the device with the Phillips #1 screwdriver.
-
Pry the top of the device open from the right side where the buttons are located.
-
-
Dieser Schritt ist noch nicht übersetzt. Hilf mit, ihn zu übersetzen!
-
Pinch the plastic adapter with two fingers to remove the wires circled in red from the circuit board.
-
-
-
Dieser Schritt ist noch nicht übersetzt. Hilf mit, ihn zu übersetzen!
-
Remove the two 6.35mm screws circled in black with a #1 Philips head screwdriver.
-
Remove one 4mm screw circled in red with a #1 Philips head screwdriver.
-
-
Dieser Schritt ist noch nicht übersetzt. Hilf mit, ihn zu übersetzen!
-
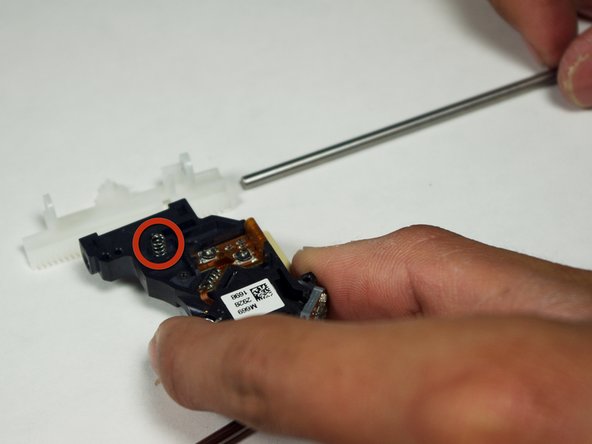
The location of the springs are circled.
-
Using two plastic tool removers, lift the two rails up at an angle. Keep the rods angled as shown.
-
-
Dieser Schritt ist noch nicht übersetzt. Hilf mit, ihn zu übersetzen!
-
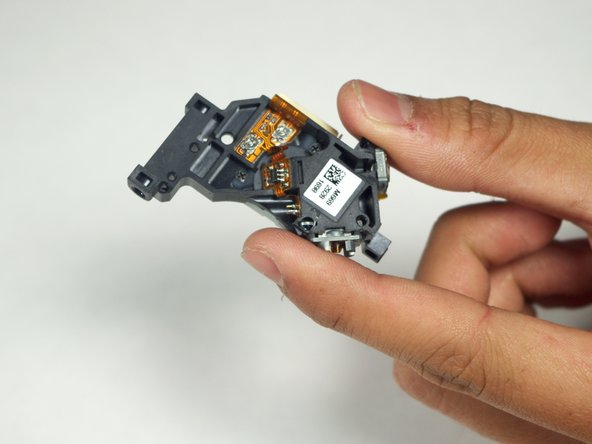
Lift the laser assembly out of the fixture.
-
-
Dieser Schritt ist noch nicht übersetzt. Hilf mit, ihn zu übersetzen!
-
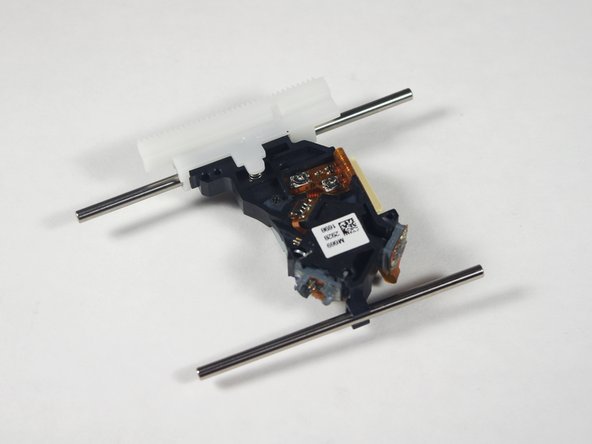
Remove the rails from the disk reader.
-
Once the top rail is removed, the white gear will come off and under it will be one of the springs.
-


Rückgängig: Ich habe diese Anleitung nicht absolviert.
Ein:e weitere:r Nutzer:in hat diese Anleitung absolviert.
Team

Cal Poly, Team 10-36, Amido Winter 2012 Mitglied von Cal Poly, Team 10-36, Amido Winter 2012
CPSU-AMIDO-W12S10G36
4 Mitglieder
7 Anleitungen geschrieben