Diese Version enthält möglicherweise inkorrekte Änderungen. Wechsle zur letzten geprüften Version.
Was du brauchst
-
Dieser Schritt ist noch nicht übersetzt. Hilf mit, ihn zu übersetzen!
-
Start by laying the console face down.
-
Remove the eight 15mm Phillips #1 screws from the bottom of the device.
-
-
Dieser Schritt ist noch nicht übersetzt. Hilf mit, ihn zu übersetzen!
-
Flip the console back over.
-
Lift the front panel off. I would reccomended using a metal spudger along the rim of the top to safely remove it and set it aside.
-
-
-
Dieser Schritt ist noch nicht übersetzt. Hilf mit, ihn zu übersetzen!
-
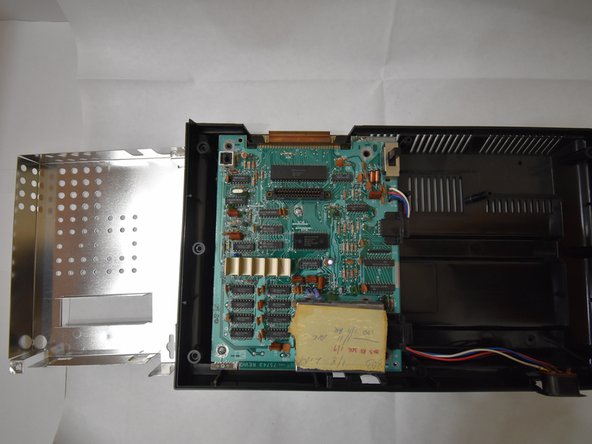
Remove the two 15mm Phillips #1 screws holding the casing in place.
-
Carefully lift the casing from the motherboard.
-
-
Dieser Schritt ist noch nicht übersetzt. Hilf mit, ihn zu übersetzen!
-
Remove the center Phillips #1 screw near the cartridge slot.
-
Remove the second Phillips #1 screw near the RAM chips.
-
Carefully lift and remove the motherboard.
-
Rückgängig: Ich habe diese Anleitung nicht absolviert.
Ein:e weitere:r Nutzer:in hat diese Anleitung absolviert.


