Diese Version enthält möglicherweise inkorrekte Änderungen. Wechsle zur letzten geprüften Version.
Was du brauchst
-
Dieser Schritt ist noch nicht übersetzt. Hilf mit, ihn zu übersetzen!
-
Look for the release button on the back of the radio.
-
Press the button and pull down on the battery at the same time. The battery will come free.
-
-
Dieser Schritt ist noch nicht übersetzt. Hilf mit, ihn zu übersetzen!
-
Twist the antenna counter-clockwise to unscrew it from the antenna jack.
-
-
Dieser Schritt ist noch nicht übersetzt. Hilf mit, ihn zu übersetzen!
-
Pull up on the dials to remove them from the underlying pegs.
-
-
Dieser Schritt ist noch nicht übersetzt. Hilf mit, ihn zu übersetzen!
-
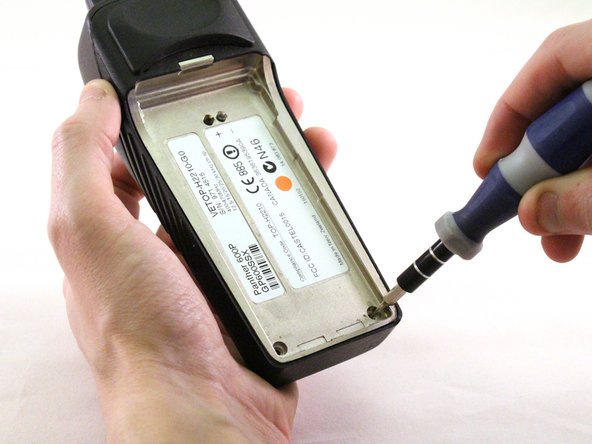
Using a T15 Torx screwdriver, unscrew the two screws.
-
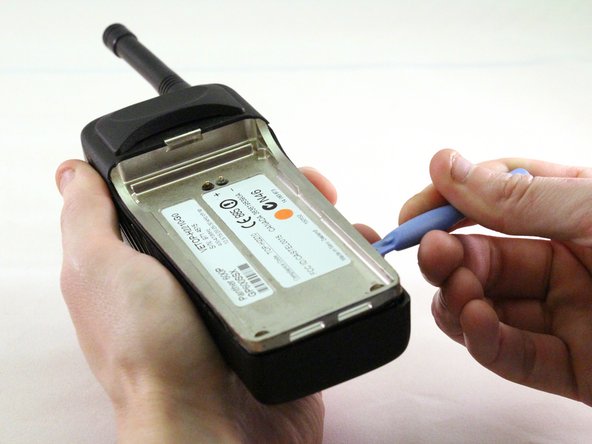
Using a plastic opening tool, pry the internal case from the external case.
-
-
-
Dieser Schritt ist noch nicht übersetzt. Hilf mit, ihn zu übersetzen!
-
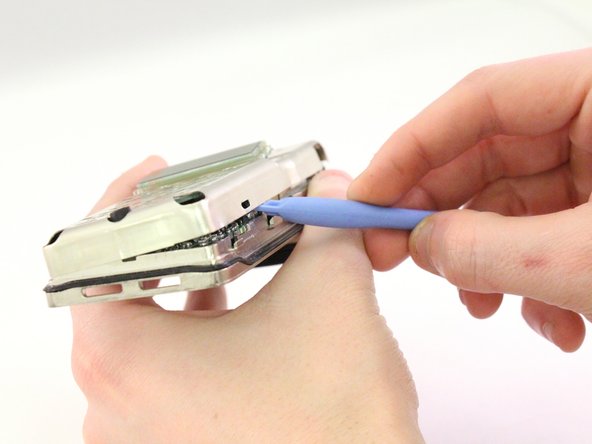
Using the plastic opening tool, pry the case apart.
-
-
Dieser Schritt ist noch nicht übersetzt. Hilf mit, ihn zu übersetzen!
-
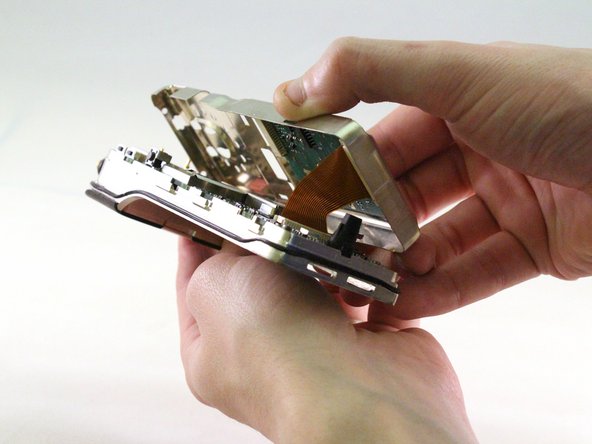
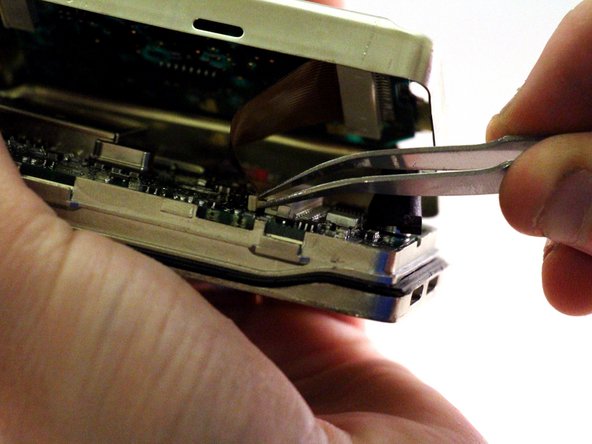
Pull ribbon with tweezers to detach from back panel.
-
-
Dieser Schritt ist noch nicht übersetzt. Hilf mit, ihn zu übersetzen!
-
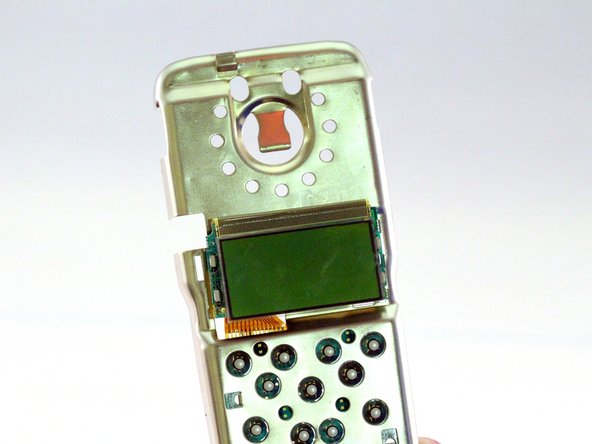
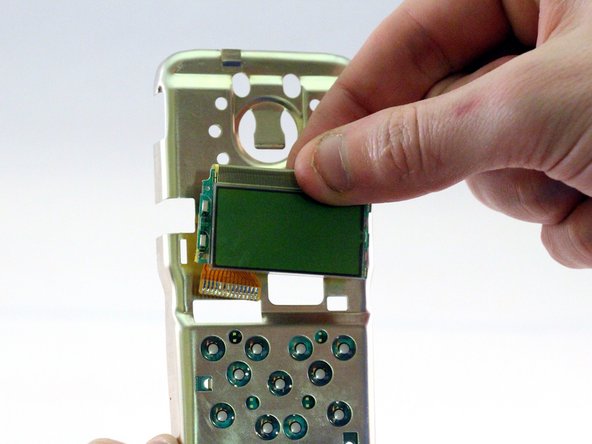
Pull screen up and away from motherboard to detach.
-
-
Dieser Schritt ist noch nicht übersetzt. Hilf mit, ihn zu übersetzen!
-
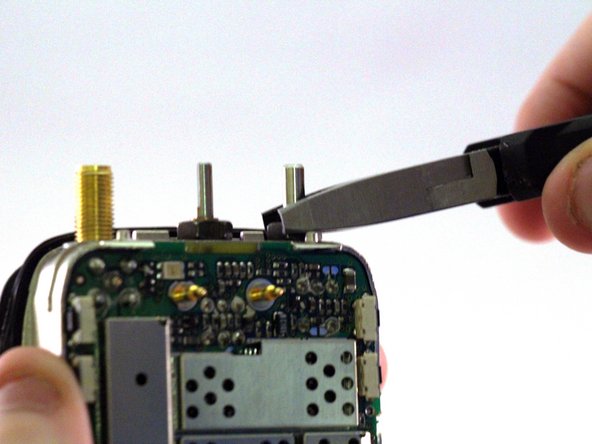
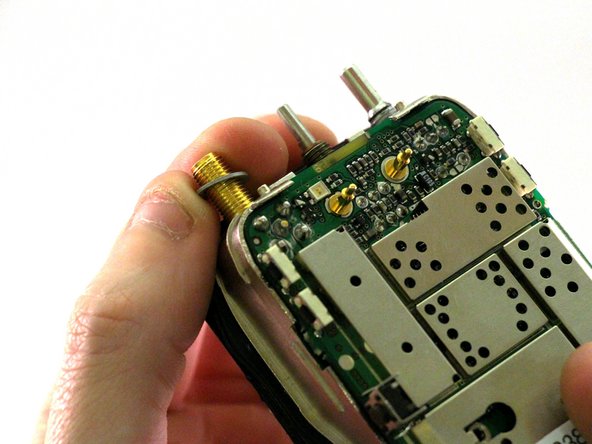
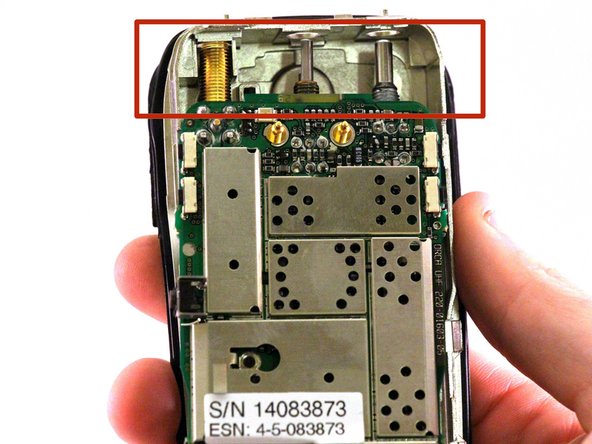
Remove the rubber O-rings from the antenna jack, volume switch, and channel switch.
-
Once the rubber O-rings have been removed, use small needle nose pliers to unscrew the nuts on the antenna jack, volume switch, and channel switch.
-
-
Dieser Schritt ist noch nicht übersetzt. Hilf mit, ihn zu übersetzen!
-
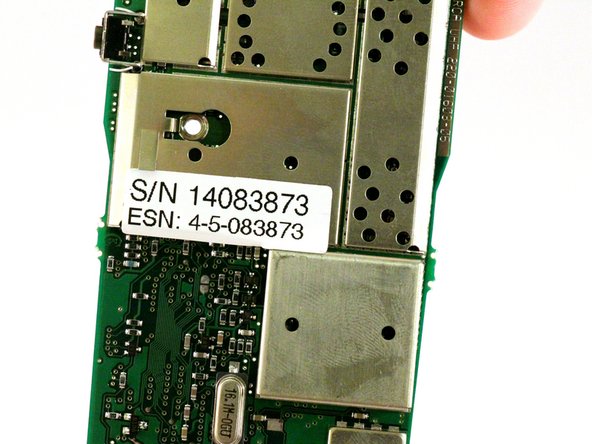
Using a T15 Torx screwdriver, unscrew the 3.8mm screw from the case.
-
-
Dieser Schritt ist noch nicht übersetzt. Hilf mit, ihn zu übersetzen!
-
Using any convenient hand-placement, pull the motherboard away from the case.
-
The antenna jack, volume dial, and channel dial are attached to the motherboard. Be sure to pull the motherboard downward so they clear their respective slots in the case.
-
Lift the motherboard completely free of the case.
-


Team

Eastern Washington University, Team 1-2, Carnegie Winter 2015 Mitglied von Eastern Washington University, Team 1-2, Carnegie Winter 2015
EWU-CARNEGIE-W15S1G2
4 Mitglieder
6 Anleitungen geschrieben