Einleitung
These procedures will instruct the reader how to remove and replace the camera.
Was du brauchst
-
-
After removing the back of the phone (not pictured), remove the battery by lifting up from the bottom with your thumb. There will be a groove that allows you to remove the battery with your thumb.
-
-
-
Remove the four screws (30 mm long) which hold the front and back half of the unit together using a Phillips #000 screwdriver. There will be one screw in each corner.
-
-
-
-
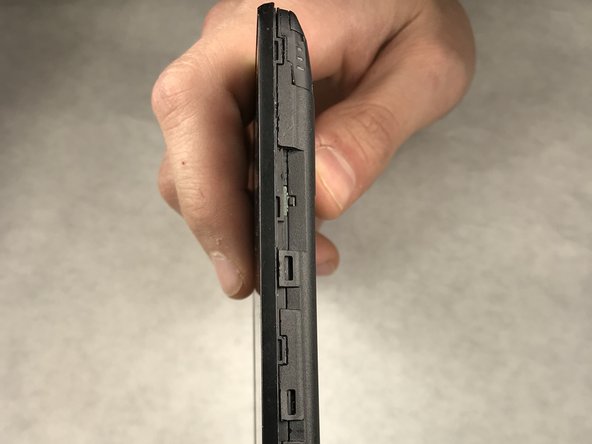
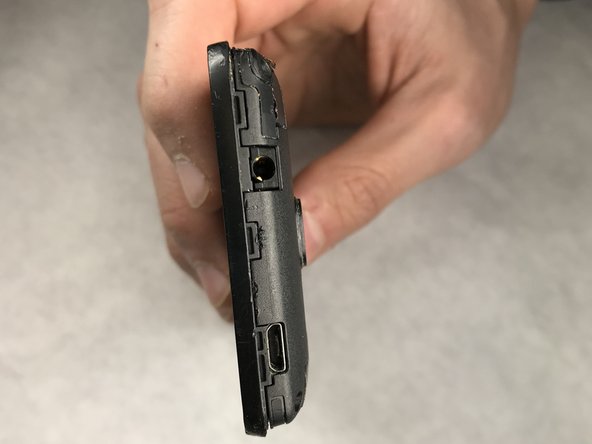
Use a metal spudger to release all of the clips around the phone. These clips are used to hold the front and back panel on the phone together.
-
-
-
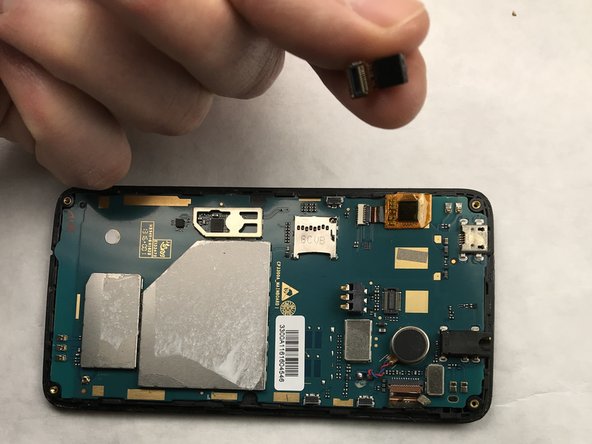
After the clips are released, carefully separate the back housing from the phone. Notice the sticker that appears in the red box holds the phone together, but can be peeled apart.
-


To reassemble your device, follow these instructions in reverse order.
To reassemble your device, follow these instructions in reverse order.
Rückgängig: Ich habe diese Anleitung nicht absolviert.
3 weitere Nutzer:innen haben diese Anleitung absolviert.
Team

IUPUI, Team S1-G3, Harley Spring 2018 Mitglied von IUPUI, Team S1-G3, Harley Spring 2018
IUPUI-HARLEY-S18S1G3
6 Mitglieder
8 Anleitungen geschrieben