Zum Hauptinhalt wechseln
Gemeinsam reparieren - Jetzt registrieren

Cracked Grout Replacement

Was du brauchst

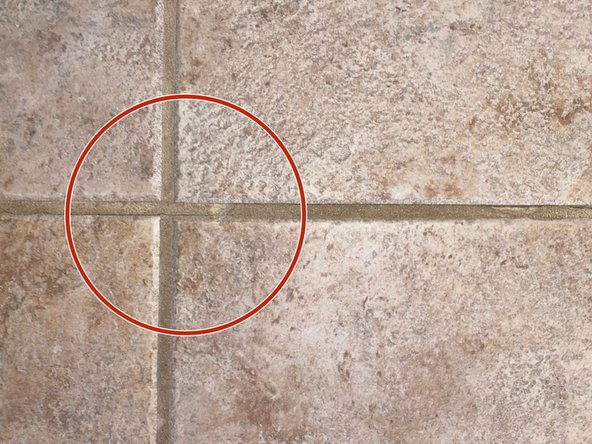
    1. Cracked Grout Replacement, Cracked Grout: Schritt 1, Bild 1 von 2 Cracked Grout Replacement, Cracked Grout: Schritt 1, Bild 2 von 2
      • Identify the crack you will be repairing.

      • Surround it with Painters Tape.

      Frag FixBot

      Kommentar hinzufügen

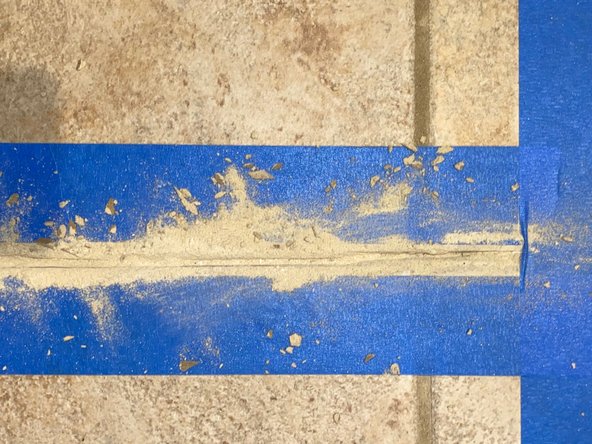
    2. Cracked Grout Replacement: Schritt 2, Bild 1 von 1
      • Wear protective eye wear and a mask to shield yourself from dust and debris.

      • Use caution when handling the concrete grinder. If handled improperly it can lead to an injury.

      • Use the concrete grinder to remove the grout surrounded with tape where the crack is located.

      Frag FixBot

      Kommentar hinzufügen

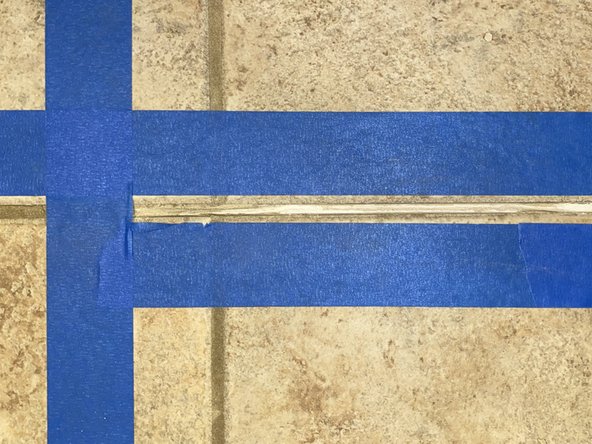
    3. Cracked Grout Replacement: Schritt 3, Bild 1 von 2 Cracked Grout Replacement: Schritt 3, Bild 2 von 2
      • Wear protective eye wear and a mask to shield yourself from dust and debris.

      • Go in with your handheld grout remover and scrape out the remaining grout between the tile until it is completely hollow.

      Frag FixBot

      Kommentar hinzufügen

    4. Cracked Grout Replacement: Schritt 4, Bild 1 von 2 Cracked Grout Replacement: Schritt 4, Bild 2 von 2
      • Vacuum the dust and grout that was removed to reveal a clean and hollow space.

      Frag FixBot

      Kommentar hinzufügen

    5. Cracked Grout Replacement: Schritt 5, Bild 1 von 1
      • Color match your grout by using grout samples to get your desired color of grout.

      Frag FixBot

      Kommentar hinzufügen

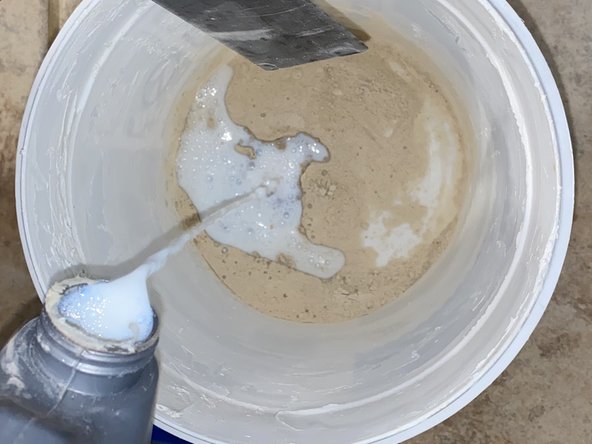
    6. Cracked Grout Replacement: Schritt 6, Bild 1 von 3 Cracked Grout Replacement: Schritt 6, Bild 2 von 3 Cracked Grout Replacement: Schritt 6, Bild 3 von 3
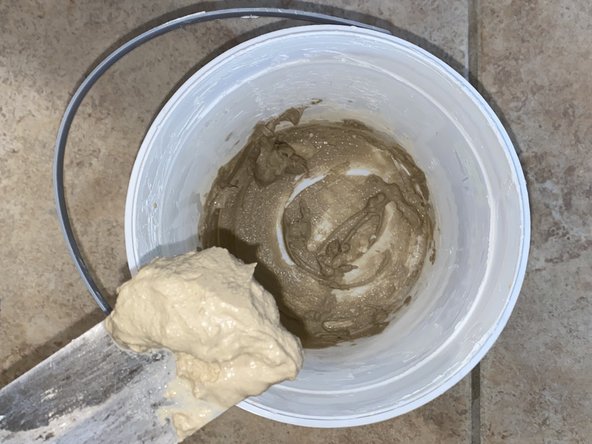
      • Mix a scoop of grout and sealer to create a paste.

      Frag FixBot

      Kommentar hinzufügen

    7. Cracked Grout Replacement: Schritt 7, Bild 1 von 3 Cracked Grout Replacement: Schritt 7, Bild 2 von 3 Cracked Grout Replacement: Schritt 7, Bild 3 von 3
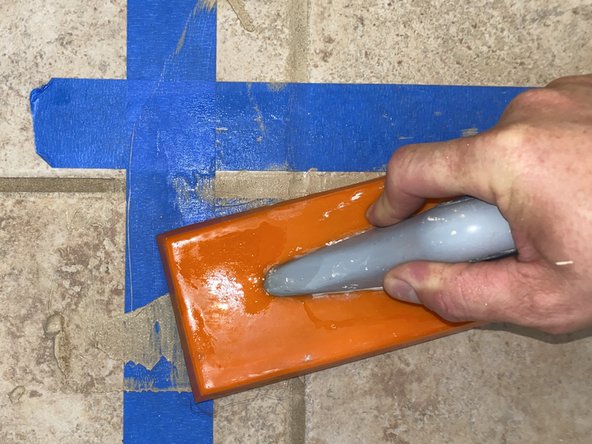
      • Take the rubber grout float and press the grout paste securely into the crack.

      Frag FixBot

      Kommentar hinzufügen

    8. Cracked Grout Replacement: Schritt 8, Bild 1 von 2 Cracked Grout Replacement: Schritt 8, Bild 2 von 2
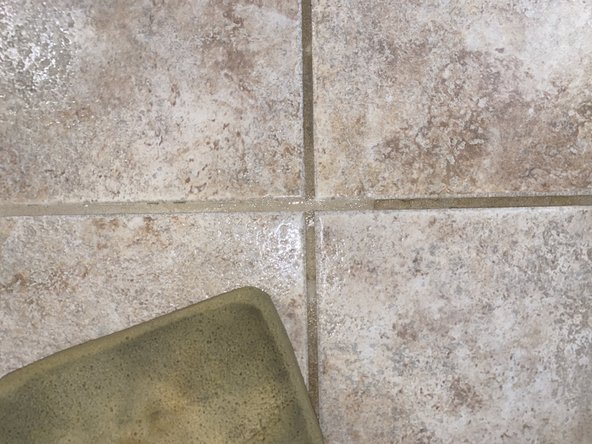
      • Take the grouting sponge and smooth out the grout evenly.

      • Let the grout sit and harden for twenty-four hours.

      Frag FixBot

      Kommentar hinzufügen

    9. Cracked Grout Replacement: Schritt 9, Bild 1 von 1
      • Your new grout is dry and ready for use.

      Frag FixBot

      Kommentar hinzufügen

Abschluss

To repair any other cracks in grout, repeat these steps.

Rückgängig: Ich habe diese Anleitung nicht absolviert.

11 weitere Personen haben diese Anleitung absolviert.

Team

USF Sarasota-Manatee, Team S1-G1, Stewart Spring 2020 Mitglied von USF Sarasota-Manatee, Team S1-G1, Stewart Spring 2020

USFSM-STEWART-S20S1G1

23 Mitglieder

99 Anleitungen geschrieben

1 Kommentar zur Anleitung

Excelente 👌

Superman07 - Antwort Teilen

Kommentar hinzufügen

Seitenaufrufe:

Letzte 24 Stunden: 15

Letzte 7 Tage: 75

Letzte 30 Tage: 319

Insgesamt: 10,539