Zum Hauptinhalt wechseln
Gemeinsam reparieren - Jetzt registrieren

Creative Zen Vision W LCD Screen Replacement

Was du brauchst

  1. Creative Zen Vision W LCD Screen Replacement, Front Cover: Schritt 1, Bild 1 von 2 Creative Zen Vision W LCD Screen Replacement, Front Cover: Schritt 1, Bild 2 von 2
    • Remove the two screws (2.5 mm) on the top and bottom of the device using a Phillips #0 screwdriver.

    Frag FixBot
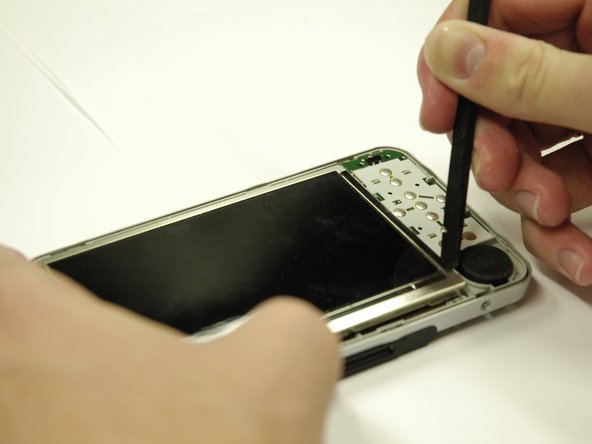
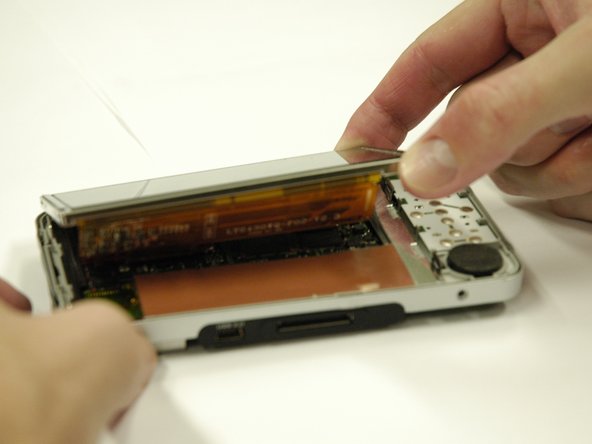
  2. Creative Zen Vision W LCD Screen Replacement: Schritt 2, Bild 1 von 3 Creative Zen Vision W LCD Screen Replacement: Schritt 2, Bild 2 von 3 Creative Zen Vision W LCD Screen Replacement: Schritt 2, Bild 3 von 3
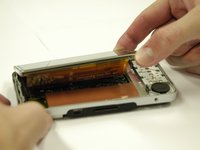
    • Run the spudger along the cover and pry.

    • Do this gently to preserve the screen

    • The button pad may fall off when the cover is removed.

    Frag FixBot
  3. Creative Zen Vision W LCD Screen Replacement, LCD Screen: Schritt 3, Bild 1 von 3 Creative Zen Vision W LCD Screen Replacement, LCD Screen: Schritt 3, Bild 2 von 3 Creative Zen Vision W LCD Screen Replacement, LCD Screen: Schritt 3, Bild 3 von 3
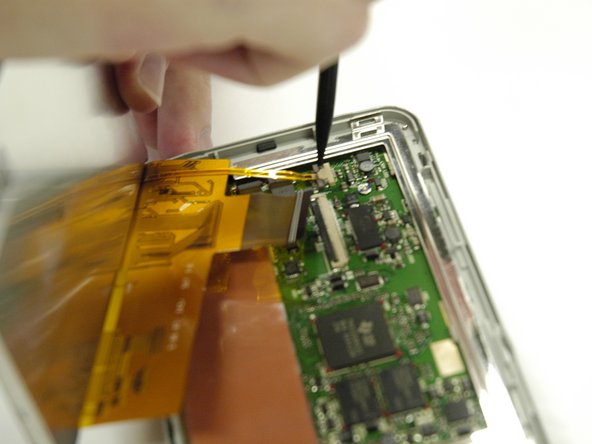
    • Use a spudger to separate the metal tabs that hold the screen in place on the right side.

    • The screen is still attached underneath with two ribbon cables. Lift it very carefully.

    Frag FixBot
  4. Creative Zen Vision W LCD Screen Replacement: Schritt 4, Bild 1 von 1
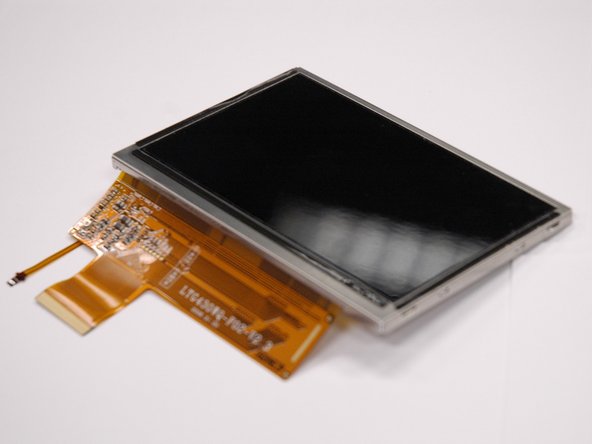
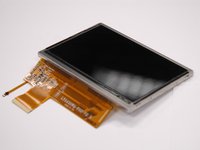
    • Put the screen face down so you can see where the ribbon cables are attached.

    • Remove the red sticker that covers the ribbon cable connections.

    Frag FixBot
  5. Creative Zen Vision W LCD Screen Replacement: Schritt 5, Bild 1 von 1
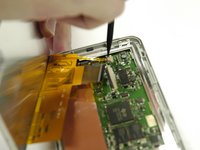
    • Use a plastic opening tool to get underneath the black flap on the larger ribbon cable connection and lift it.

    Frag FixBot
  6. Creative Zen Vision W LCD Screen Replacement: Schritt 6, Bild 1 von 3 Creative Zen Vision W LCD Screen Replacement: Schritt 6, Bild 2 von 3 Creative Zen Vision W LCD Screen Replacement: Schritt 6, Bild 3 von 3
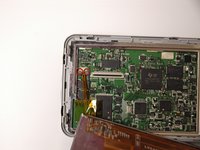
    • Use a spudger to slide the two small gray tabs away from the ribbon cable connection.

    • Remove the screen from the device.

    Frag FixBot
Abschluss

To reassemble your device, follow these instructions in reverse order.

Eine weitere Person hat diese Anleitung absolviert.

Team

Cal Poly, Team 17-2, Regan Spring 2013 Mitglied von Cal Poly, Team 17-2, Regan Spring 2013

CPSU-REGAN-S13S17G2

4 Mitglieder

8 Anleitungen geschrieben

1 Kommentar zur Anleitung

Where can I get the screen

Home Watch - Antwort Teilen

Kommentar hinzufügen

Seitenaufrufe:

Letzte 24 Stunden: 0

Letzte 7 Tage: 5

Letzte 30 Tage: 63

Insgesamt: 1,751