Was du brauchst
-
-
Remove the back panel by using the plastic opening tool to carefully pry around the panel's edges.
-
-
-
Unscrew the four 3mm Phillips #00 screws found in each corner of the motherboard.
-
-
-
-
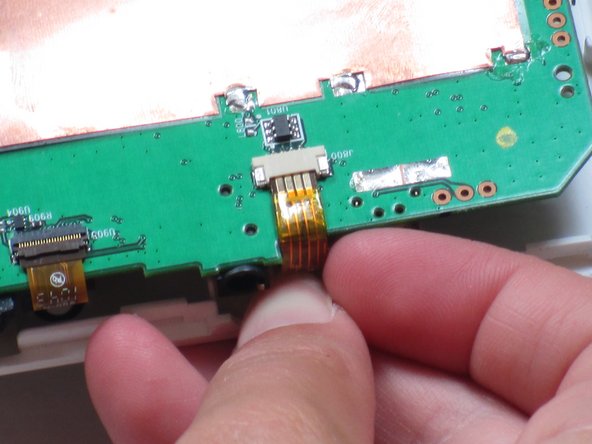
Unplug the ribbon cable near the edge of the motherboard in the bottom right of the device.
-
-
-
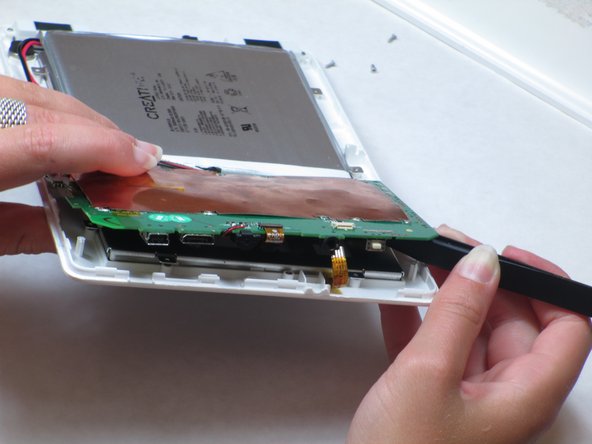
Lift up the motherboard.
-
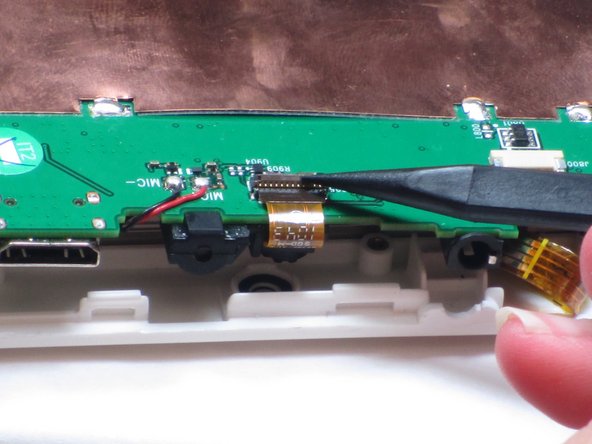
Remove the tape on top of the strip. Use tweezers or pliers to pull on the strip and unplug it.
-
-
-
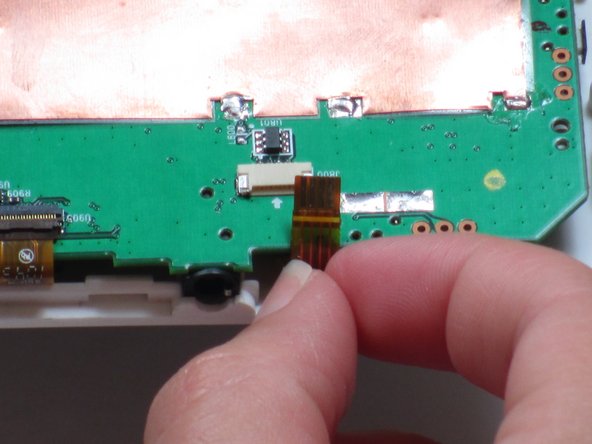
Lift up the motherboard and locate the ribbon cable (burnt orange-colored strip) centered on top of the motherboard.
-
Unplug the ribbon cable using your fingers to pull up on the flap.
-
-
-
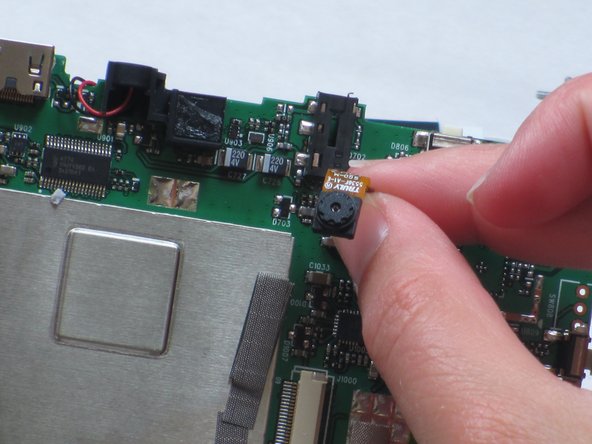
Use a spudger to pry the camera away from the rubber camera mount.
-
Remove the broken camera and use electronic-friendly adhesive to attach a new camera.
-


To reassemble your device, follow these instructions in reverse order.
To reassemble your device, follow these instructions in reverse order.
Rückgängig: Ich habe diese Anleitung nicht absolviert.
2 weitere Personen haben diese Anleitung absolviert.
Team

Cal Poly, Team 14-10, Maness Spring 2013 Mitglied von Cal Poly, Team 14-10, Maness Spring 2013
CPSU-MANESS-S13S14G10
4 Mitglieder
13 Anleitungen geschrieben