Zum Hauptinhalt wechseln

D-Link DCS-2630L Wi-Fi Camera Microphone Replacement

Was du brauchst

  1. D-Link DCS-2630L Wi-Fi Camera Microphone Replacement, Back casing: Schritt 1, Bild 1 von 1
    • Remove the two 9.65 mm screws on the back cover using the Philips head PH00 screw driver.

  2. D-Link DCS-2630L Wi-Fi Camera Microphone Replacement: Schritt 2, Bild 1 von 1
    • Remove the back casing to expose the circuit board.

  3. D-Link DCS-2630L Wi-Fi Camera Microphone Replacement: Schritt 3, Bild 1 von 1
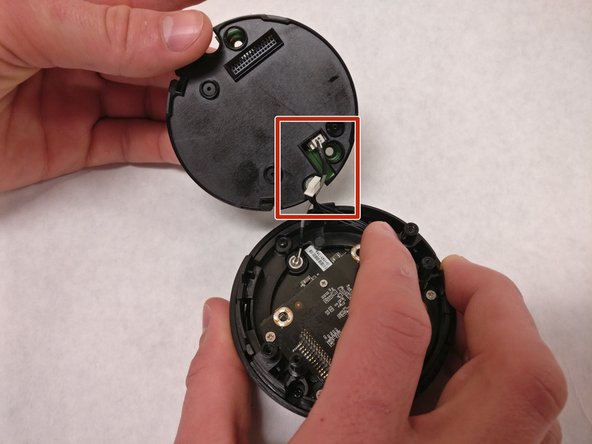
    • Detach the gray antenna wires by gently pulling on the side closest to the circuit board.

  4. D-Link DCS-2630L Wi-Fi Camera Microphone Replacement: Schritt 4, Bild 1 von 1
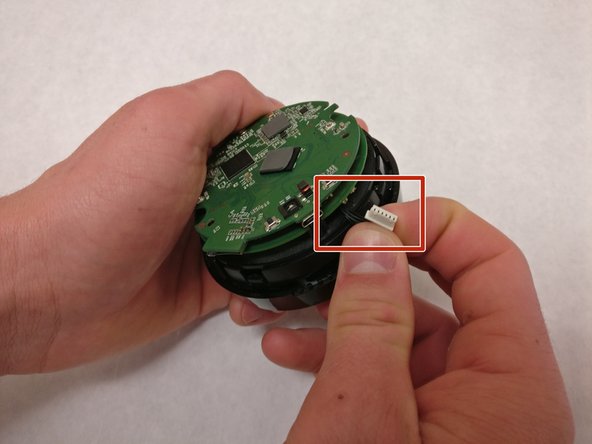
    • Detach the speaker wire by gently pulling on the side closest to the body of the camera.

  5. D-Link DCS-2630L Wi-Fi Camera Microphone Replacement, Microphone: Schritt 5, Bild 1 von 1
    • Remove the two 4.35 mm screws on the circuit board using the Philips head PH00 screw driver.

  6. D-Link DCS-2630L Wi-Fi Camera Microphone Replacement: Schritt 6, Bild 1 von 2 D-Link DCS-2630L Wi-Fi Camera Microphone Replacement: Schritt 6, Bild 2 von 2
    • Detach the white plug by gently pulling on the black wires.

  7. D-Link DCS-2630L Wi-Fi Camera Microphone Replacement: Schritt 7, Bild 1 von 2 D-Link DCS-2630L Wi-Fi Camera Microphone Replacement: Schritt 7, Bild 2 von 2
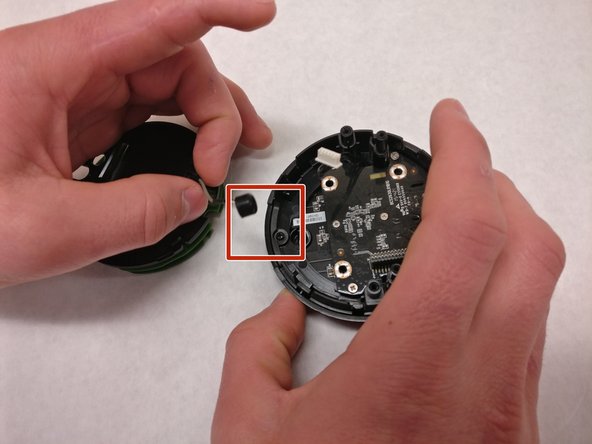
    • Remove the circuit board to expose the camera body.

    • At the same time, you will need to feed the wires through the circuit board and out the slot in the black plate under the circuit board.

  8. D-Link DCS-2630L Wi-Fi Camera Microphone Replacement: Schritt 8, Bild 1 von 2 D-Link DCS-2630L Wi-Fi Camera Microphone Replacement: Schritt 8, Bild 2 von 2
    • Gently pull on the grey wire to detach the microphone from the camera body.

  9. D-Link DCS-2630L Wi-Fi Camera Microphone Replacement: Schritt 9, Bild 1 von 3 D-Link DCS-2630L Wi-Fi Camera Microphone Replacement: Schritt 9, Bild 2 von 3 D-Link DCS-2630L Wi-Fi Camera Microphone Replacement: Schritt 9, Bild 3 von 3
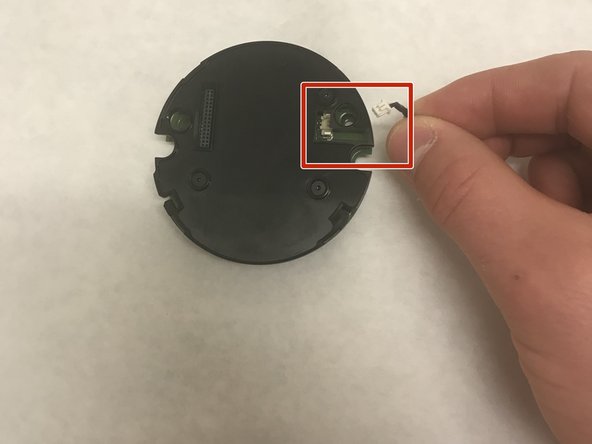
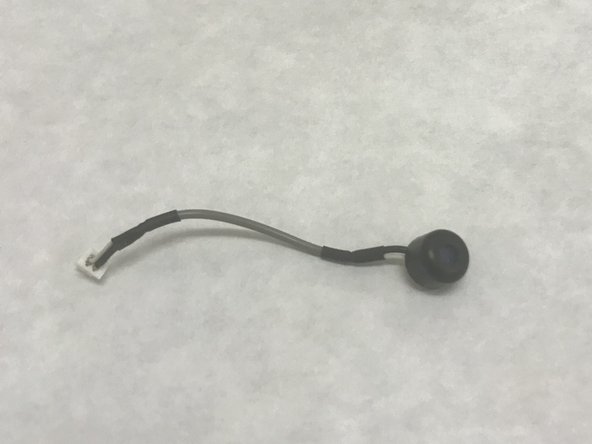
    • Detach the microphone from the circuit board by gently pulling on the grey wire.

Abschluss

To reassemble your device, follow these instructions in reverse order.

Team

IUPUI, Team S4-G2, Baechle Spring 2018 Mitglied von IUPUI, Team S4-G2, Baechle Spring 2018

IUPUI-BAECHLE-S18S4G2

3 Mitglieder

6 Anleitungen geschrieben

0 Kommentare

Kommentar hinzufügen

Seitenaufrufe:

Letzte 24 Stunden: 1

Letzte 7 Tage: 2

Letzte 30 Tage: 8

Insgesamt: 365