Einleitung
The heat sink is responsible for regulating the heat flow and temperature control in your device. If your device is overheating and not cooling itself down properly, then the heat sink will need to be replaced. Follow this guide for the steps on how to replace the heat sink.
Was du brauchst
-
-
-
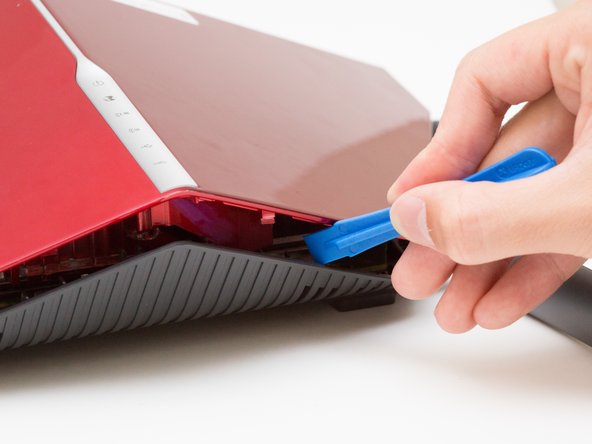
Wedge the opening tool between the red top panel and the gray bottom panel.
-
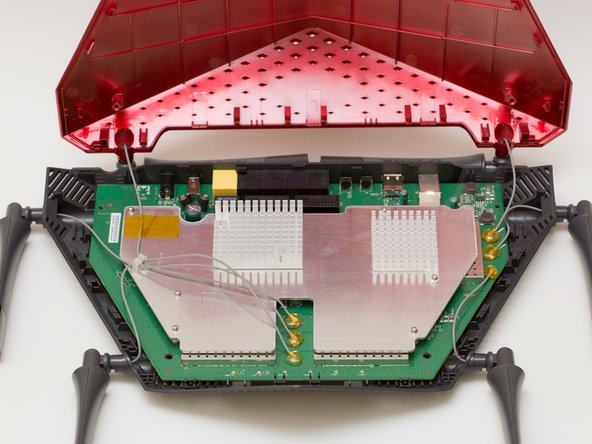
Twist the opening tool to separate the panels. Work your way around the case until both of the panels are separated.
-
-
-
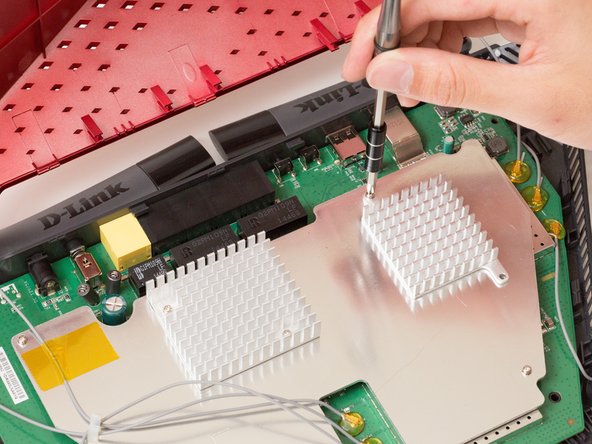
Unscrew the two 7mm screws with a Phillips #1 screwdriver.
-
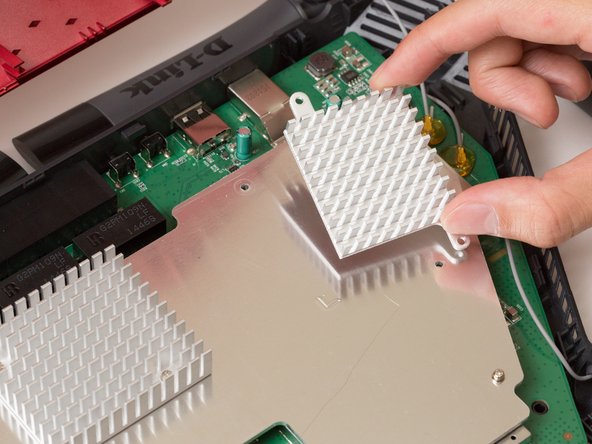
Lift the heat sink off the metal plate with your fingers.
-


To reassemble your device, follow these instructions in reverse order.
To reassemble your device, follow these instructions in reverse order.
Rückgängig: Ich habe diese Anleitung nicht absolviert.
Ein:e weitere:r Nutzer:in hat diese Anleitung absolviert.
Team

Cal Poly, Team 10-7, Livingston Fall 2016 Mitglied von Cal Poly, Team 10-7, Livingston Fall 2016
CPSU-LIVINGSTON-F16S10G7
4 Mitglieder
12 Anleitungen geschrieben