Einleitung
Follow this guide to replace the power cord to the drill, refer to the troubleshooting guide to determine if you need to replace the power cord. Troubleshooting guide
Was du brauchst
-
-
Remove the three screws with a Tr20 hex bit screwdriver.
-
Remove the back cover.
-
-
-
Unscrew the Tr20 Hex Screw connecting the green wire to the power cord.
-
-
-
-
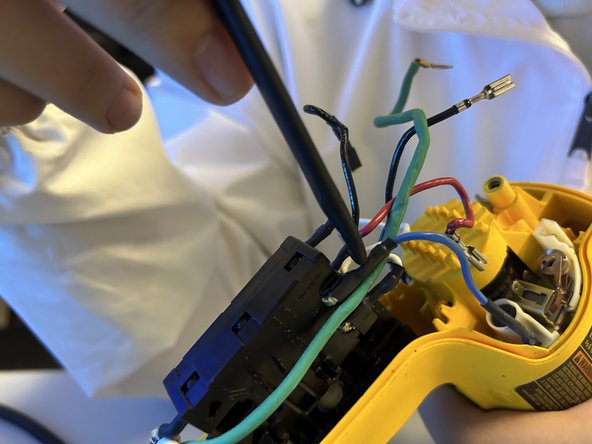
Disconnect all the wires connected from the trigger box and power cord to the drill motor by pulling on the connectors.
-
-
-
Disconnect the wires connecting the power cord to the trigger box by pressing on the clips with a spudger tool.
-


The power cord will now be disconnect and you can replace it with a new one.
To reassemble your device, follow these instructions in reverse order.
The power cord will now be disconnect and you can replace it with a new one.
To reassemble your device, follow these instructions in reverse order.
Rückgängig: Ich habe diese Anleitung nicht absolviert.
3 weitere Nutzer:innen haben diese Anleitung absolviert.
Team

University of North Texas, Team 3-6, Coppersmith Fall 2023 Mitglied von University of North Texas, Team 3-6, Coppersmith Fall 2023
UNT-COPPERSMITH-F23S3G6
4 Mitglieder
3 Anleitungen geschrieben