Einleitung
If the drill is on but not spinning, then the motor should be replaced.
Was du brauchst
-
-
Remove seven 21 mm Torx T15 screws.
-
Remove one 18 mm Torx T10 screw.
-
After removing all screws, lift up the top yellow cover.
-
-
-
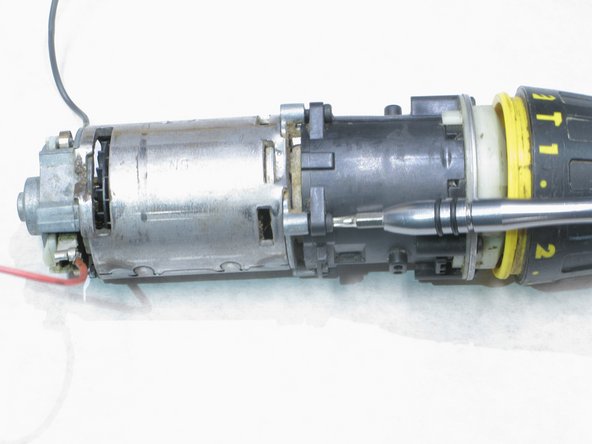
Lift the components out of the casing. These include: motor, gear assembly, trigger assembly and chuck.
-
-
-
-
Using the tweezers, grab the metal leg on either side of the switch and lift it outwards from the case.
-
-
-
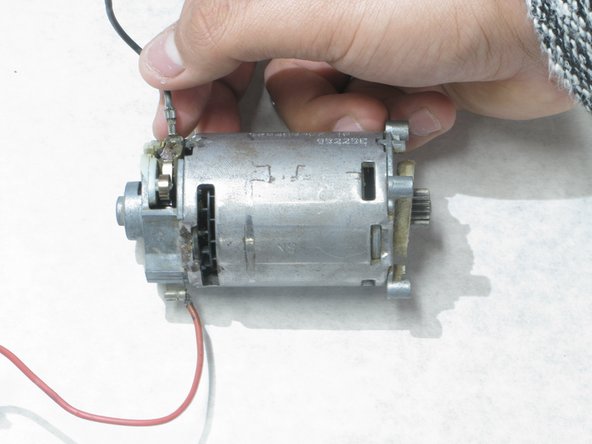
Use a Torx T10 screw bit to remove the four 11mm screws around the motor.
-


To reassemble your device, follow these instructions in reverse order.
To reassemble your device, follow these instructions in reverse order.
Rückgängig: Ich habe diese Anleitung nicht absolviert.
Eine weitere Person hat diese Anleitung absolviert.
Team

Western Carolina University, Team 1-2, Virtue Fall 2016 Mitglied von Western Carolina University, Team 1-2, Virtue Fall 2016
WCU-VIRTUE-F16S1G2
4 Mitglieder
8 Anleitungen geschrieben