Einleitung
If the drill constantly becomes too hot to use, the cooling fan may be broken or clogged. Use this guide to replace the armature or fan of the DeWalt DWD112 drill.
Was du brauchst
-
-
Remove the top cover to reveal the inside of the drill.
-
Set the top cover of the drill aside.
-
-
-
Using one hand grab the trigger box and with the other grab the end of the wire connecting to the trigger box and disconnect the wire.
-
-
-
-
Lift the trigger box up to reveal the bottom side.
-
Disconnect the first connected wire from the bottom of the trigger box.
-
-
-
Disconnect the last wire from the trigger box using the same method from the previous step.
-
-
-
After all four wires are disconnected, the trigger and power cord are separated from the drill.
-
-
-
Grab the metal chuck by the rotating spindle as if you are to tighten in a drill bit.
-
Lift the metal chuck out of its resting place and set aside.
-
-
-
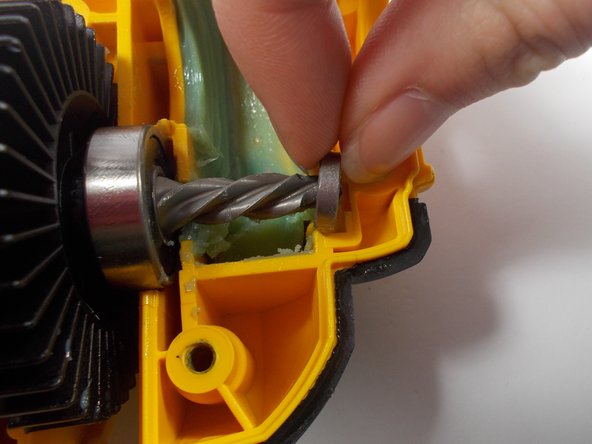
With your left hand, grab hold of the field, which is the large metal block with coils looped around the inside.
-
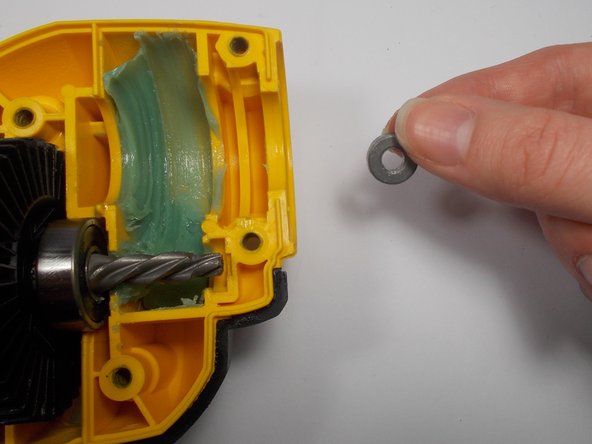
Use your other hand to take the bearing out from the end of the gear connected to the armature.
-
-
-
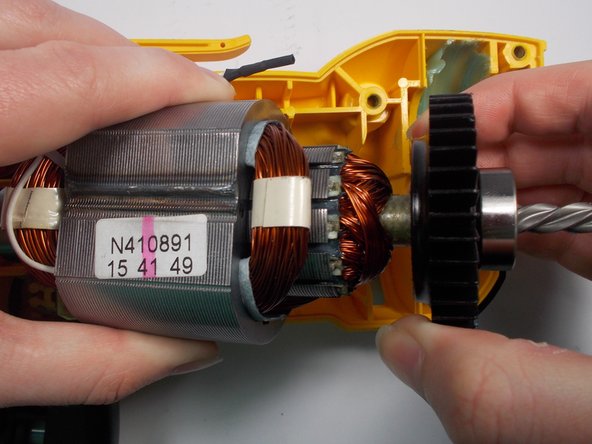
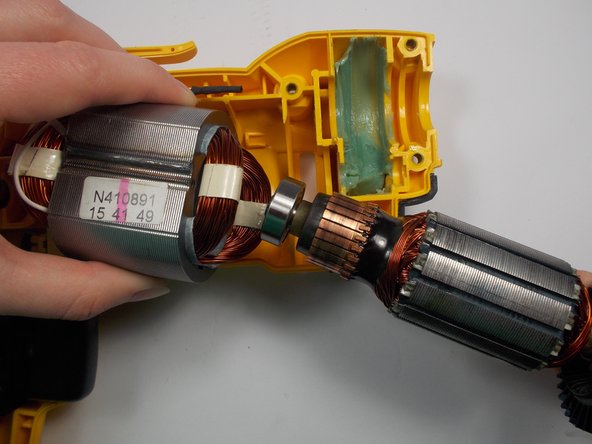
Lift the field up once more with one hand and grab the cooling fan with the other hand and gently slide the armature out of the field.
-


To reassemble your device, follow these instructions in reverse order.
To reassemble your device, follow these instructions in reverse order.
Team

UMass Dartmouth, Team 2-3, Isaacson Spring 2016 Mitglied von UMass Dartmouth, Team 2-3, Isaacson Spring 2016
UMASSD-ISAACSON-S16S2G3
3 Mitglieder
6 Anleitungen geschrieben