Einleitung
The chuck holds the drill bit in place—and if the chuck becomes broken, the drill serves no function. Use this guide to replace a damaged or broken chuck in the DeWalt DWD112.
Was du brauchst
-
-
-
Remove the top cover to reveal the inside of the drill.
-
Set the top cover of the drill aside.
-
-
-
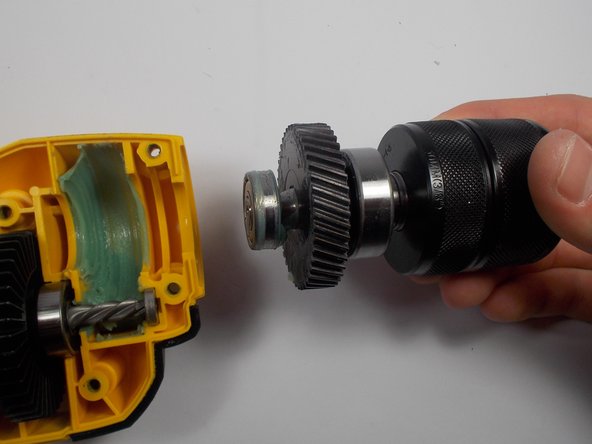
Grab the metal chuck by the rotating spindle as if you are to tighten in a drill bit.
-
Remove the chuck assembly from the drill.
-


To reassemble your device, follow these instructions in reverse order.
To reassemble your device, follow these instructions in reverse order.
Rückgängig: Ich habe diese Anleitung nicht absolviert.
Eine weitere Person hat diese Anleitung absolviert.
Team

UMass Dartmouth, Team 2-3, Isaacson Spring 2016 Mitglied von UMass Dartmouth, Team 2-3, Isaacson Spring 2016
UMASSD-ISAACSON-S16S2G3
3 Mitglieder
6 Anleitungen geschrieben
Ein Kommentar
Or actually read the manual, and find you can use an allen wrench with no dissasembly at all.