Einleitung
The power switch is for turning the device on and off. It can have trouble and not work if the button in the switch box wears out. This is a guide on how to repair the power switch
Was du brauchst
-
-
Turn to the bottom of the device and remove the 1 1/4" screw shown using a T15 Torx Screwdriver.
-
-
-
-
Unscrew the pin that is holding the main power cord in place and remove the cord.
-
-
-
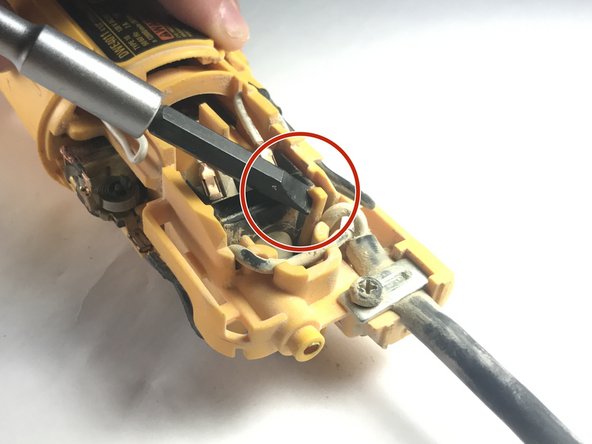
Pull back the tab holding the switch box in place using a nylon spudger. There is one on top and bottom shown in the image.
-
-
-
Remove the switch box entirely from its normal position. Gently pull off the connections from the switch box to the motor.
-
-
-
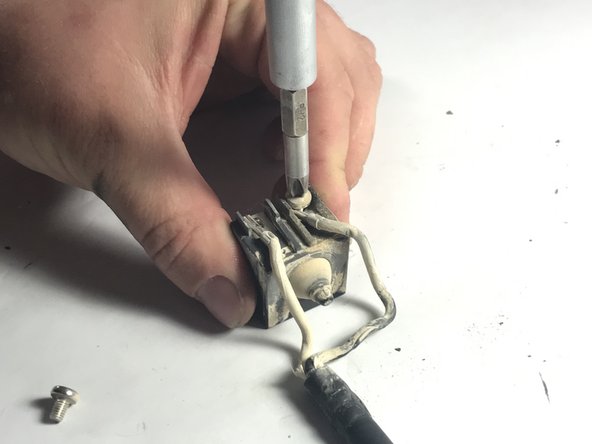
Using a small Phillips head screwdriver, remove the screws that hold the white colored wires from the power cord in place.
-
To reassemble your device, follow these instructions in reverse order.
To reassemble your device, follow these instructions in reverse order.
Rückgängig: Ich habe diese Anleitung nicht absolviert.
Ein:e weitere:r Nutzer:in hat diese Anleitung absolviert.


