Einleitung
Use this guide to replace the circuit board in a Dell Adamo 13 laptop computer.
Rarely will you ever need to replace a circuit board but if you do it is most likely because it has burn marks, scratches, damaged wires or cracks on it that may be disrupting the function of your laptop.
There are no special skills or tools needed to complete this guide.
Before beginning, be sure to completely power off your device.
Was du brauchst
-
-
Remove the bottom cover by unsnapping the clips around the edge of the computer.
-
-
-
-
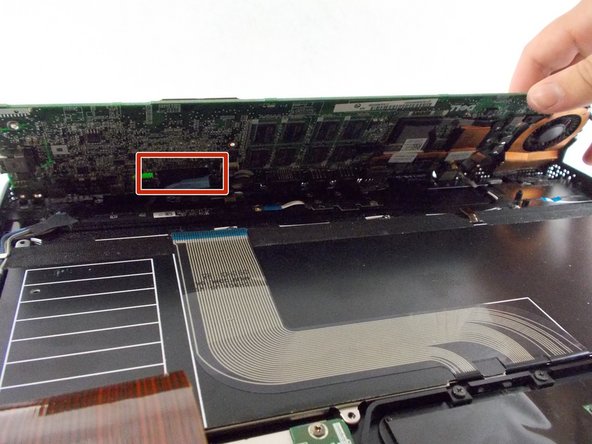
Disconnect orange film wire harness from the slot it is connected to.
-
Remove the battery from the device.
-
-
-
Using the Phillips #0 screwdriver, remove six 2 mm screws securing the fan and motherboard to the device.
-
-
-
Remove all the connections to the circuit board on top and underneath.
-
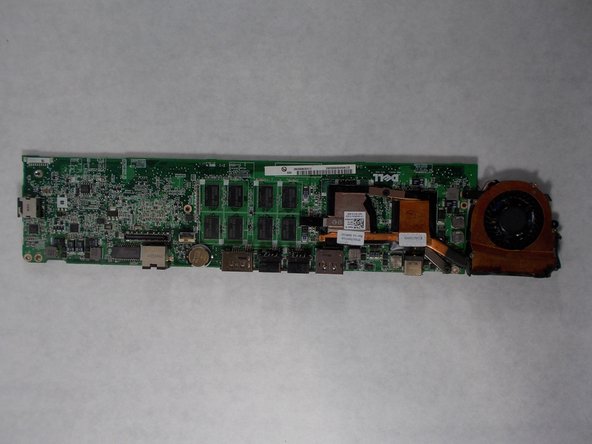
Remove the motherboard from the device.
-


To reassemble your device, follow these instructions in reverse order.
To reassemble your device, follow these instructions in reverse order.
Team

UMass Dartmouth, Team 3-7, Sinclaire Fall 2021 Mitglied von UMass Dartmouth, Team 3-7, Sinclaire Fall 2021
UMASSD-SINCLAIRE-F21S3G7
3 Mitglieder
7 Anleitungen geschrieben