Einleitung
This guide will show you how to replace the RAM in your Dell G3 15 3579 laptop.
Random-access memory (RAM) is one of the most important components in a computer’s performance. The more RAM your computer has the better it can run at its peak performance.
So the next best step is, replacing your Dell G3 15 3579 RAM will make it noticeably faster to operate! RAM upgrades on the laptop can be to either 16GB (gigabytes) or 32GB.
Before beginning, make sure you turn the power off completely and disconnect from any external power source.
Was du brauchst
-
-
Use the Phillips #0 to remove the eight screws (M2.5x6) on the bottom of the laptop.
-
Use the Phillips #0 to loosen the two captive screws (M2.5).
-
-
-
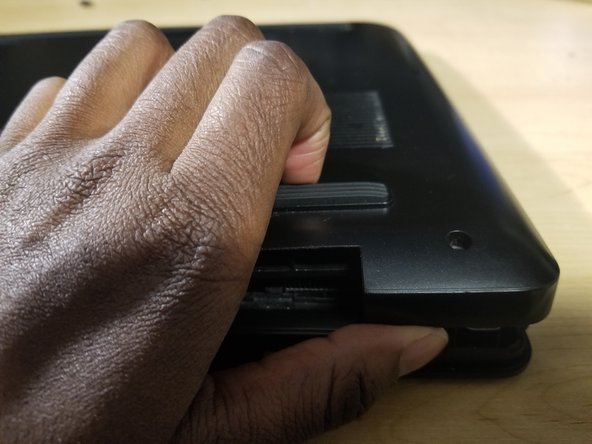
Use your hands or an opening tool to gently pry the bottom panel off, starting from the left hinge.
-
Continue prying from the bottom to the right side of the back panel and lift it off.
-
-
-
-
Release the tabs on each side of the chip by simultaneously pushing each tab away from the RAM.
-
After the RAM chip has popped up, pull it straight out of its socket.
-
-
-
Gently align the new RAM with the tab on the slot.
-
Then slide it firmly into the slot at an angle and press the RAM down until it clicks into place.
-
-
-
Align the bottom cover with the slots of the laptop and snap it into place.
-
Tighten the two captive screws (M2.5) to secure the bottom cover.
-
Replace the eight screws (M2.5x6) to secure the bottom cover.
-


To reassemble your device, follow these instructions in reverse order.
To reassemble your device, follow these instructions in reverse order.
Team

Embry-Riddle Aeronautical University, Team S7-G69, Rauch Spring 2021 Mitglied von Embry-Riddle Aeronautical University, Team S7-G69, Rauch Spring 2021
ERAU-RAUCH-S21S7G69
1 Mitglied
2 Anleitungen geschrieben