Zum Hauptinhalt wechseln

Dell Inspirion 15z-5523 Fan Replacement

Was du brauchst

  1. Dell Inspirion 15z-5523 Fan Replacement, Fan: Schritt 1, Bild 1 von 1
    • First turn over your computer and remove all of the rubber stoppers on the back.

  2. Dell Inspirion 15z-5523 Fan Replacement: Schritt 2, Bild 1 von 1
    • Then remove all the screws that were under the rubber stoppers.

  3. Dell Inspirion 15z-5523 Fan Replacement: Schritt 3, Bild 1 von 1
    • Take the screw out of the back plate.

  4. Dell Inspirion 15z-5523 Fan Replacement: Schritt 4, Bild 1 von 1
    • Remove back plate by grabbing and lifting up.

  5. Dell Inspirion 15z-5523 Fan Replacement: Schritt 5, Bild 1 von 1
    • Remove CD port by pulling it straight out.

  6. Dell Inspirion 15z-5523 Fan Replacement: Schritt 6, Bild 1 von 1
    • Remove the keyboard.

  7. Dell Inspirion 15z-5523 Fan Replacement: Schritt 7, Bild 1 von 1
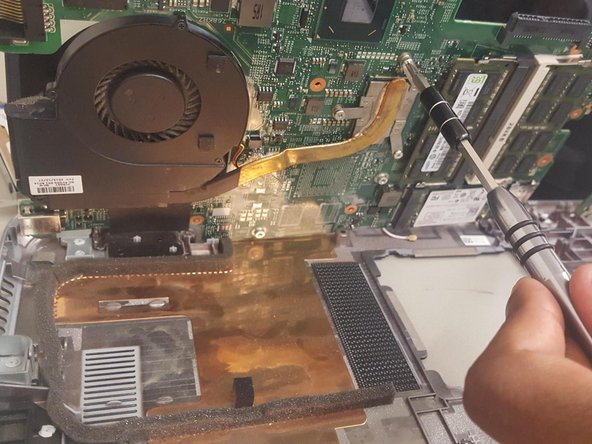
    • Take screw out of the surface below the keyboard and remove the top layer of the computer off of the base.

  8. Dell Inspirion 15z-5523 Fan Replacement: Schritt 8, Bild 1 von 1
    • Remove the battery by unscrewing the 5 screws and pull straight out.

  9. Dell Inspirion 15z-5523 Fan Replacement: Schritt 9, Bild 1 von 1
    • Remove the three screws from the hard drive and remove by pulling straight out.

  10. Dell Inspirion 15z-5523 Fan Replacement: Schritt 10, Bild 1 von 2 Dell Inspirion 15z-5523 Fan Replacement: Schritt 10, Bild 2 von 2
    • Unscrew motherboard and remove the two clips.

  11. Dell Inspirion 15z-5523 Fan Replacement: Schritt 11, Bild 1 von 2 Dell Inspirion 15z-5523 Fan Replacement: Schritt 11, Bild 2 von 2
    • Flip motherboard up, unscrew the three screws, and unclip the fan.

Abschluss

To reassemble your device, follow these instructions in reverse order.

0 Kommentare

Kommentar hinzufügen

Seitenaufrufe:

Letzte 24 Stunden: 0

Letzte 7 Tage: 0

Letzte 30 Tage: 2

Insgesamt: 812