Einleitung
If your laptop is not booting or functioning properly and all other potential hardware issues have been ruled out (Hard drive, RAM, etc.), then it might be time to replace your computer’s motherboard. The motherboard is the main circuit board of the computer that all other components connect to. This is a step-by-step guide to help replace your Dell Inspiron 13-7373 motherboard. Please note that this process does involve an almost complete disassembly of the computer! Take extra care when performing this repair and ensure that all components and screws/hardware are labeled and stored in a safe place.
Was du brauchst
-
-
Remove the ten 7.5mm Phillips #00 screws from the bottom of the laptop.
-
Use an opening tool to remove the bottom half of the case from the laptop.
-
-
-
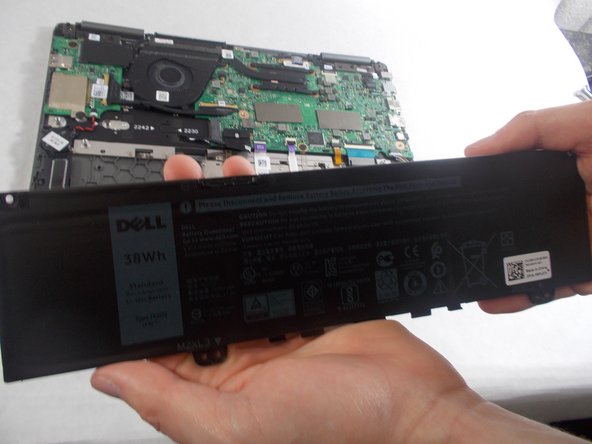
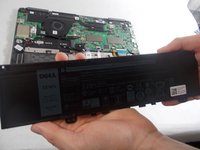
Use a Phillips screwdriver to remove the four screws holding the battery in place.
-
-
-
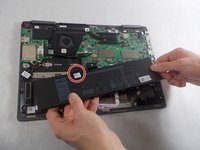
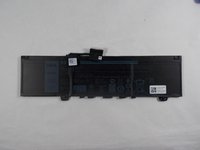
Pull the plastic tab on the battery cable to disconnect the cable from the battery.
-
-
-
-
Use the Phillips #00 screwdriver to remove the single screw holding in the network card.
-
Remove the network card from the laptop.
-
-
-
Use the Phillips #00 screwdriver to remove the two 1mm screws holding in the daughterboard.
-
Remove the metal piece holding in the daughterboard.
-
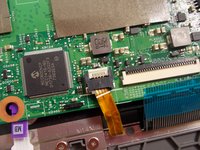
Disconnect the two cable connectors from the daughterboard.
-
If the cables are stuck, gently wiggle them until they disconnect.
-
-
-
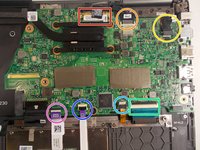
Release the IO Board Cable.
-
Release the Touchpad cable.
-
Release the keyboard back-light cable.
-
Release the keyboard cable.
-
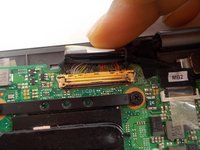
Release the eDP cable.
-
Release the dc-in cable.
-
Release the cable for the LED charging indicator by gently pulling up on the connector.
-


To reassemble your device, follow these instructions in reverse order.
To reassemble your device, follow these instructions in reverse order.
Rückgängig: Ich habe diese Anleitung nicht absolviert.
Eine weitere Person hat diese Anleitung absolviert.
Team

UMass Dartmouth, Team S1-G4, O'Connell Fall 2019 Mitglied von UMass Dartmouth, Team S1-G4, O'Connell Fall 2019
UMASSD-O'CONNELL-F19S1G4
3 Mitglieder
5 Anleitungen geschrieben