Einleitung
The CPU fan makes sure your CPU does not overheat. This guide shows the process of removing the CPU fan from the Dell Inspiron 15-7547.
Was du brauchst
-
-
Close the display and flip the laptop on its back.
-
Loosen the ten 5.0 mm-long Phillips #0 screws.
-
The four screws marked with orange will remain captive to the cover.
-
-
-
-
Remove the two 5.0 mm-long Philips #0 screws from the fan.
-
The screw marked in orange will remain captive to the fan.
-
-
-
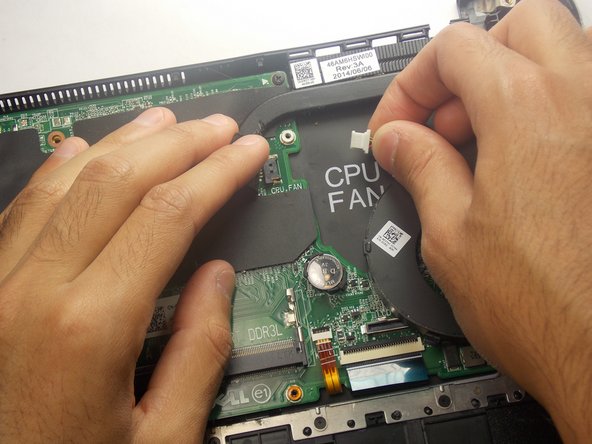
Disconnect the wire that connects the fan to the motherboard. This can be found under the flap directly to the left of the fan.
-


To reassemble your device, follow these instructions in reverse order.
To reassemble your device, follow these instructions in reverse order.
Team

Appalachian State University, Team S2-G4, Menagarishvili Fall 2018 Mitglied von Appalachian State University, Team S2-G4, Menagarishvili Fall 2018
APSU-MENAGARISHVILI-F18S2G4
3 Mitglieder
10 Anleitungen geschrieben