Zum Hauptinhalt wechseln

Dell Inspiron 15-7547 Speakers Replacement

Was du brauchst

  1. Dell Inspiron 15-7547 Speakers Replacement, Bottom Cover: Schritt 1, Bild 1 von 1
    • Before you begin, be sure to turn off your laptop and unplug it from the outlet.

    • Close the display and flip the laptop on its back.

    • Loosen the ten 5.0 mm-long Phillips #0 screws.

    • The four screws marked with orange will remain captive to the cover.

  2. Dell Inspiron 15-7547 Speakers Replacement: Schritt 2, Bild 1 von 1
    • Use a spudger to pry up and loosen the back cover.

    • Remove the back cover.

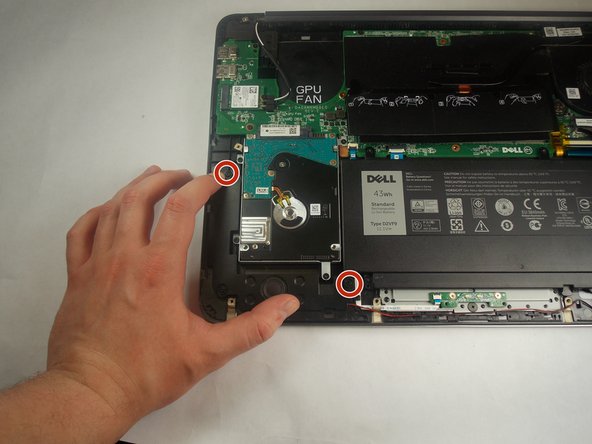
  3. Dell Inspiron 15-7547 Speakers Replacement, Speakers: Schritt 3, Bild 1 von 3 Dell Inspiron 15-7547 Speakers Replacement, Speakers: Schritt 3, Bild 2 von 3 Dell Inspiron 15-7547 Speakers Replacement, Speakers: Schritt 3, Bild 3 von 3
    • Orient the computer so that the hinge for the display facing away from you.

    • Start removing the speaker on the left by pushing the speaker in the direction of the tick mark on the 2 outer pegs, then upwards

    • The tick marks on the two marked pegs should indicate the speaker needs to be pushed towards the center of the front of the chassis.

  4. Dell Inspiron 15-7547 Speakers Replacement: Schritt 4, Bild 1 von 2 Dell Inspiron 15-7547 Speakers Replacement: Schritt 4, Bild 2 von 2
    • Remove the left speaker by pushing the speaker in the direction of the tick mark on the center peg, then upwards

    • The tick mark should indicate towards the middle of the back of the chassis.

  5. Dell Inspiron 15-7547 Speakers Replacement: Schritt 5, Bild 1 von 2 Dell Inspiron 15-7547 Speakers Replacement: Schritt 5, Bild 2 von 2
    • Remove the wire connecting the left speaker to the right speaker.

    • The wire is secured by small notches, be careful not to break these.

  6. Dell Inspiron 15-7547 Speakers Replacement: Schritt 6, Bild 1 von 2 Dell Inspiron 15-7547 Speakers Replacement: Schritt 6, Bild 2 von 2
    • Start removing the right speaker by pushing the speaker in the direction of the tick marks on the 2 pegs closest to the front of the device, and then upwards.

    • These tick marks should indicate towards the middle of the back of the chassis.

  7. Dell Inspiron 15-7547 Speakers Replacement: Schritt 7, Bild 1 von 1
    • Remove the right speaker by pushing in the direction of the tick mark on the final peg, and then upwards.

    • This tick mark should point towards the center of the right side of the chassis.

  8. Dell Inspiron 15-7547 Speakers Replacement: Schritt 8, Bild 1 von 2 Dell Inspiron 15-7547 Speakers Replacement: Schritt 8, Bild 2 von 2
    • Remove the cable connecting the right speaker to the motherboard by pulling towards the front of the device.

Abschluss

To reassemble your device, follow these instructions in reverse order.

Ein:e weitere:r Nutzer:in hat diese Anleitung absolviert.

Claro

Mitglied seit: 09/10/18

591 Reputation

5 Anleitungen geschrieben

0 Kommentare

Kommentar hinzufügen

Seitenaufrufe:

Letzte 24 Stunden: 0

Letzte 7 Tage: 0

Letzte 30 Tage: 2

Insgesamt: 556