Zum Hauptinhalt wechseln

Dell Inspiron 7306 P125 Battery Replacement

Was du brauchst

  1. Dell Inspiron 7306 P125 Battery Replacement, Battery: Schritt 1, Bild 1 von 2 Dell Inspiron 7306 P125 Battery Replacement, Battery: Schritt 1, Bild 2 von 2
    • Turn off the laptop with the power button and close it.

    • Disconnect any power sources from the laptop.

  2. Dell Inspiron 7306 P125 Battery Replacement: Schritt 2, Bild 1 von 2 Dell Inspiron 7306 P125 Battery Replacement: Schritt 2, Bild 2 von 2
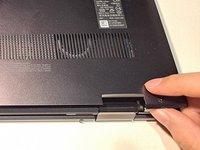
    • Use the Phillips #00 screwdriver to remove the seven M2x4 screws from the back panel of the laptop.

  3. Dell Inspiron 7306 P125 Battery Replacement: Schritt 3, Bild 1 von 3 Dell Inspiron 7306 P125 Battery Replacement: Schritt 3, Bild 2 von 3 Dell Inspiron 7306 P125 Battery Replacement: Schritt 3, Bild 3 von 3
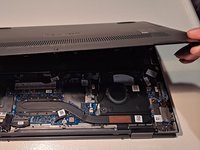
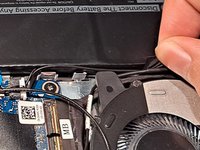
    • Grab a corner of the back cover or use a spudger to lift the cover.

    • Pull the cover up around the edges until it is completely removed.

  4. Dell Inspiron 7306 P125 Battery Replacement: Schritt 4, Bild 1 von 2 Dell Inspiron 7306 P125 Battery Replacement: Schritt 4, Bild 2 von 2
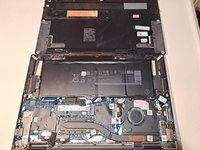
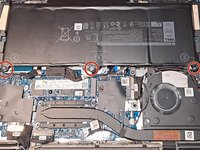
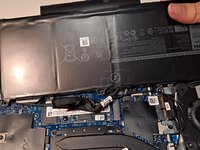
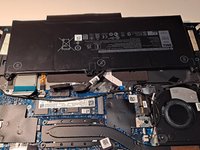
    • Remove the three tapes on the left, middle, and right of the battery.

  5. Dell Inspiron 7306 P125 Battery Replacement: Schritt 5, Bild 1 von 3 Dell Inspiron 7306 P125 Battery Replacement: Schritt 5, Bild 2 von 3 Dell Inspiron 7306 P125 Battery Replacement: Schritt 5, Bild 3 von 3
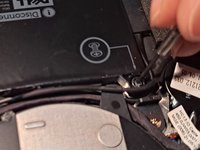
    • Remove the three M2x3.5 screws that have a screw icon above them with the Phillips #00 screwdriver

    • Do not interact with the object located to the left of the middle screw.

  6. Dell Inspiron 7306 P125 Battery Replacement: Schritt 6, Bild 1 von 2 Dell Inspiron 7306 P125 Battery Replacement: Schritt 6, Bild 2 von 2
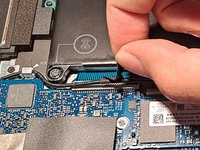
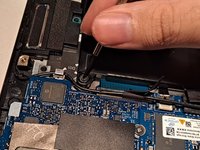
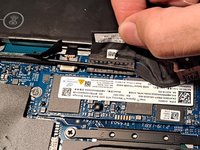
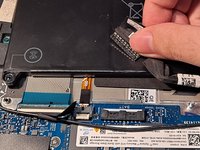
    • Pull the battery cable towards the direction of the opening.

    • Do not pull the cable upwards.

  7. Dell Inspiron 7306 P125 Battery Replacement: Schritt 7, Bild 1 von 3 Dell Inspiron 7306 P125 Battery Replacement: Schritt 7, Bild 2 von 3 Dell Inspiron 7306 P125 Battery Replacement: Schritt 7, Bild 3 von 3
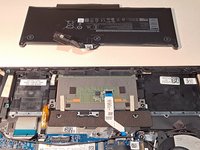
    • Insert the new battery. Align the holes of the screwdriver with the center object.

    • Apply the tape from the wires to the battery once more.

    • Ensure that the cover snaps into place when closing the back cover.

Abschluss

To reassemble your device, follow these instructions in reverse order.

Eine weitere Person hat diese Anleitung absolviert.

Team

CSU Los Angeles, Team 2-73, Briggs Spring 2023 Mitglied von CSU Los Angeles, Team 2-73, Briggs Spring 2023

CSULA-BRIGGS-S23S2G73

1 Mitglied

1 Anleitung geschrieben

0 Kommentare

Kommentar hinzufügen

Seitenaufrufe:

Letzte 24 Stunden: 5

Letzte 7 Tage: 17

Letzte 30 Tage: 81

Insgesamt: 667