Einleitung
Replacing the screen is a lengthy process that can take a while. It is important you are gentle with the screen as it can be damaged quite easily. Additionally, the screen should be disposed of according to local laws.
Was du brauchst
-
-
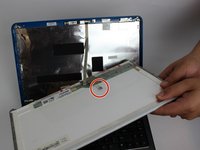
Using the #0 Philips head, unscrew the screen bracket from the base of the laptop.
-
-
-
-
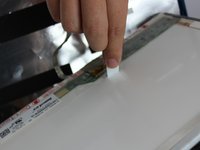
Remove the plastic seal located on the back of the screen to expose the ribbon connector.
-
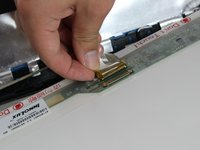
Unplug the ribbon cable from the screen.
-
-
-
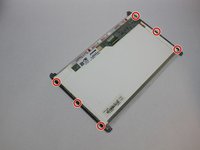
Use the #0 Philips head to remove the six screws on either sides of the screen frame.
-
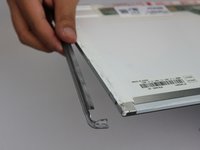
Remove the metal frame from the screen.
-


To reassemble your device, follow these instructions in reverse order.
To reassemble your device, follow these instructions in reverse order.
Rückgängig: Ich habe diese Anleitung nicht absolviert.
2 weitere Personen haben diese Anleitung absolviert.
Team

USF Tampa, Team S13-G5, Boczar Fall 2017 Mitglied von USF Tampa, Team S13-G5, Boczar Fall 2017
USFT-BOCZAR-F17S13G5
5 Mitglieder
9 Anleitungen geschrieben