Einleitung
If your Dell Latitude 3380 is failing to produce video or images, it likely has a defective display, which will require a replacement in order to fix the problem.
Before starting, make sure to properly shut down the laptop and drain all power. Also, make sure you have the replacement display assembly and the proper tools in order to do the repair.
Was du brauchst
-
-
Turn the laptop over so that the back is facing up.
-
Remove the nine 3 mm screws with a Phillips #0 screwdriver.
-
-
-
-
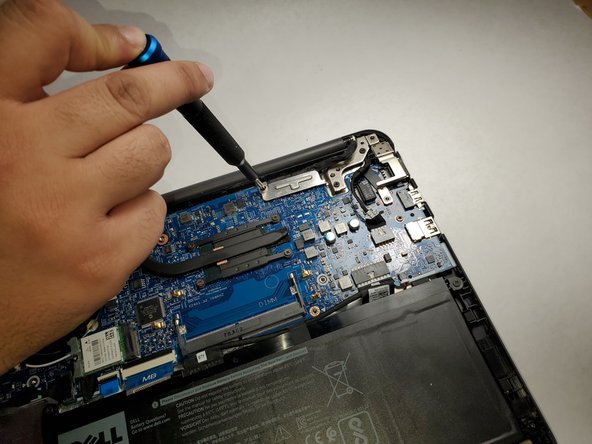
Remove the single 3 mm screw from the metal bracket using a Phillips #0 screwdriver.
-
Remove the metal bracket.
-
Use a spudger to gently detach the connector from the motherboard.
-
-
-
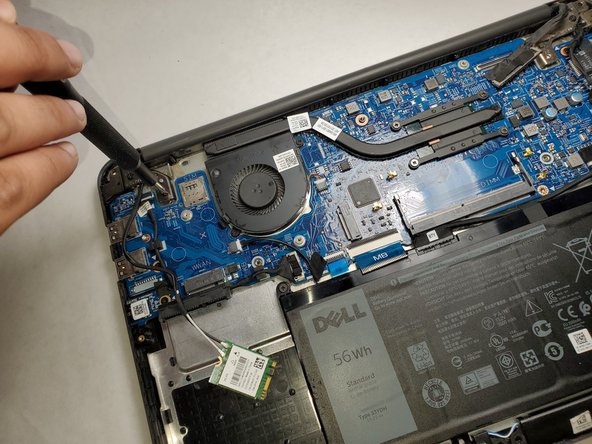
Remove the two 3 mm screws (four total) from both sides of the laptop using a Phillips #0 screwdriver.
-
Lift up the bottom part of the laptop to separate the display assembly from the rest of the laptop.
-


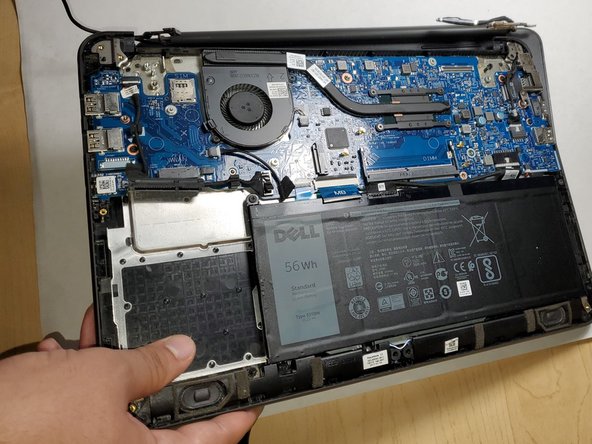
To reassemble your device, follow these instructions in reverse order.
To reassemble your device, follow these instructions in reverse order.
Team

Gateway, Team 1-3, Pee Fall 2021 Mitglied von Gateway, Team 1-3, Pee Fall 2021
GCC-PEE-F21S1G3
3 Mitglieder
6 Anleitungen geschrieben