Einleitung
If you need to replace components or access the internals of your Dell Latitude 7390, this guide will show you how. This guide demonstrates how to take off the back panel of the Dell Latitude 7390.
Before beginning the guide, be sure to power off the device and unplug from the power adapter.
Was du brauchst
-
-
Orient your Dell Latitude 7390 laptop so that it is facing towards you as if you're going to open it.
-
-
-
-
Using your Phillips #1 screwdriver, remove the eight 6 mm screws around the border of the bottom panel.
-
-
-
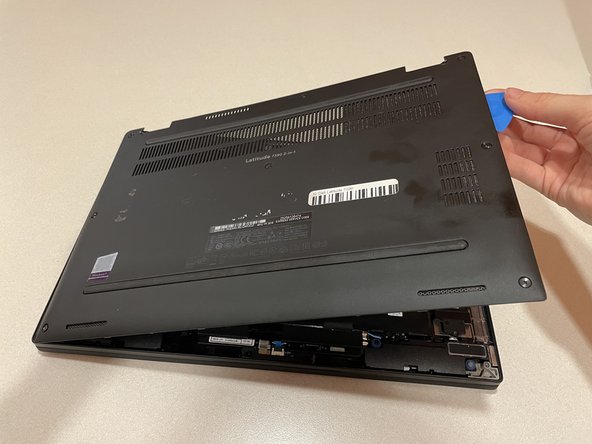
Using an opening tool or picks, work your way around the periphery and pry the back case off.
-
-
-
Finally, lift the back panel off to uncover the inside of your Dell Latitude 7390.
-


To reassemble your device, follow these instructions in reverse order.
To reassemble your device, follow these instructions in reverse order.

Team

Clemson, Team 1-4, Hunter Spring 2022 Mitglied von Clemson, Team 1-4, Hunter Spring 2022
CLEM-HUNTER-S22S1G4
5 Mitglieder
7 Anleitungen geschrieben