Einleitung
This replacement guide will show you how to replace the auxiliary (aux) cord on your Dell VRP100 headset. Most audio-related issues will stem from the aux cord so it is important to replace it to ensure the highest audio quality.
Was du brauchst
-
-
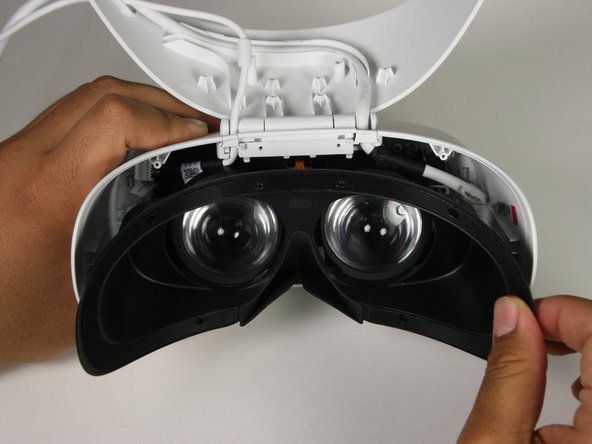
Remove the black foam padding by peeling away slowly.
-
Remove the front and back padding from the headset by peeling away slowly.
-
-
-
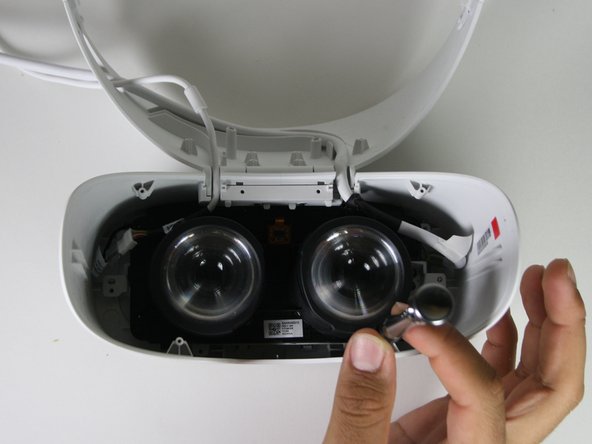
Remove the six 5.5mm PH000 screws from the cover by rotating counter-clockwise.
-
-
-
Remove the cover using one of the plastic opening tools, and then carefully pull it from the casing.
-
-
-
-
Remove the six 5.5mm PH000 screws from the cover by rotating counter-clockwise.
-
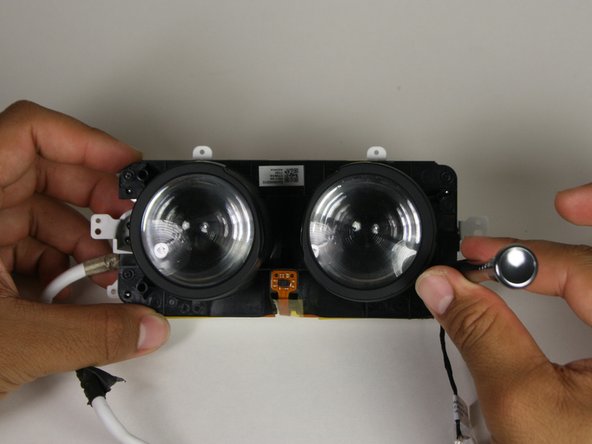
Carefully remove the lens and motherboard assembly from the white casing.
-
-
-
Remove the four 2.5mm PH000 screws by rotating counter-clockwise.
-
Separate the lens housing from the motherboard panel.
-
-
-
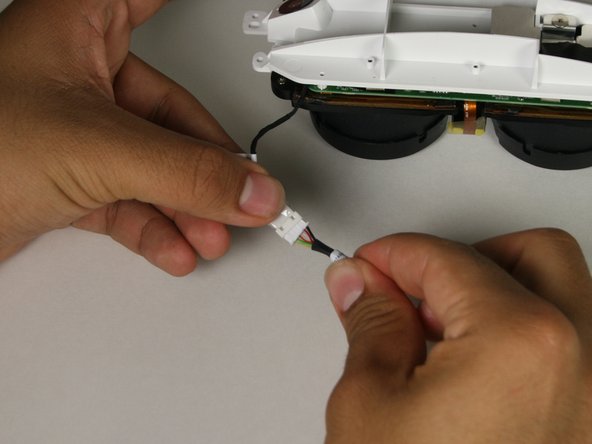
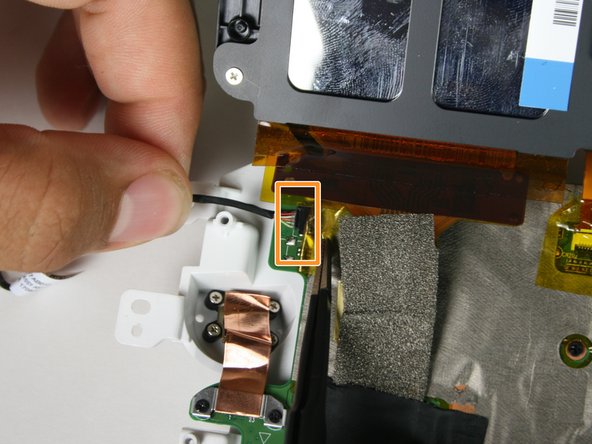
In the top right corner of the motherboard panel, peel back the yellow tape covering the bundled auxiliary cable connector using tweezers.
-
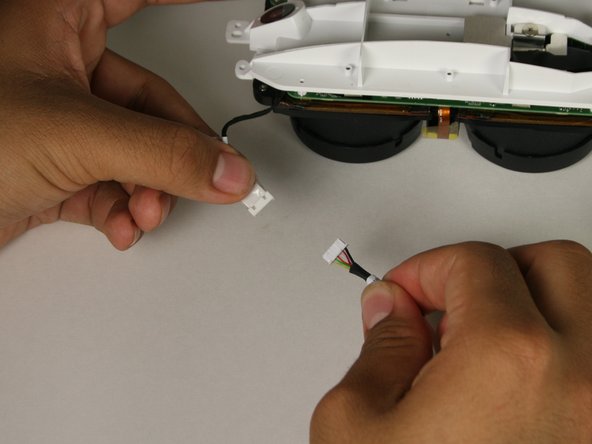
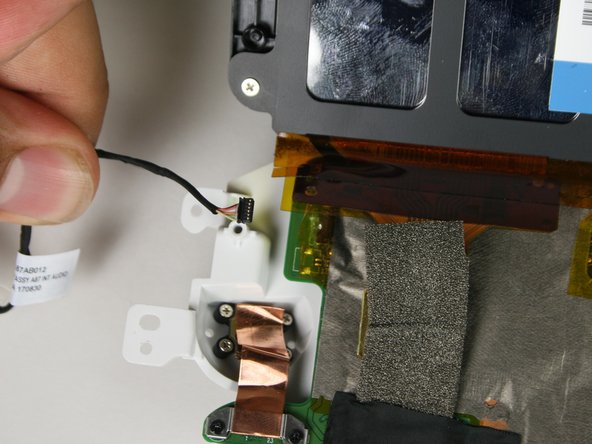
Carefully pull out the bundled cable connectors.
-


To reassemble your device, follow these instructions in reverse order.
To reassemble your device, follow these instructions in reverse order.
Rückgängig: Ich habe diese Anleitung nicht absolviert.
Ein:e weitere:r Nutzer:in hat diese Anleitung absolviert.
Team

Cal Poly, Team S17-G1, White Fall 2018 Mitglied von Cal Poly, Team S17-G1, White Fall 2018
CPSU-WHITE-F18S17G1
4 Mitglieder
12 Anleitungen geschrieben