Zum Hauptinhalt wechseln

Dell XPS 13 L321X Fan Replacement

Was du brauchst

  1. Dell XPS 13 L321X Fan Replacement, Fan: Schritt 1, Bild 1 von 2 Dell XPS 13 L321X Fan Replacement, Fan: Schritt 1, Bild 2 von 2
    • Remove ten 3mm screws from the back cover with a T5 screwdriver.

  2. Dell XPS 13 L321X Fan Replacement: Schritt 2, Bild 1 von 1
    • Remove the ribbons from both sides with a plastic iFixit opening tool.

  3. Dell XPS 13 L321X Fan Replacement: Schritt 3, Bild 1 von 1
    • Use a PH1 screwdriver to remove the two 3mm screws that secure the fan.

  4. Dell XPS 13 L321X Fan Replacement: Schritt 4, Bild 1 von 2 Dell XPS 13 L321X Fan Replacement: Schritt 4, Bild 2 von 2
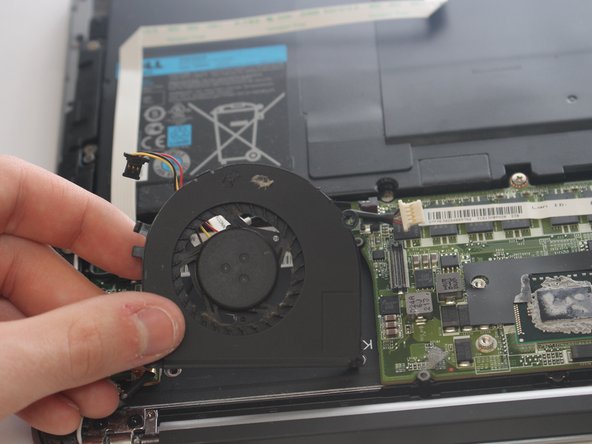
    • Use a plastic iFixit opening tool to remove the wire connected to the fan.

    • Lift the fan up to remove.

Ziellinie

Team

USF Tampa, Team S6-G3, Lacy Spring 2017 Mitglied von USF Tampa, Team S6-G3, Lacy Spring 2017

USFT-LACY-S17S6G3

4 Mitglieder

5 Anleitungen geschrieben

0 Kommentare

Kommentar hinzufügen

Seitenaufrufe:

Letzte 24 Stunden: 0

Letzte 7 Tage: 0

Letzte 30 Tage: 13

Insgesamt: 1,202