Zum Hauptinhalt wechseln

Dell XPS M140 Screen Replacement

Was du brauchst

  1. Dell XPS M140 Screen Replacement, Battery: Schritt 1, Bild 1 von 1
    • The first step is to turn over the laptop

  2. Dell XPS M140 Screen Replacement: Schritt 2, Bild 1 von 1
    • Locate the slide lock for the battery.

  3. Dell XPS M140 Screen Replacement: Schritt 3, Bild 1 von 2 Dell XPS M140 Screen Replacement: Schritt 3, Bild 2 von 2
    • Slide the lock and pull out the battery.

  4. Dell XPS M140 Screen Replacement, Screen: Schritt 4, Bild 1 von 3 Dell XPS M140 Screen Replacement, Screen: Schritt 4, Bild 2 von 3 Dell XPS M140 Screen Replacement, Screen: Schritt 4, Bild 3 von 3
    • On the plastic casing around the screen, there should be gray rubber circles lining the perimeter of the casing.

    • Remove these by peeling them off.

    • This will expose the screws underneath.

  5. Dell XPS M140 Screen Replacement: Schritt 5, Bild 1 von 1
    • Unscrew the screws on the casing that you just exposed.

  6. Dell XPS M140 Screen Replacement: Schritt 6, Bild 1 von 3 Dell XPS M140 Screen Replacement: Schritt 6, Bild 2 von 3 Dell XPS M140 Screen Replacement: Schritt 6, Bild 3 von 3
    • Remove the casing.

    • This step requires care; the casing is secured with plastic clips that need to be popped off.

    • Run your hand, or a tool, around the perimeter, the casing should come off.

  7. Dell XPS M140 Screen Replacement: Schritt 7, Bild 1 von 3 Dell XPS M140 Screen Replacement: Schritt 7, Bild 2 von 3 Dell XPS M140 Screen Replacement: Schritt 7, Bild 3 von 3
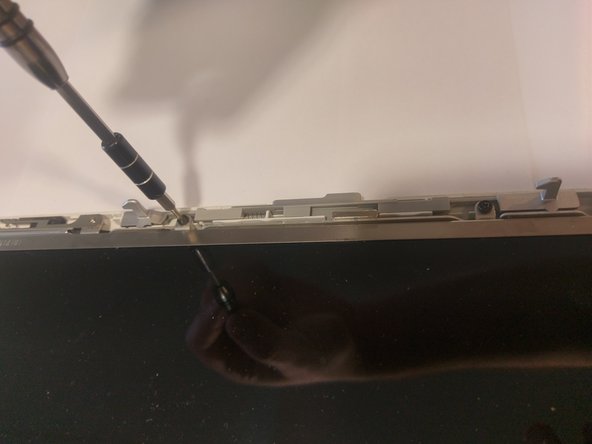
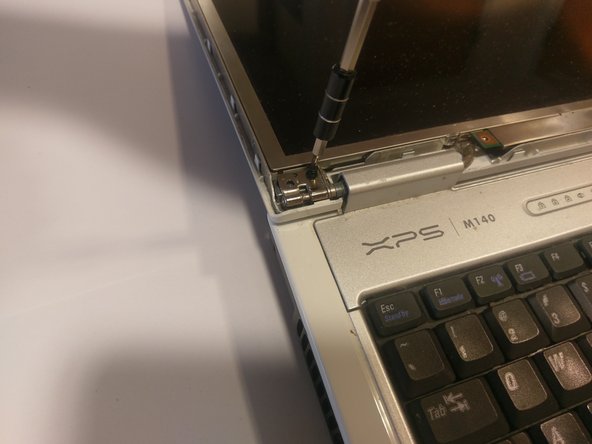
    • Once the casing is removed, more screws should be exposed.

    • Remove every screw.

  8. Dell XPS M140 Screen Replacement: Schritt 8, Bild 1 von 3 Dell XPS M140 Screen Replacement: Schritt 8, Bild 2 von 3 Dell XPS M140 Screen Replacement: Schritt 8, Bild 3 von 3
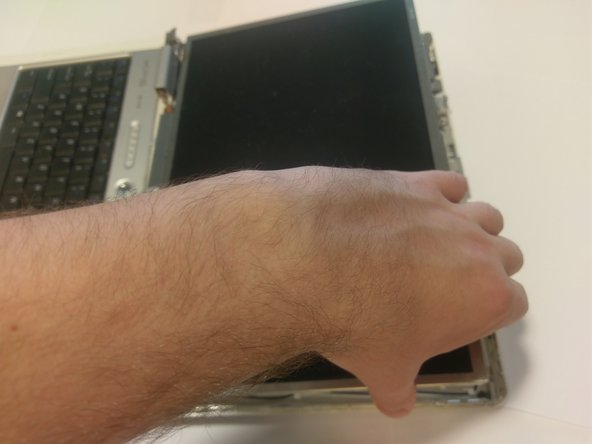
    • Once all of the screws are removed, the screen should be loose.

    • Gently pick it up and place it face down onto the keyboard.

  9. Dell XPS M140 Screen Replacement: Schritt 9, Bild 1 von 3 Dell XPS M140 Screen Replacement: Schritt 9, Bild 2 von 3 Dell XPS M140 Screen Replacement: Schritt 9, Bild 3 von 3
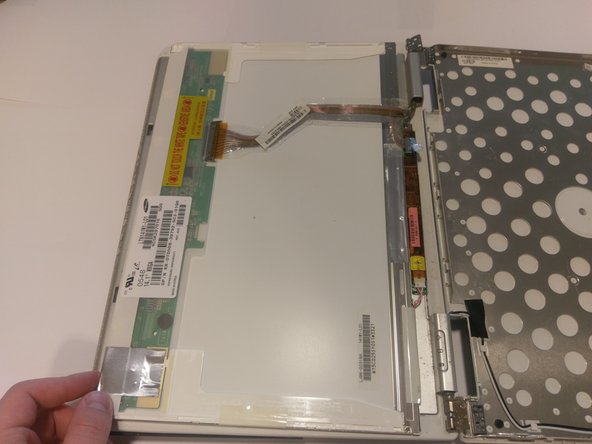
    • There should be two connections.

    • One with a blue looking handle, and one with clips.

    • To remove the connection with the clips, squeeze the two clips together and pull the ribbon cable.

    • To remove the connection with the blue handle, gently pull on the blue handle, it should come right off.

Abschluss

To reassemble your device, follow these instructions in reverse order.

Team

UMass Dartmouth, Team S9-G5, Martin Spring 2017 Mitglied von UMass Dartmouth, Team S9-G5, Martin Spring 2017

UMASSD-MARTIN-S17S9G5

4 Mitglieder

5 Anleitungen geschrieben

0 Kommentare

Kommentar hinzufügen

Seitenaufrufe:

Letzte 24 Stunden: 0

Letzte 7 Tage: 1

Letzte 30 Tage: 5

Insgesamt: 299