Einleitung
Whether for installing a new stereo system, or just for checking for disconnected wires, the center console of a car often needs to be removed. This guide will show you how to remove the center console of your 2010-2014 Ford Mustang.
Was du brauchst
-
-
Open the rear part of the middle console.
-
-
-
Grip the right side of the console and pull up towards the passenger seat to remove it.
-
-
-
-
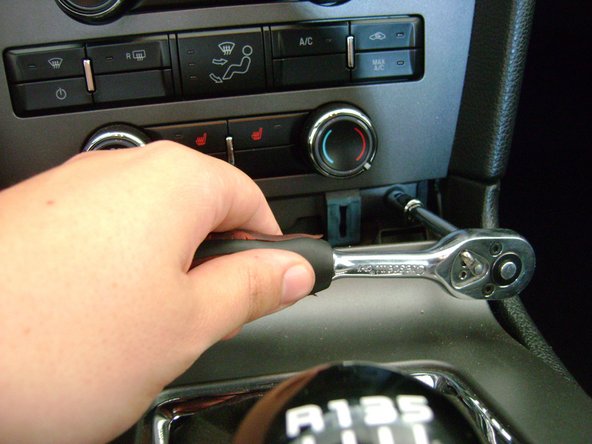
Locate the two bolts under the air conditioning controls at the bottom of the face plate.
-
Loosen these two bolts with a basic socket wrench suited for 7mm bolts.
-
-
-
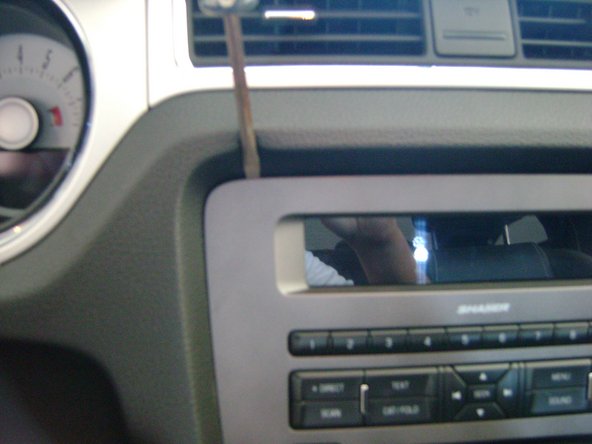
Wedge a spudger or plastic opening tool (in place of the screwdriver shown) under the top of the face plate.
-
Apply pressure until the corners "pop" out of place.
-
-
-
Inspect the interior of the center console for damaged wires or other faulty components.
-


To reassemble your device, follow these instructions in reverse order.
To reassemble your device, follow these instructions in reverse order.
Rückgängig: Ich habe diese Anleitung nicht absolviert.
14 weitere Nutzer:innen haben diese Anleitung absolviert.
Team

Cal Poly, Team 15-45, Forte Fall 2012 Mitglied von Cal Poly, Team 15-45, Forte Fall 2012
CPSU-FORTE-F12S15G45
5 Mitglieder
6 Anleitungen geschrieben
4 Kommentare
Were can I get that faceplate connector and the connectors for the sterio...I have a 2010 v6 mustang
I found a replacement but need wire configuration for the 4 wires can anyone help ?
Try using the correct tool to remove panels...
The screwdriver is not required. Nor is any other tool at that point. GENTLY pull from the tabs where you removed the screws.
The faceplate will begin to loosen from the bottom up. After pulling out a few inches, push back inward about a half of an inch. This has the effect of a teeter/totter on the remaining top wedge pins. Now grasp the two knobs on the bottom of the panel (fan and temp) and loosen first the left side and then the right side. No real force required at any time and practically falls out. NO SCARS on the trim.
cheers,
dbw -