Einleitung
This guide will go through the disassembly steps necessary to access the keyboard, battery, heat sink, fan, and screen. Exercise care when working with parts near the wiring inside the laptop.
Was du brauchst
-
-
Turn off the computer.
-
Disconnect the charging cable from the computer.
-
Top Panel: Use a Plastic Opening Tool to carefully pry the top panel from the base.
-
-
-
Keyboard: Lift the side of the keyboard gently and disconnect the attached ribbon located underneath the keyboard.
-
Place your index finger in the hole on the right side of the keyboard tray and lift the tray gently.
-
-
-
Battery: Use your fingers to lift the battery and gently disconnect the wires from the base.
-
-
-
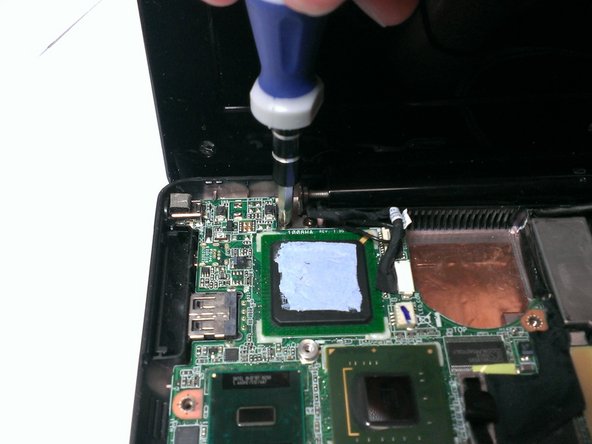
Heat sink: Use a Phillips head screwdriver to unscrew the screws that connect the heat sink to the fan.
-
Use a Flathead Screwdriver to gently lift the copper heat sink and use your fingers to remove it from the laptop.
-
-
-
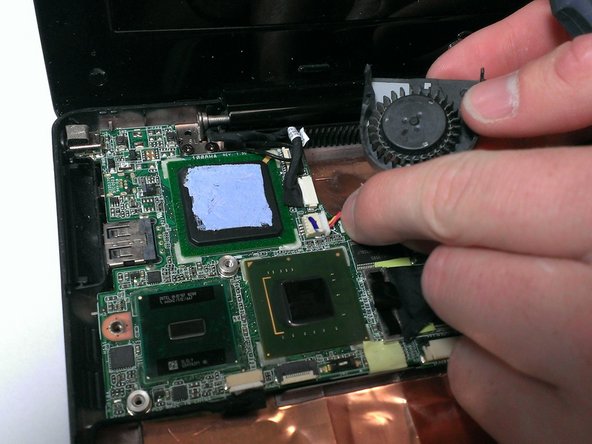
Fan: Unscrew the screws that secure the fan.
-
Use your fingers to lift the fan and pull the white plug carefully from the motherboard.
-
-
-
-
USB header card: Use the Phillips head screwdriver to unscrew the 3 screws from the USB header card.
-
-
-
Use your fingers to pull the USB header card from the side of the device chassis. (The USB header card will remain attached by wires.)
-
-
-
Screen: Hold the USB header card in one hand.
-
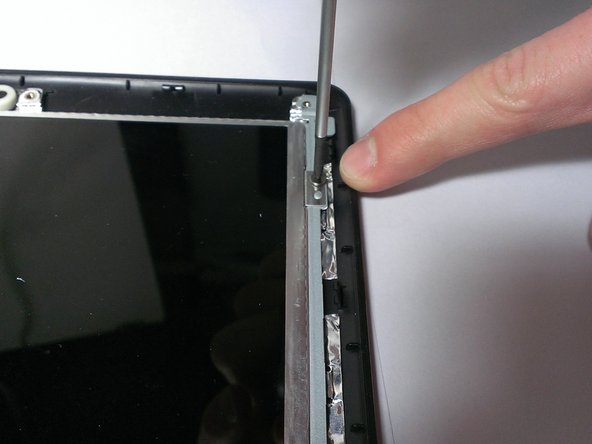
Use your other hand to unscrew the 4 screws (2 on each side) that attach the screen to the base.
-
-
-
Use your fingers to hold the screen and carefully disconnect it from the right side of the base.
-
Loosen the screen from the left side of the base.
-
-
-
Use a Flathead Screwdriver to pry off the chits from the front panel. (The chits are the small black rubber caps.)
-
Unscrew the screws that connect the front panel of the screen.
-
-
-
Slide the Plastic Opening Tool under the edge of the screen bezel to release the front panel of the screen.
-
-
-
Unscrew the screws from the edge of the screen.
-
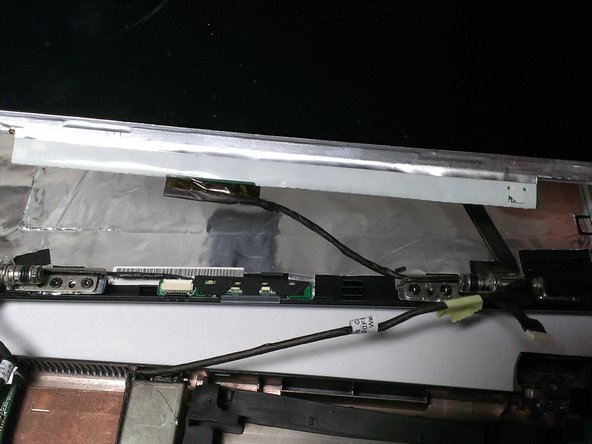
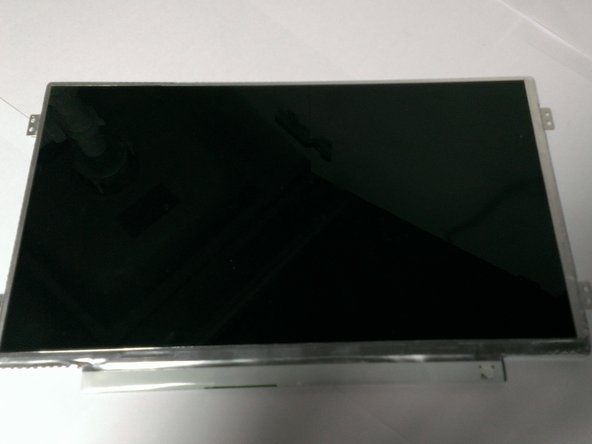
Use your fingers to hold the screen and remove it from the base. (Wires will still be attached between the screen and the motherboard.)
-
-
-
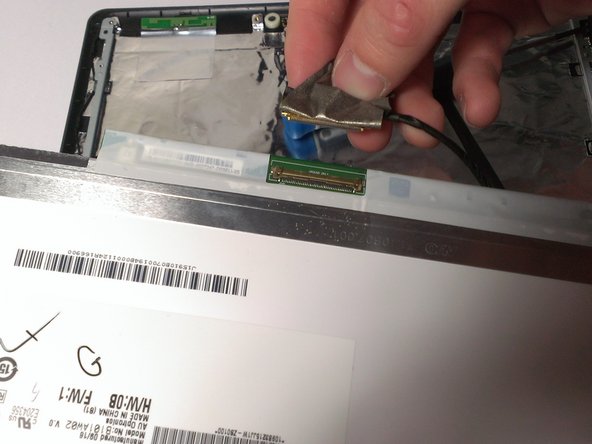
Use your fingers to remove the adhesive tape located on the back of the screen near the wire connection.
-
Disconnect the wire from the screen.
-


To reassemble your device, follow these instructions in reverse order.
To reassemble your device, follow these instructions in reverse order.
Rückgängig: Ich habe diese Anleitung nicht absolviert.
2 weitere Nutzer:innen haben diese Anleitung absolviert.
Team

Cal Poly, Team 21-52, Johann Spring 2013 Mitglied von Cal Poly, Team 21-52, Johann Spring 2013
CPSU-JOHANN-S13S21G52
4 Mitglieder
11 Anleitungen geschrieben